Crochet Abbreviations (US Terms)
- ch: Chain
- hdc: Half Double Crochet (Yarn over, insert hook, pull up a loop, yarn over, pull through all three loops on your hook).
- sl st: Slip Stitch
- inc (Increase): Work two half double crochet stitches into the exact same stitch to expand your round.
Step-by-Step Easy Crochet Beanie Pattern
This hat is worked from the crown down. First, we will create a flat circle by strategically increasing our stitches. Then, we will stop increasing so the sides naturally drape downward into a classic beanie shape.
Part 1: The Crown (Increase Rounds)
Round 1: Make a magic circle (or ch 4 and sl st to the first chain to form a ring). Ch 2 (this counts as your first hdc). Work 9 hdc into the circle. Join to the top of your starting ch-2 with a sl st. (Total: 10 hdc)
Round 2: Ch 2. Work an increase (2 hdc) into every single stitch around. Join with a sl st to the starting chain. (Total: 20 hdc)
Round 3: Ch 2. Work 1 inc in the next stitch, followed by 1 hdc in the following stitch. Repeat the sequence between the asterisks all the way around. Join with a sl st. (Total: 30 hdc)
Round 4: Ch 2. Work 1 inc in the next stitch, followed by 1 hdc in each of the next 2 stitches. Repeat this rhythmic sequence around. Join with a sl st. (Total: 40 hdc)
Round 5: Ch 2. Work 1 inc in the next stitch, followed by 1 hdc in each of the next 3 stitches. Repeat this pattern around to continue expanding the crown. Join with a sl st. (Total: 50 hdc)
Round 6:
Ch 2. Work 1 inc in the next stitch, followed by 1 hdc in each of the next 4 stitches. Repeat this final increase pattern around. Join with a sl st. (Total: 60 hdc)
Pro Tip: A count of 60 stitches provides a perfect standard adult medium fit. If you prefer a loose, slouchy beanie, add one more expansion round following the same logic (1 inc, 5 hdc) to reach 70 stitches.
Round 7 and Beyond: From this point forward, the math is officially done! Ch 2, then work exactly one hdc into every single stitch around. No more increases!
Continue joining each round with a sl st at the end. As you build these uniform rows, you will watch your flat circle magically turn into a bowl shape.
- How long should it be? Keep repeating these straight rows until your hat measures approximately 20–22 cm (8 to 8.5 inches) from the very top center of the crown down to the bottom edge. Try it on as you go to make sure it covers your ears comfortably!
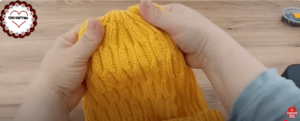
Finishing Your Handmade Beanie
Once your hat reaches your desired length, fasten off your work, leaving a 6-inch tail. Cut the yarn and pull it securely through your last loop to knot it.
Thread your yarn tail onto a tapestry needle. Carefully weave it back and forth through the inside stitches to completely hide the end. Cut any excess string.
Add a Personal Touch: Your elegant beanie is complete! To take its style to the next level, consider attaching a faux-fur pom-pom or a yarn pom-pom to the crown.
Enjoy your cozy new accessory, or wrap it up as a thoughtful, handmade gift for someone special!
Do you have any questions about yarn choices or adjustments?
If you want to customize this pattern further—such as adding a thick, folded brim or switching to a chunky yarn weight—let me know in the comments below!
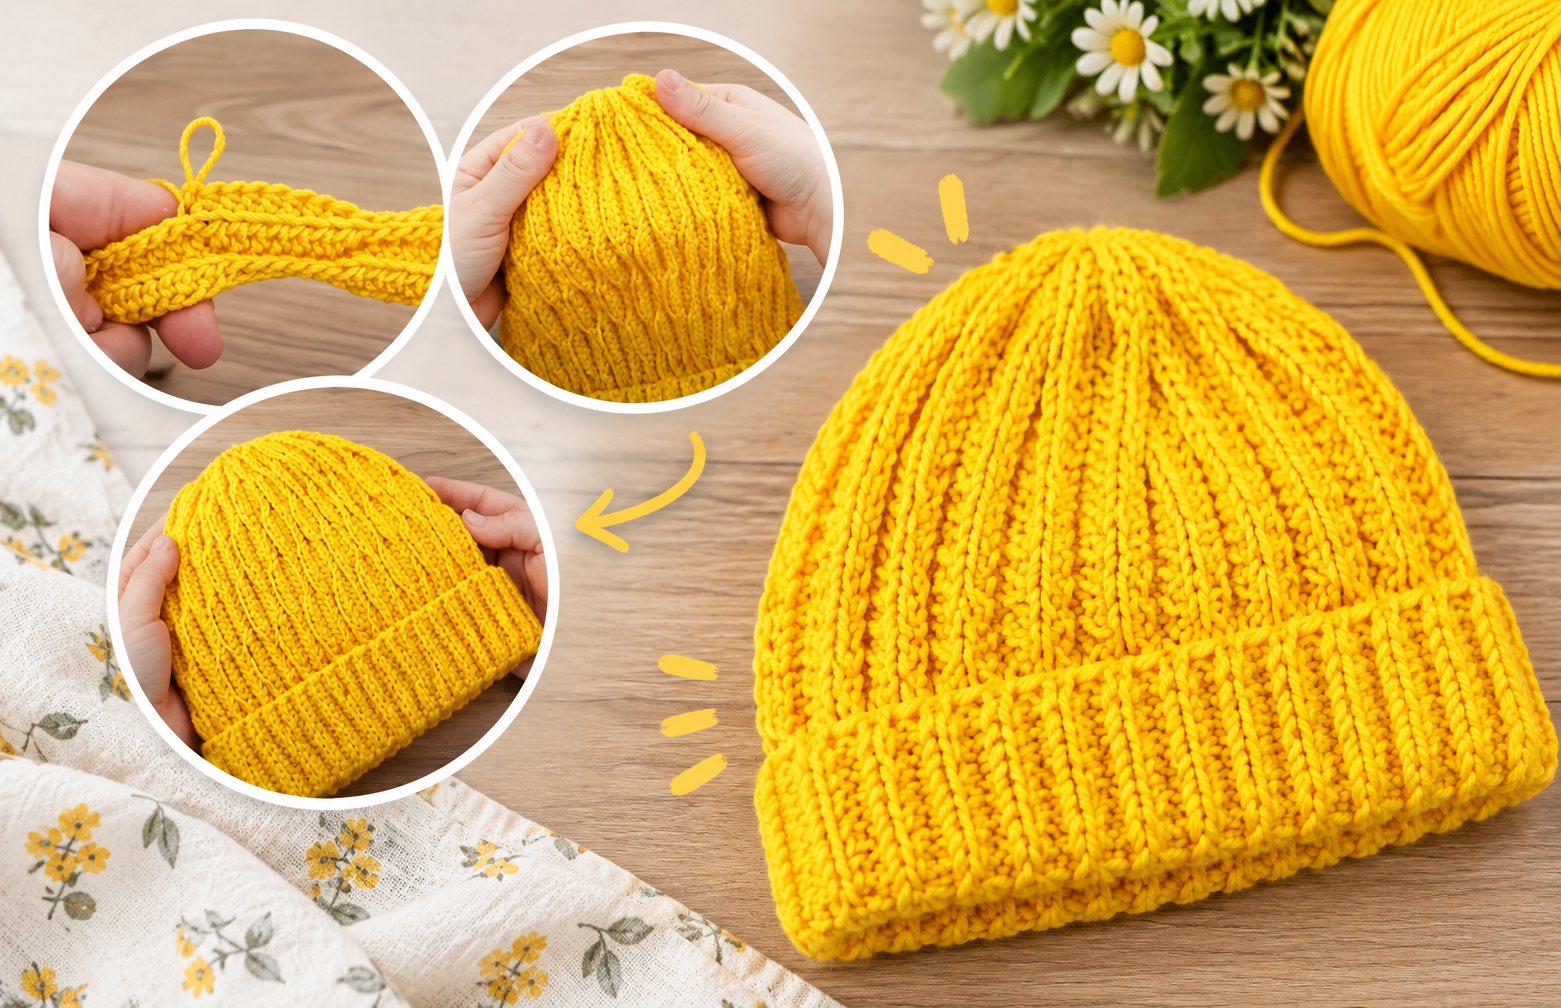
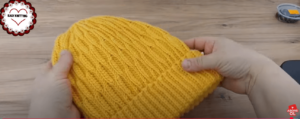
Very easy elegant crochet beanie hat for beginners / crochet beanie



1 thought on “How to Crochet a Beanie: Easy Step-by-Step Beginner Guide”
Comments are closed.