Crochet Mini Bag Keychain Tutorial – Easy Granny Square

Hello my lovely crochet friends and welcome back to the blog! I am so incredibly happy you are here today because we are making something absolutely darling. If you’ve been looking for a fun, stash-busting project, this crochet mini bag keychain tutorial is exactly what you need! Inspired by classic flower granny squares, this tiny bag is not only super cute but also perfect for holding your earphones, coins, or little treasures. Grab your favorite yarn scraps, a warm cup of tea, and let’s start stitching this beautiful accessory together! 🧶🌸
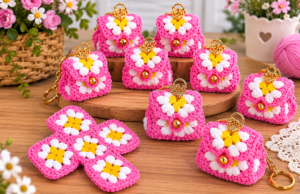
Crochet Mini Bag Keychain

Materials Needle 

  • Cotton yarn
  • Crochet hook
  • Tapestry needle / Yarn needle
  • Scissors
  • Keyring / Keychain ring

3 jpg

Step 1: Crochet the Floral Granny Squares


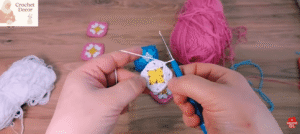
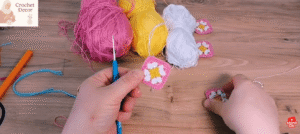
  • To create this cute mini bag, you will need to make 6 identical flower granny squares. Here is the quick and easy pattern for one square:
  • Round 1 (Flower Center – Yellow Yarn): Start with a magic ring. Ch 1, work 8 single crochets (sc) into the ring. Sl st to the first sc to join. Fasten off.
  • Round 2 (Flower Petals – White Yarn): Attach white yarn to any stitch. Ch 2, work a puff stitch (or 3 double crochet cluster) in the same stitch, ch 1. Repeat [puff stitch, ch 1] in each of the remaining 7 stitches. Sl st to the top of the first puff stitch to join (8 petals total). Fasten off.
  • Round 3 (Square Base – Pink Yarn): Attach your main pink yarn to any ch-1 space.
    • For the corner: Ch 3 (counts as dc), 2 dc, ch 2, 3 dc in the same space.
    • For the side: 3 dc in the next ch-1 space.
    • Repeat this pattern around [Corner, Side] to form a square shape. Sl st to the top of the ch-3 to join. Fasten off, leaving a tail for assembly.
2 jpg


Step 2: Assemble the Mini Bag

Once your squares are ready, it’s time to assemble:

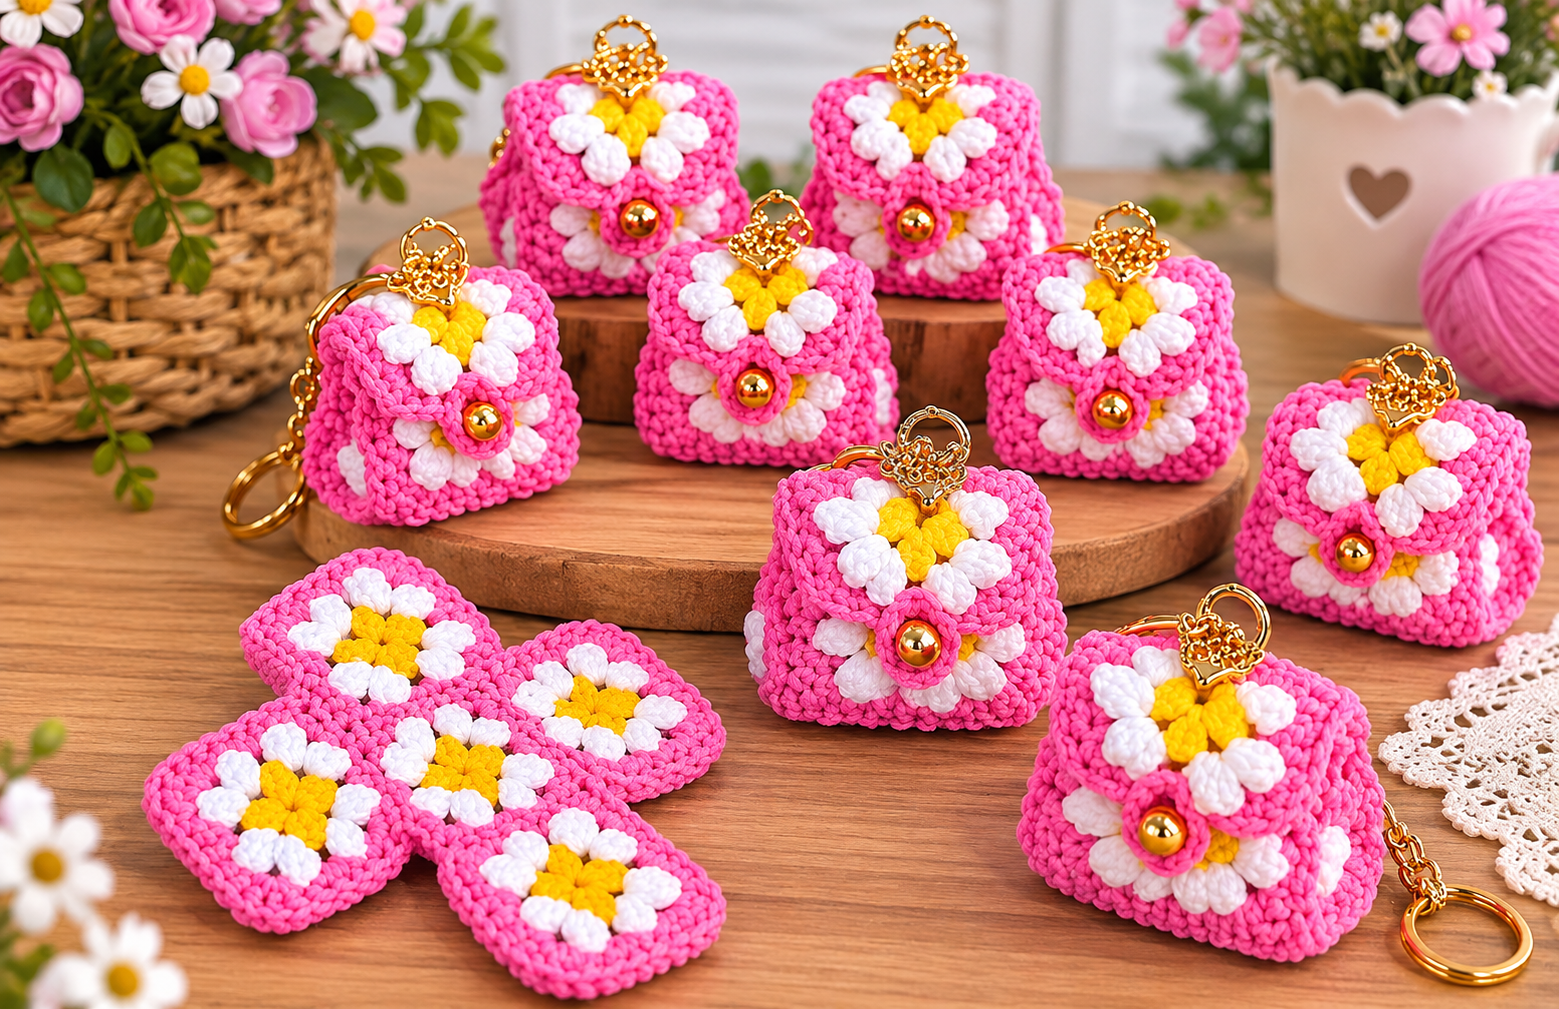
  • Arrange 5 squares in a cross shape (like in the image).

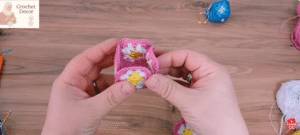
  • Fold them upward to form the sides of a cube.

  • Use slip stitches or single crochet to join the edges together neatly.

  • Attach the 6th square as the base.

Make sure all seams are tight and clean for durability.

4 jpg


Step 3: Add Closure and Keychain

To finish your mini bag keychain:

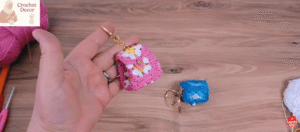
  • Sew a small button or snap closure to the top flap.

  • Attach a loop of yarn at the top and connect it to a keychain ring or clasp.

  • Weave in all loose ends using a yarn needle.

Optionally, you can lightly stuff the bag for a more structured shape.


Tips for Beginners

  • Use cotton yarn for better durability and stitch definition.

  • Keep your tension consistent for evenly sized squares.

  • Block your squares before assembling for a more polished look.

  • Experiment with different color combinations to create unique designs.

1 jpg


Why This Project is Great

This crochet mini bag keychain is perfect for:

  • Handmade gifts

  • Selling on Etsy or craft fairs

  • Using up scrap yarn

  • Practicing granny square techniques

It’s quick, creative, and highly customizable. Plus, small crochet projects like this are excellent for improving your skills without committing to large pieces.

5 jpg


Final Thoughts

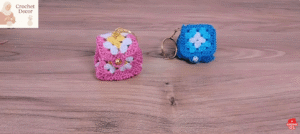
Creating a crochet mini bag keychain is both fun and rewarding. With just a few materials and simple techniques, you can make a stylish accessory that’s both practical and eye-catching. Whether you’re a beginner or an experienced crocheter, this project is a great addition to your handmade collection.

Start crafting today and bring these cute floral mini bags to life!

Crochet mini bag keychain tutorial for beginners

Please follow and like us:
icon Follow en US
Pin Share

1 thought on “Crochet Mini Bag Keychain Tutorial – Easy Granny Square”

Comments are closed.

We use cookies in order to give you the best possible experience on our website. By continuing to use this site, you agree to our use of cookies.
Accept
Reject