
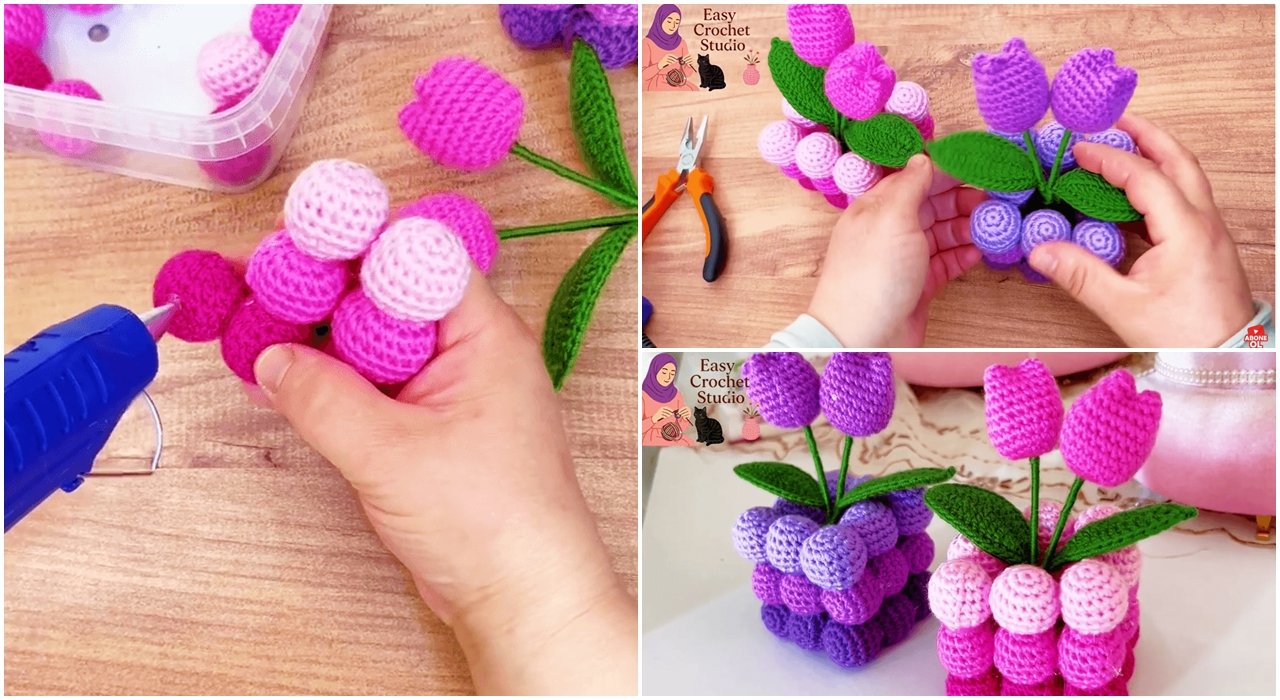
I love decorating my home with ,this beautiful crochet tulip flower design will brighten up your home. handcrafted pieces stitched loop by loop. There is a special magic in turning simple yarn strands into everlasting flowers that never fade. Last week, I finished a vibrant pink and purple bouquet for my living room window, and the cheerful colors instantly brightened up the whole space. If you have been searching for a thoughtful handmade present or a cozy piece of spring decor, you are in the perfect place.
In this free amigurumi pattern, I am sharing my personal tips, exact stitch counts, and assembly steps to help you craft a gorgeous 3D potted tulip. To make things even easier, I followed a wonderful design by the Easy Crochet Studio channel. Let’s look at the exact details so you can create your own sweet flower pot.
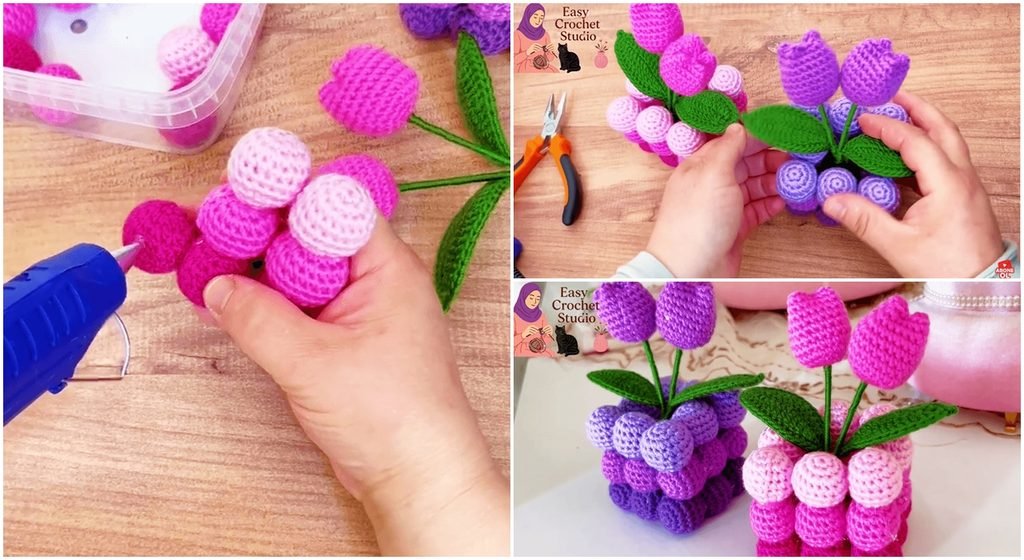
🛠️ Materials Needed for the Crochet Tulip Flower Pot
For optimal results, use quality materials like YarnArt Jeans or Alize Cotton Gold sport weight cotton-acrylic blend (dark/light/powder pink for the pot, vibrant pink/purple for buds, and green for leaves) A 2.5 mm Clover Amour hook keeps stitches tight, while premium polyester fiberfill provides structure alongside floral wire, floral tape, hot glue, and a yarn needle
📝 Step-by-Step Crochet Tulip Pot Tutorial
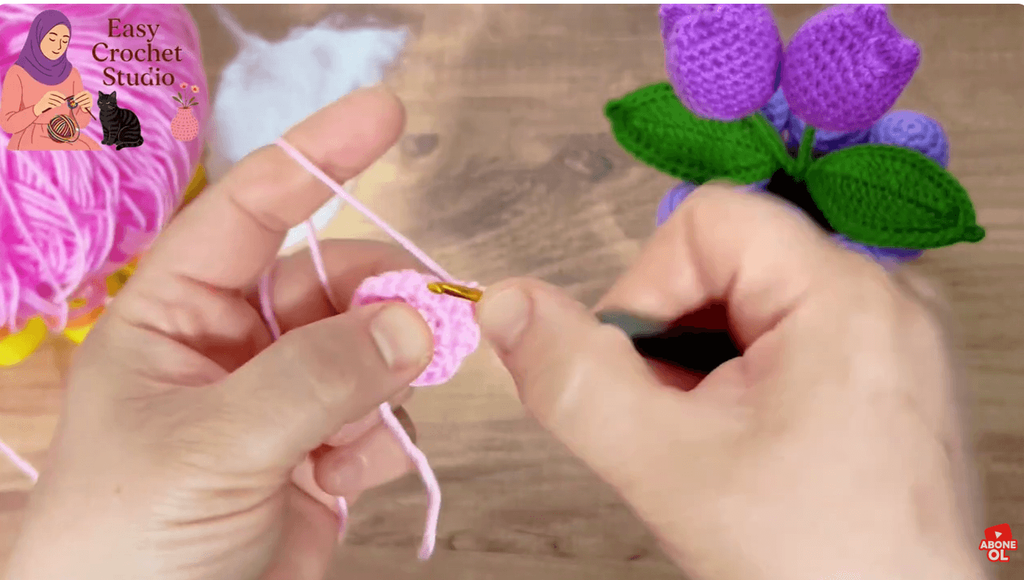
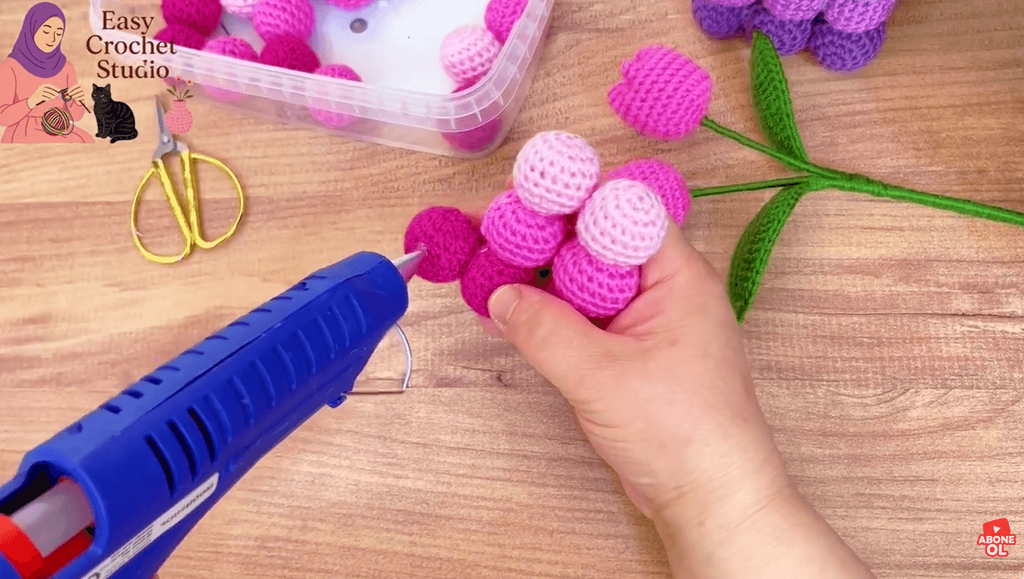
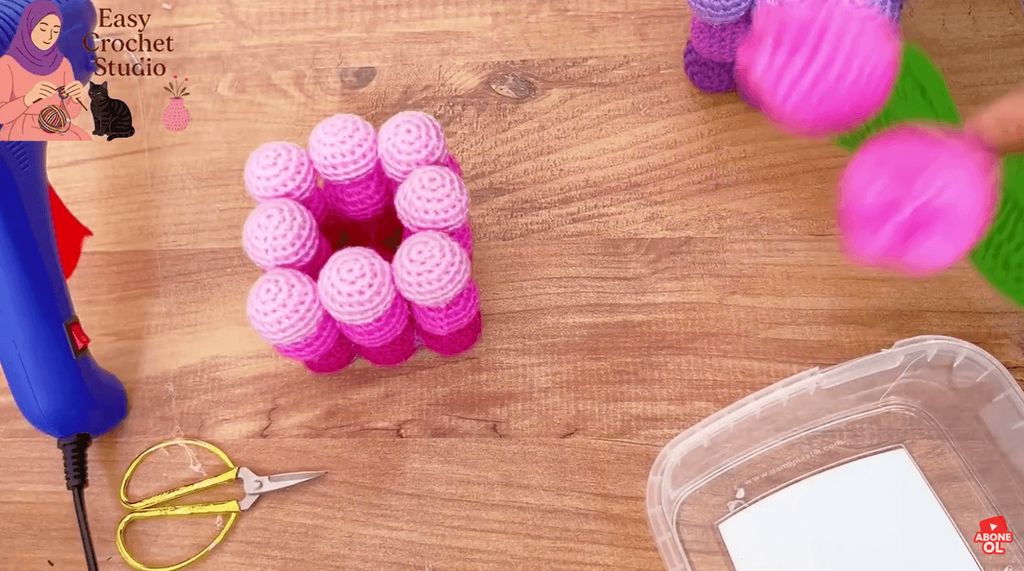
1. Making the Cube Flower Pot with Puffy Balls (Total 25 Balls)
The pot is constructed from 25 tiny puffy balls arranged in a gradient: 9 dark pink for the base, 8 light pink for the middle, and 8 powder pink for the top walls
- Puffy Ball Pattern Summary: Work from a magic ring of 6 single crochets (sc), increasing to 18 sts by Round 3, maintaining 18 sts through Round 6, then decreasing to close on Round 8 after firm fiberfill stuffing
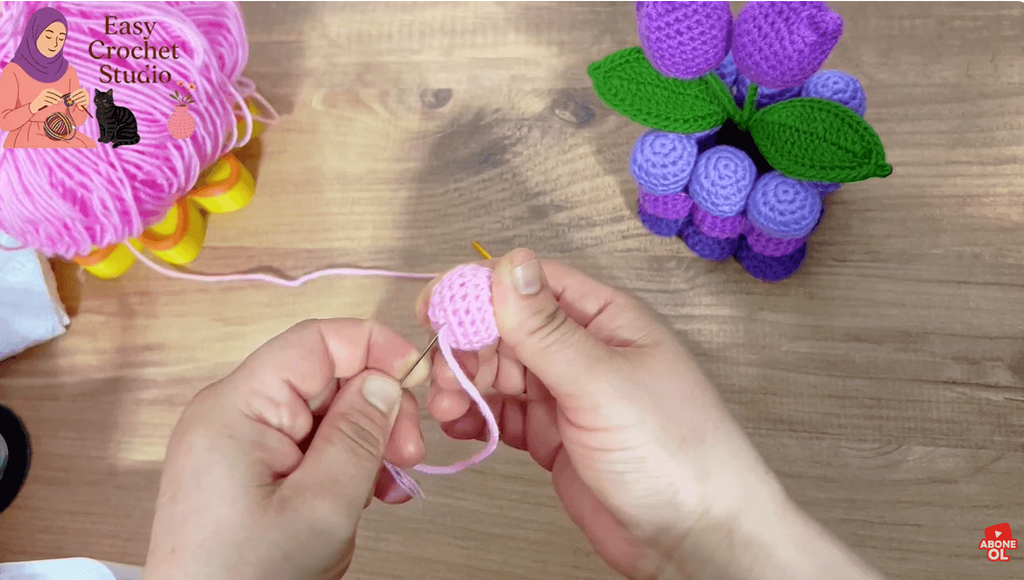
2. Crochet Tulip Buds Pattern
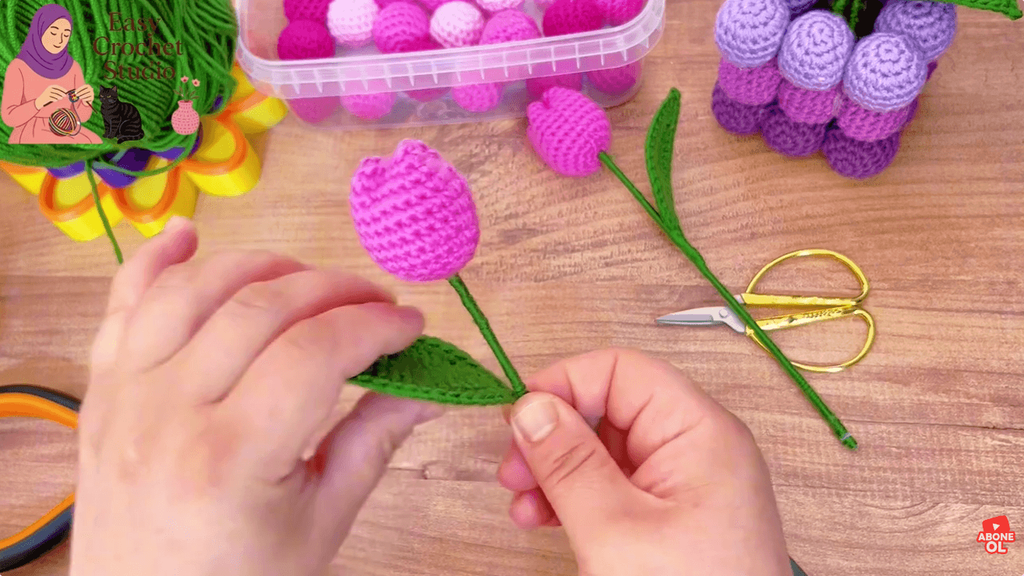
Create flower heads using vibrant pink and purple yarns by working a magic ring and increasing up to 24 stitches by Round 4, maintaining this count through Round 15 [10]. Stuff firmly, fold the opening, and sew in a cross (+) shape to form the tulip
3. Leaves and Assembly
Craft green leaves, wrap floral wire with green yarn for stems, attach the buds, and secure them into the gradient cube base using hot glue [10]. For full pattern details, refer to the source document
💡 Pro-Tip for Perfect Stitch Tension
Keep your foundation chain and initial setup tension slightly loose to prevent warping and make subsequent rounds easier to work
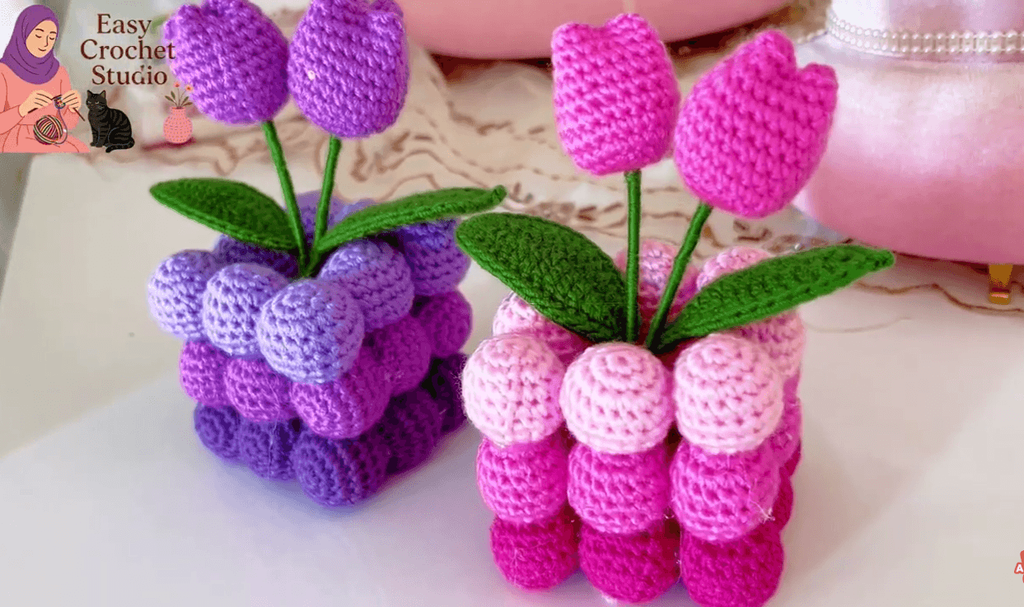
Easy Crochet Tulip Flower Pot 🌷 Beautiful DIY Amigurumi Home Decor | Step-by-Step Crochet Tutorial


