
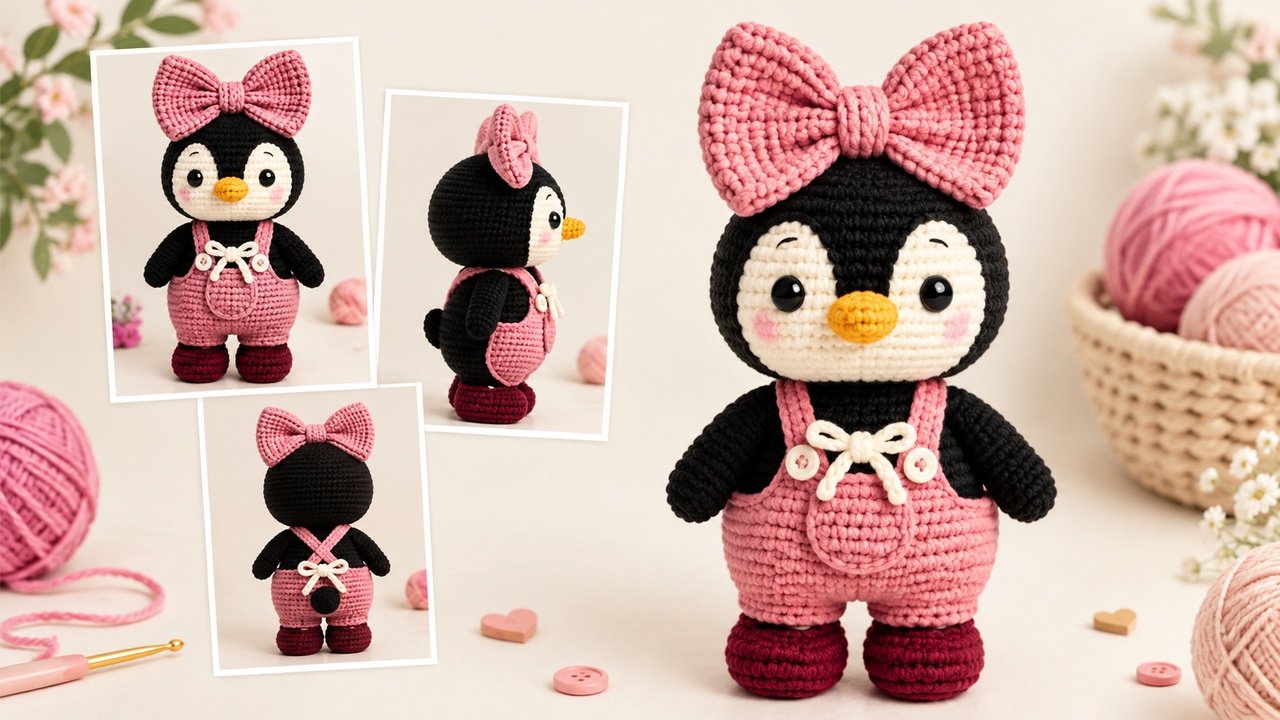
Are you looking for a cozy, charming, and highly rewarding yarn project to kickstart your winter crafting? If so, discovering how to crochet a cute penguin with a matching winter hat is the absolute perfect choice. Miniature amigurumi projects are incredibly popular right now because they bring warmth to your home decor, take minimal yarn scraps, and make the most delightful handmade gifts for your loved ones. Whether you want to spruce up your mantelpiece or create a festive toy for children, this texture-rich plushie is an absolute showstopper.
In this comprehensive DIY guide, we will walk you through the essential steps to create a beautiful, 25 cm tall amigurumi penguin. Thanks to our detailed stitch breakdowns, even advanced beginners looking to expand their skills can achieve professional-looking results. Grab your hooks, settle down with a warm cup of tea, and let’s dive into this lovely holiday craft project!
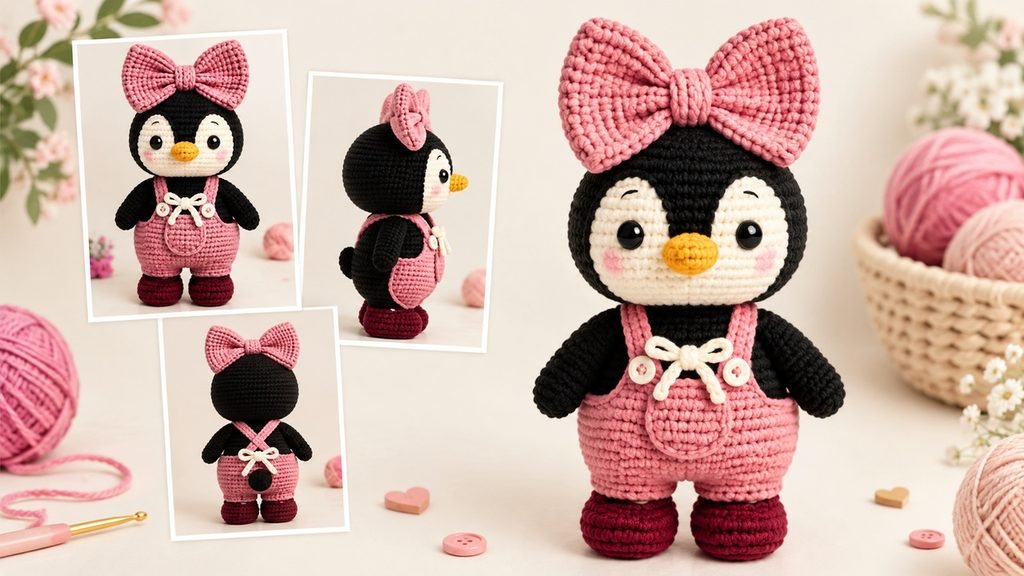
🧶 Required Materials
- Black Yarn (Nako Pırlanta or equivalent sport weight yarn)
- White Yarn (Nako Pırlanta)
- Yellow/Mustard Yarn (For beak and feet)
- Red Yarn (For the winter hat/scarf)
- Crochet Hook: 2.5 mm or 3.0 mm
- Safety Eyes: 16 mm black safety eyes
- Fiberfill: Soft polyester toy stuffing
- Tools: Yarn needle, stitch markers, and scissors
Phase 1: Crafting the Penguin Body and Head Base
To build a solid foundation, our cute penguin pattern starts from the bottom up using classic continuous rounds. Working with standard black sport-weight yarn, you will begin by forming a magic ring with 6 single crochet stitches. To expand the body smoothly, you will gradually increase the stitch count across the early rounds—moving from 12 to 48 stitches—ensuring a neat, tight fabric that keeps the fiberfill firmly trapped inside.
Once the maximum diameter of 48 stitches is achieved, the pattern transitions into straight rows to give the penguin its signature chubby, tear-drop shape. After completing the prolonged midsection, you will slowly implement invisible decreases to narrow the neck area down to 24 stitches. Simultaneously, the interior head structure is built using white yarn, featuring a similar increase-decrease ratio. For the facial layout, we recommend placing the 16 mm safety eyes on the 8th round of the plain texture, leaving a clean 9-stitch gap between them to maximize the toy’s sweet expression.
Phase 2: Adding the Distinctive Face Shield and Limbs
What truly brings this amigurumi penguin to life is the contrasting white belly patch and its adorable yellow limbs. The front breast panel is worked in flat rows rather than in the round. You will start with a short chain, gradually increasing at the edges to create a gentle flare before narrowing it back down to mimic a realistic bird profile. Once completed, a neat single crochet border is worked around the entire piece to smooth out any raw edges before it is stitched onto the black body frame.
For the flippers and feet, bright yellow and deep black tones create a beautiful boutique aesthetic. The feet are started with a basic chain foundation and worked on both sides of the loops to create an oval, flat base that allows your penguin to sit upright effortlessly. The flippers are kept completely hollow—without any fiberfill stuffing—and are flattened before being seamlessly attached just one row below the neck join, ensuring a playful and symmetrical pose.
Phase 3: Crocheting the Custom Winter Hat and Scarf
No winter companion is complete without festive accessories! The accompanying ruffled winter hat uses a smart technique known as BLO (Back Loop Only) crocheting. By working exclusively into the back loops in flat rows, the fabric creates raised columns that beautifully mimic the ribbing of a high-end knit beanie.
After completing 67 rows of ribbed texture, the sides are joined using a seamless slip-stitch method. The top edge is then tightly drawn together with a yarn needle and topped with a fluffy yarn pom-pom. Pair this adorable beanie with a simple double-crochet matching scarf wrapped around the neck, and your handmade masterpiece is ready to warm hearts all season long!
Penguin Pattern Part 1: Making the Body, Front Piece, and Feet
Penguin Tutorial Part 2: Making the Head, Arms, and Beak
Penguin Pattern Part 3: Making the Beanie


