
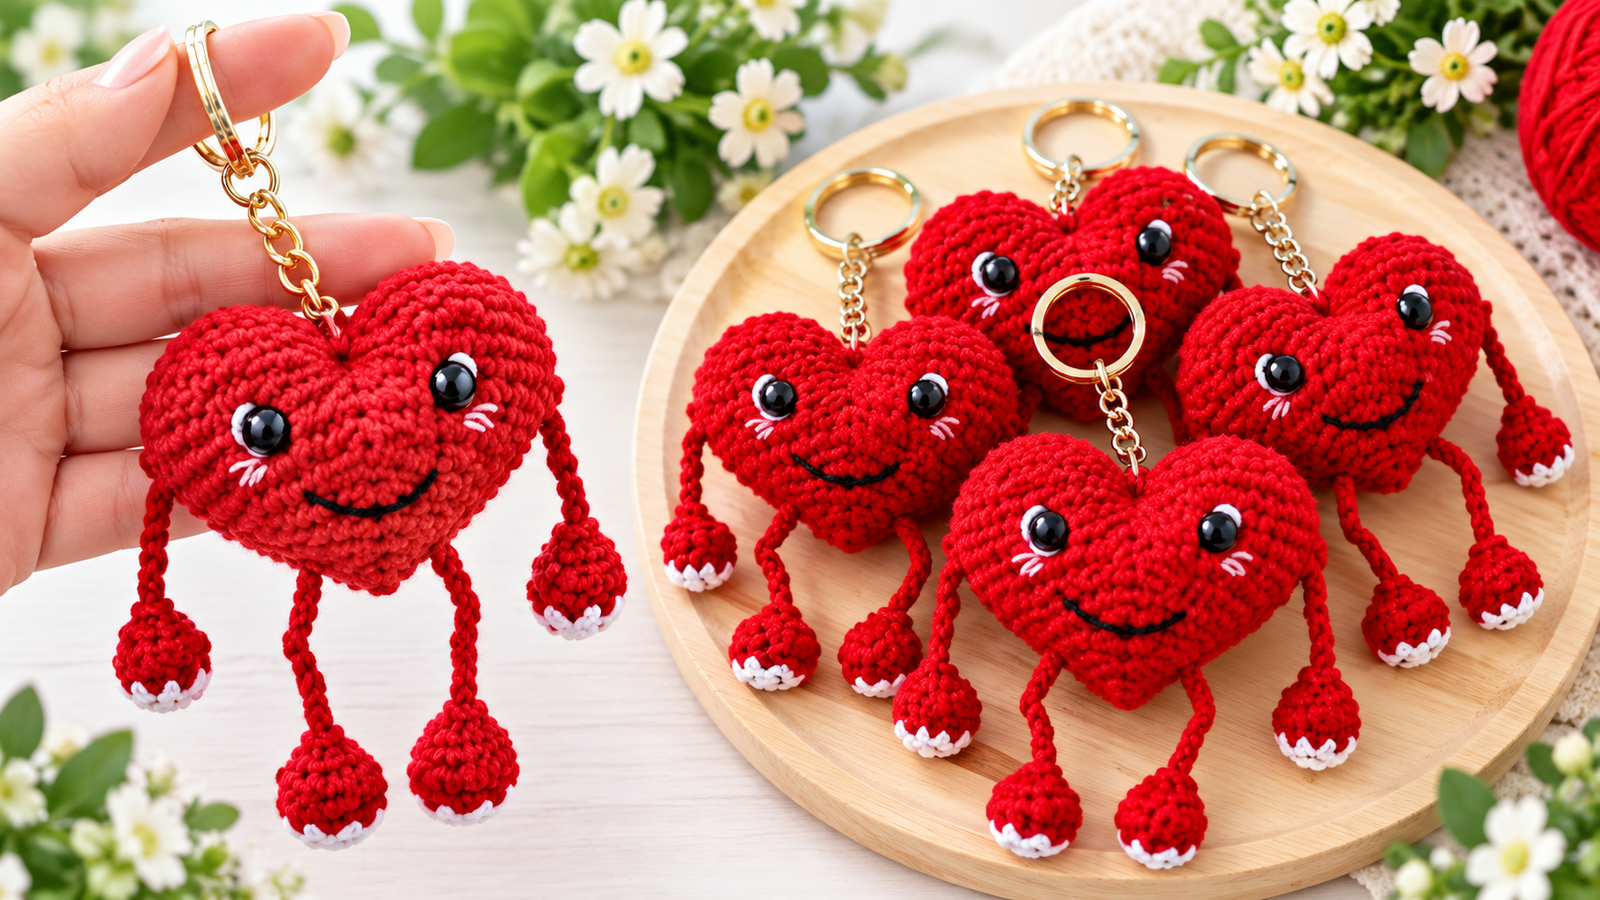
Are you looking for a quick, adorable, and highly rewarding crochet project? Learning how to crochet a cute heart keychain with legs and arms is the perfect way to use up your yarn scraps while creating something absolutely delightful. These miniature plushies—often called amigurumi—require minimal yarn, work up quickly, and make wonderful handmade Valentine’s Day gifts, backpack charms, or best-sellers for your upcoming craft fairs.
In this comprehensive guide, we will break down everything you need to know to create your very own dangling heart companion, from selecting the right materials to mastering the assembly process.
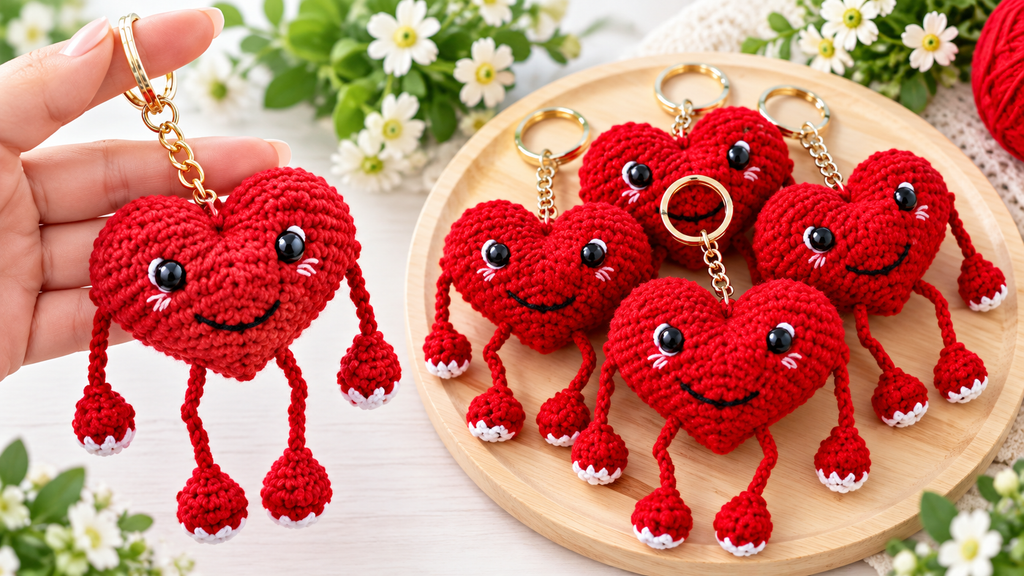
how to crochet a cute heart keychain with legs
Why You Will Love This Amigurumi Project
If you are a beginner looking to expand your skills, or an advanced crocheter looking for a fast “stash-buster” project, this pattern is tailor-made for you. The classic heart shape forms the sturdy foundation of the body, while the clever addition of dangling limbs gives the toy a whimsical, playful personality. Because it functions as a keychain, it is a practical accessory that people can carry with them everywhere, making it an excellent item to sell or gift to loved ones.
Comprehensive Materials and Tools List
Before you pick up your crochet hook, make sure you have all the necessary supplies gathered at your crafting station. Using the right yarn weight and hook size is important for your stitches are tight enough to keep the stuffing inside.
- Yarn: You will need sport weight (or DK weight) cotton/acrylic blend yarn. The primary color should be Red or Pink for the main heart body, and a small amount of White yarn is required to create the contrast for the small shoes and hands.
- Crochet Hook: A 2.0 mm or 2.5 mm crochet hook is recommended. Choose a size slightly smaller than what the yarn label suggests to ensure tight, neat stitches.
- Safety Eyes: One pair of 6mm or 8mm black plastic safety eyes with secure backings to give your heart its cute expression.
- Stuffing: High-quality polyester fiberfill (or toy stuffing) to give the heart its plump, bouncy shape.
- Embroidery Thread: A small strand of black thread to embroider the smiling mouth and expressive eyebrows, and a bit of white thread to add a lifelike sparkle detail to the eyes.
- Essential Tools: A blunt-tipped yarn needle for sewing the pieces together and weaving in loose ends, sharp scissors, temporary stitch markers to keep track of your continuous rounds, and straight pins to position the limbs perfectly before sewing.
- Keychain Accessories: A sturdy silver or gold keychain ring equipped with a short link chain to finalize the project.
Step-by-Step Overview of the Pattern
While amigurumi might look complex, it relies on basic crochet stitches worked in continuous rounds. Here is a breakdown of how this animated heart comes together:
1. Crocheting the Main Heart Body
The heart body is constructed from the top down. You will begin by crocheting two separate, identical dome shapes using the single crochet stitch and standard increases. Once both domes are complete, you will join them together across a middle row. From there, you will work in continuous rounds around the entire joined piece, gradually applying strategic decreases as you move downward to form the classic, pointed bottom of the heart. Do not forget to insert the safety eyes and firmly pack the piece with polyester fiberfill before the final rows close completely.
2. Making the Dangling Arms and Legs
The limbs are worked separately and designed to dangle freely, giving the keychain its animated charm. You will start each arm and leg with white yarn to form a tiny ball or foot. After a few initial rounds, you will switch seamlessly to your main red yarn to crochet a long, narrow chain or tube that acts as the arm or leg. Leave a long yarn tail at the end of each piece for sewing.
3. Assembly and Facial Expressions
Assembly is where your character truly comes to life. Use your straight pins to position the dangling legs symmetrically at the bottom point of the heart and the arms on either side of the body. Once you are happy with their placement, securely sew them in place using your yarn needle. Next, use your black embroidery thread to stitch a cheerful smile right between the safety eyes, and add tiny white highlights next to the pupils to give the character an expressive, living look.
4. Attaching the Keychain Hardware
To complete your handmade masterpiece, use a secure strand of red yarn to stitch the bottom loop of your keychain ring firmly to the top center groove of the heart. Tie a secure knot, hide the leftover yarn tail inside the body, and your cute amigurumi heart keychain is ready to travel!
Pro Tips for Perfect Amigurumi Results
To ensure your heart keychain looks professional, always maintain a tight tension throughout your work. If your stitches are too loose, the white fiberfill stuffing will peek through the gaps. Additionally, using a premium cotton-blend yarn prevents the toy from fuzzing or pilling over time, ensuring that your bag charm stays clean and vibrant even with daily wear and tear on a set of keys or a backpack.
How to Crochet a Heart with Legs | Cute Amigurumi Keychain Tutorial


