
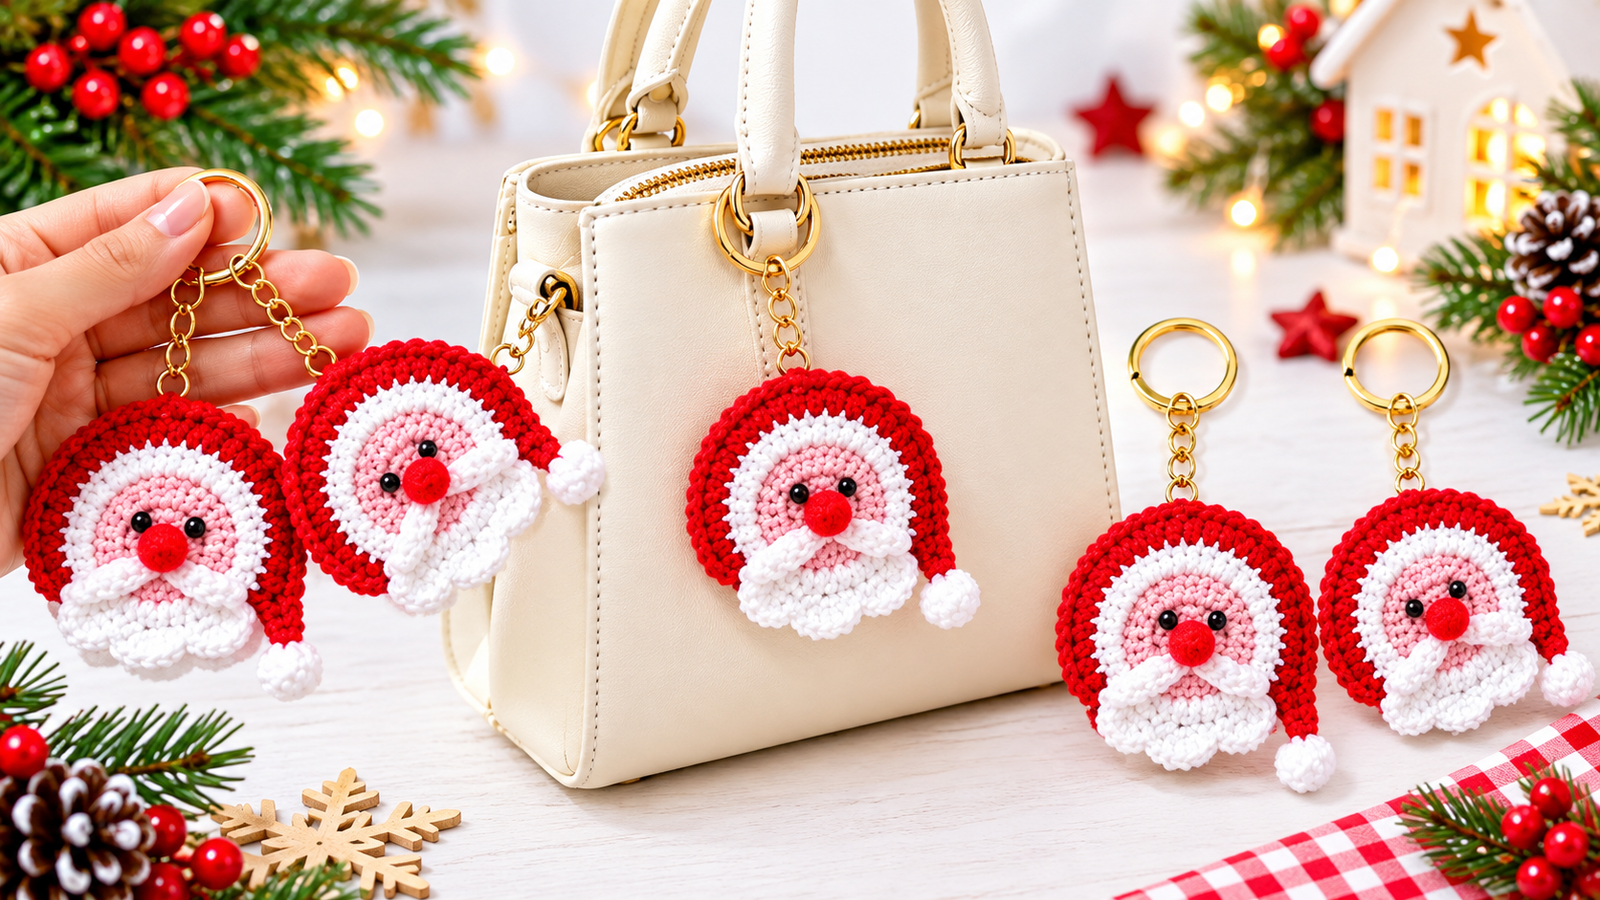
The holiday season is the most wonderful time of the year for crafters. If you love yarn and want to add a festive touch to your accessories, making a mini Santa keychain is the ultimate festive project. In this free guide, we will walk you through a quick and delightful amigurumi Santa Claus tutorial that is perfect for spreading holiday cheer.
Whether you need a festive bag charm, a last-minute stocking stuffer, or quick items to sell at holiday craft fairs, this beginner-friendly pattern is an excellent stash-buster. It takes very little time and utilizes basic stitches that anyone can master. Let’s gather our festive yarn colors and start crafting!

🛠️ Materials Needed for This Project
Before diving into the holiday magic, ensure you have all your supplies organized. Using high-quality tools will give your Christmas ornament a neat and polished look.
Required Yarn and Hooks
- Yarn: 4-ply or Sport weight cotton or acrylic yarn. You will need Red for Santa’s iconic coat and hat, White for his classic beard and trim, and Soft Pink or Beige for the face skin tone.
- Crochet Hook: A 2.5 mm or 3.0 mm crochet hook, depending on your yarn choice and tension preferences.
Essential Tools and Accents
- Eyes & Nose: Small black safety eyes (or black yarn if you prefer to embroider the eyes) and a mini red pom-pom for the cute nose.
- Stuffing: High-quality polyester fiberfill stuffing to shape Santa’s round body.
- Notions: A tapestry needle, sharp scissors, plastic stitch markers, and a blank metal keychain ring to complete the assembly.
📋 Step-by-Step Christmas Santa Guide
This pattern is designed to be worked in continuous rounds, making it highly accessible for beginners who want a quick holiday victory.
1. Crocheting the Main Body and Face
The project begins with the base of the body, working upwards in a continuous spiral. You will start with the vibrant red yarn to form Santa’s suit, then transition smoothly into the soft pink or beige yarn to create the face area. Make sure to place the safety eyes securely into the face section before adding the fiberfill stuffing.
2. Creating the Iconic Beard and Hat Trim
No Santa Claus is complete without a fluffy white beard! Using the white yarn, you will attach stitches around the face area to create a beautiful texture. You will also use the white yarn to create the plush trim of the holiday hat, giving the character its traditional Christmas look.
3. Assembling the Details and Keychain Ring
Once the main components are complete, attach the mini red pom-pom onto the center of the face to serve as the nose. Use your tapestry needle to secure all loose yarn tails neatly. Finally, loop the blank metal keychain ring through the top of Santa’s hat so it is ready to hang.
,
💡 Top Tips for Holiday Crafting Success
- Tension Control: Keep your stitches relatively tight so that the white fiberfill stuffing does not show through the red yarn gaps.
- Batch Production: If you are prepping for holiday craft fairs, crochet all the bodies first, then do the beards and assembly in assembly-line fashion to save time.
- Customization: Feel free to swap the traditional red yarn for mint green, pastel pink, or icy blue to create a modern, whimsical holiday aesthetic.
Happy crocheting! Your festive companion is now ready to decorate backpacks, car keys, or the Christmas tree.
Please follow and like us:


