
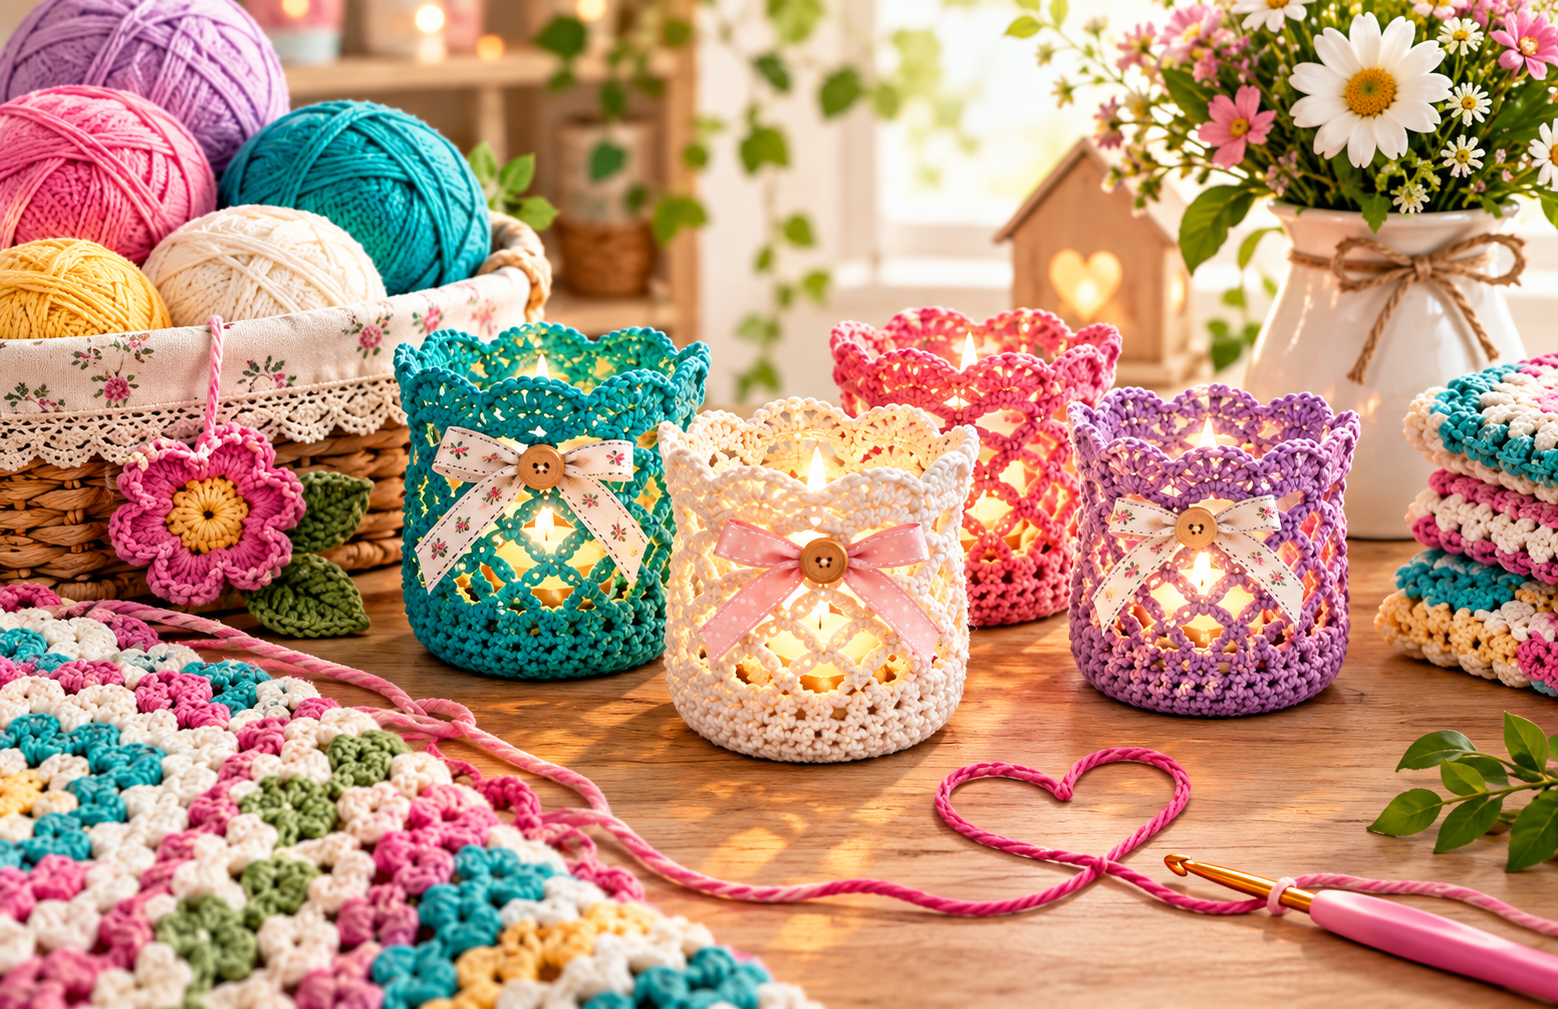
There is nothing quite like the warm, flickering glow of a candle to make your home feel instantly inviting. But if you want to take that cozy ambiance to the next level, adding a handmade touch is the perfect way to do it.
In this tutorial, you will learn how to crochet a candle holder using simple mason jars. This project is incredibly beginner-friendly, quick to complete, and makes for an amazing heartfelt gift or a charming addition to your own living room decor.
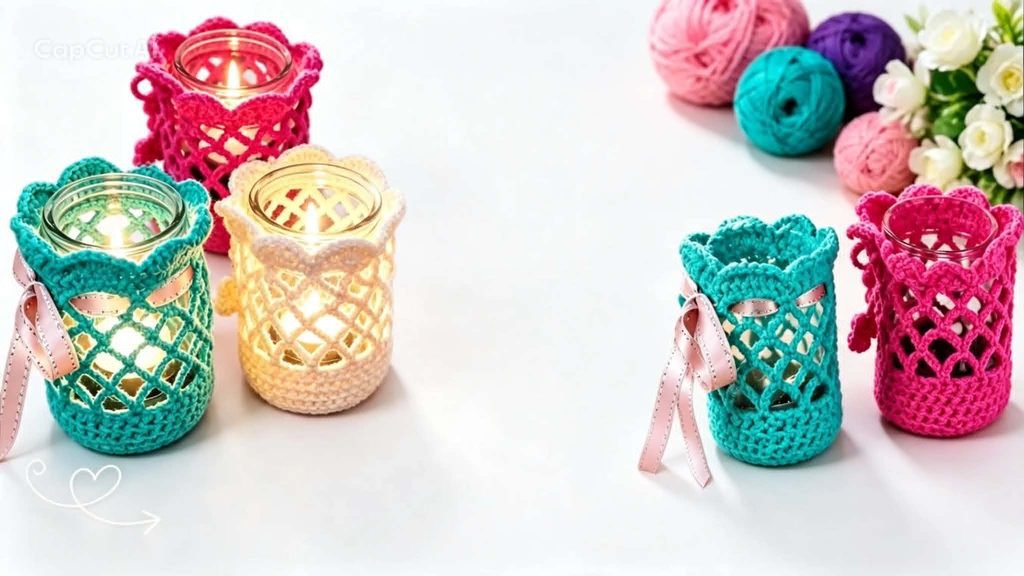
Best of all? This single project actually teaches you how to create two distinct, beautiful lace designs so you can mix and match styles around your home. Grab your yarn, and let’s get crafting!
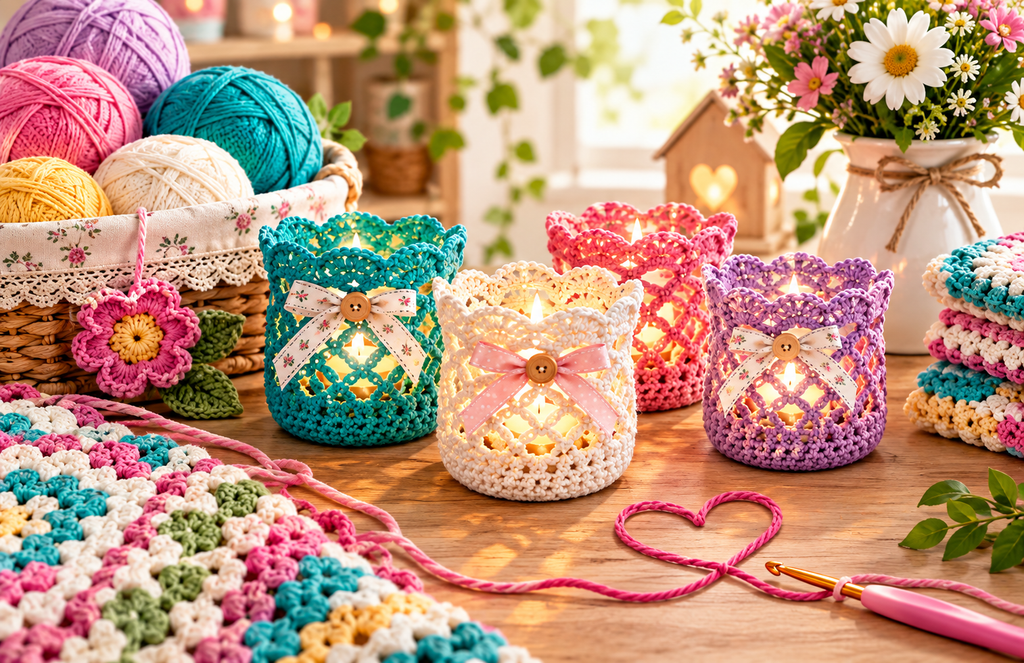
how to crochet a candle holder
Materials Needed for This Project
Before we jump into the stitches, let’s gather everything you need to create these beautiful crochet mason jar covers:
- Yarn: Medium weight (Category 4) cotton or acrylic yarn. Cotton yarn works best for candle holders as it has great stitch definition and handles heat well. You can use shades like turquoise, soft pink, or classic cream.
- Crochet Hook: 3.5 mm or 4.0 mm (Choose based on your yarn thickness and personal tension).
- Glass Jars: Small recycled mason jars or empty, cleaned candle glass jars.
- Ribbon: A piece of satin ribbon to tie a decorative bow at the top (Optional, but adds a lovely touch!).
- Essential Tools: A pair of scissors, a yarn needle to weave in your ends, and a measuring tape
Stitch Pattern Breakdown for Beginners
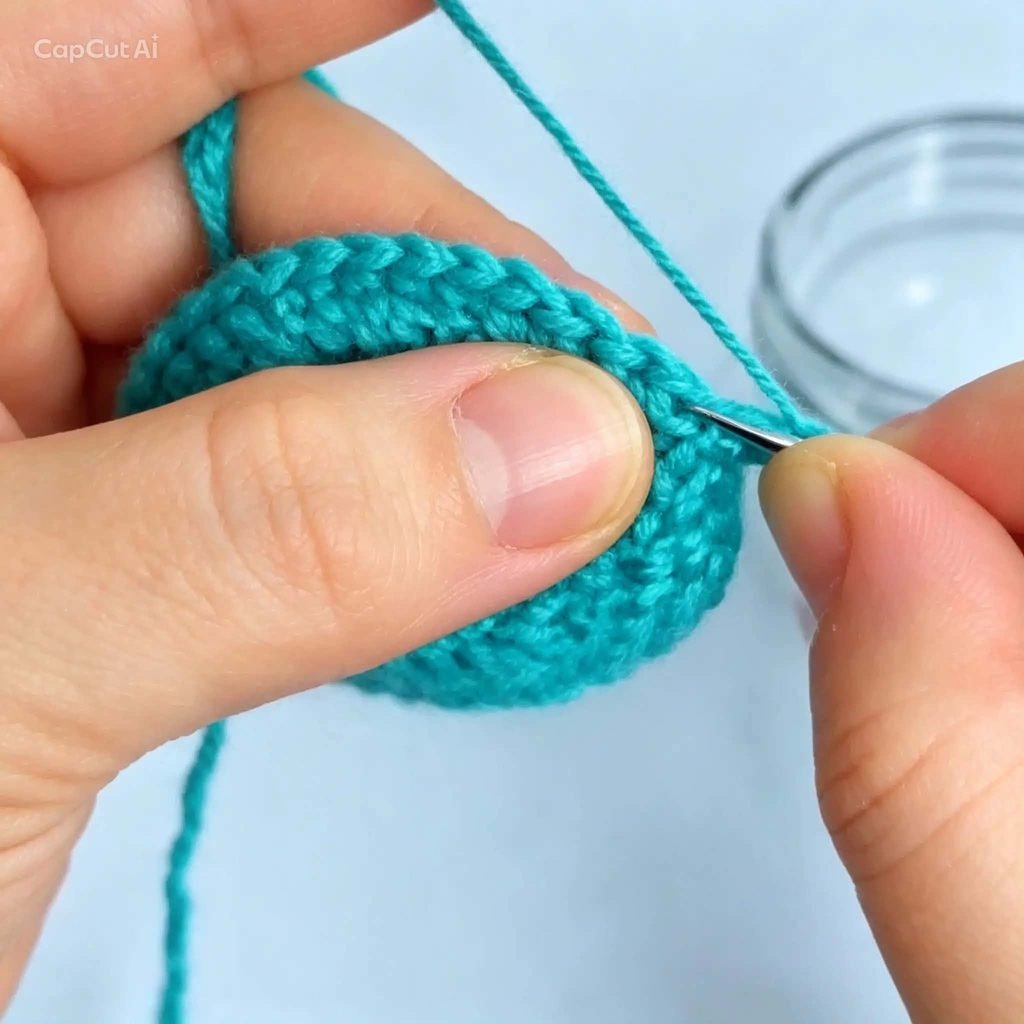
If you are new to crochet, don’t worry. This pattern relies on foundational stitches that form a gorgeous lace-like texture. Here is a quick reminder of the stitches we will be using:
- Chain Stitch (ch): The foundation of almost every crochet project.
- Single Crochet (sc): Creates a tight, sturdy base for the bottom of our jar.
- Double Crochet (dc): This stitch gives us the height and openness needed to let the candle light shine through the fabric.
The secret to a perfect jar cover is checking your tension. You want the stitches to be snug enough to hug the glass neatly, but stretchy enough to slip over the jar easily.
Step-by-Step Guide to Crafting Your Jar Cover
Phase 1: Creating the Base
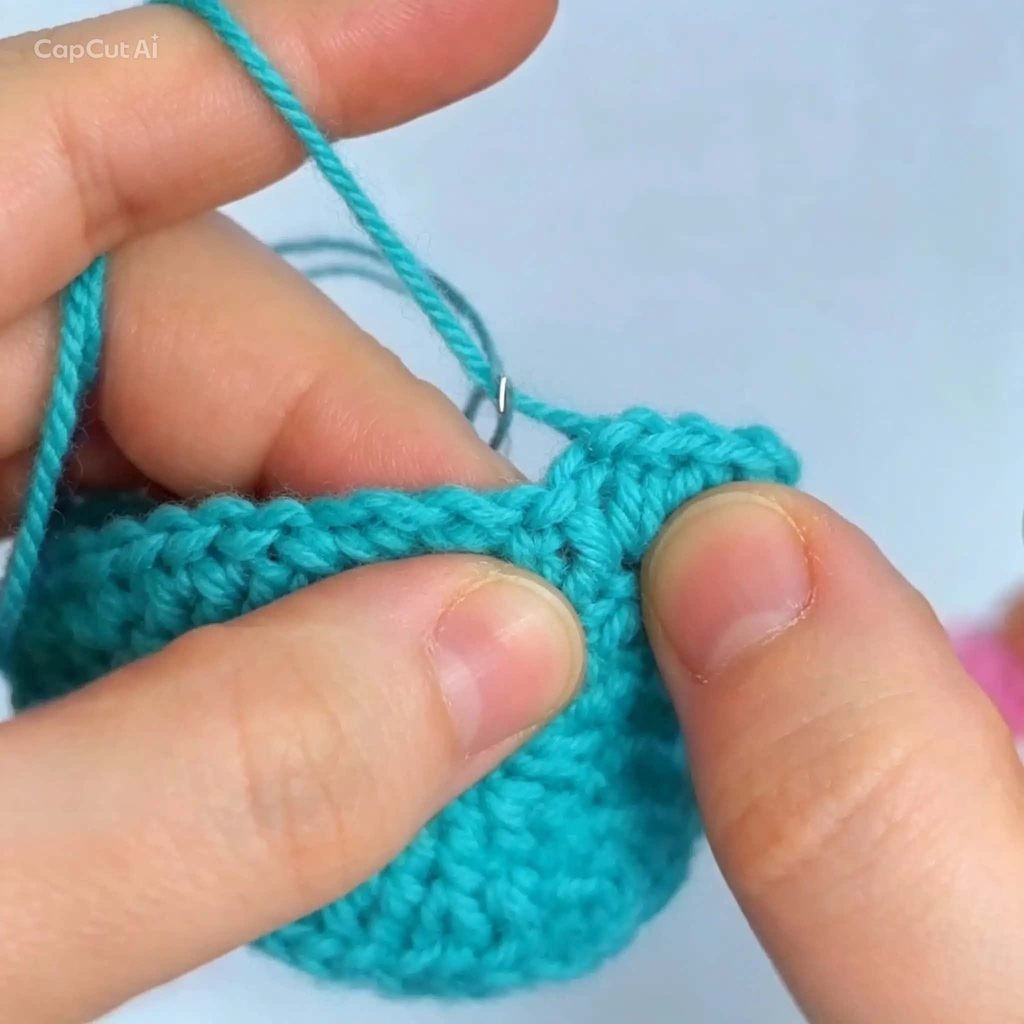
Every great jar cover starts from the bottom. We begin by crocheting a flat circle that matches the diameter of your glass jar. Work in continuous or joined rounds of single crochet, increasing gradually until the circle perfectly aligns with the base of your jar.
Phase 2: Choosing Your Design
Once your base is ready, it is time to work upward. This is where you can let your creativity shine with two beautiful options:
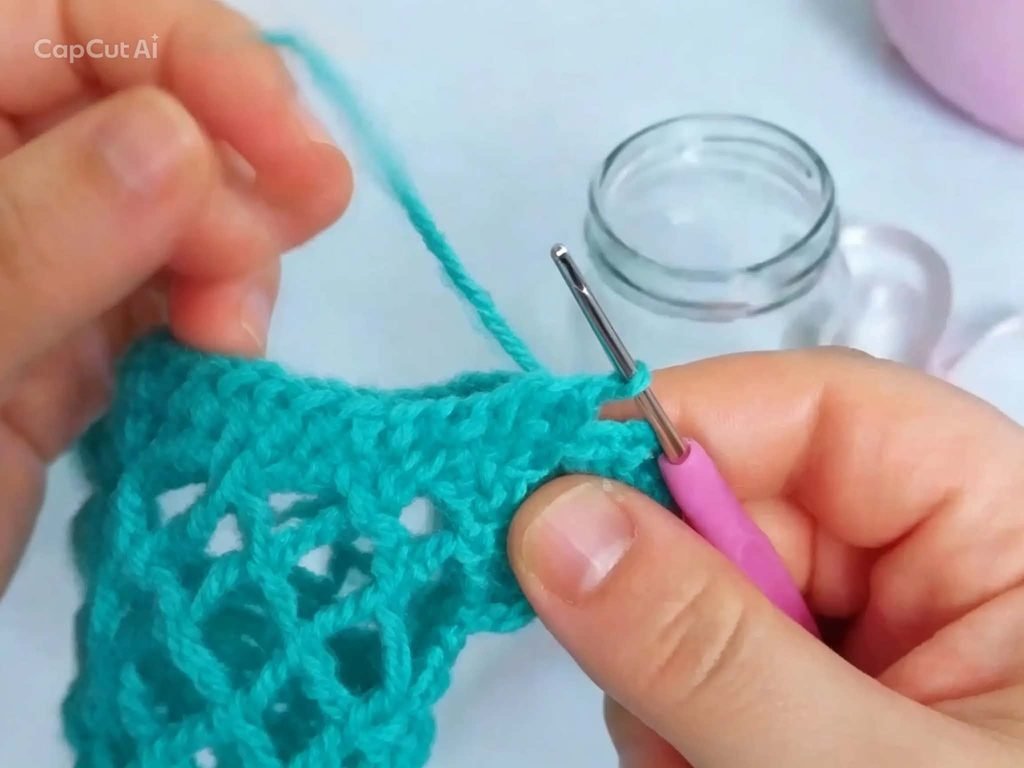
- Design 1 (The Classic Lace Look): This design focuses on a mesh-like pattern using alternating double crochets and chain spaces. It creates wide windows in the fabric, allowing maximum light to filter through and create beautiful shadows on your walls.
- Design 2 (The Textured Cozy Look): A slightly denser but equally elegant pattern that groups stitches together. It gives the jar a warm, sweater-weather appearance that looks incredibly high-end.
Phase 3: The Finishing Touches
After reaching the neck of the jar, fasten off your yarn and use your yarn needle to neatly weave in any loose ends. To elevate the look, thread a satin ribbon through the top row of stitches and tie a neat bow.
Pop a tealight candle or a battery-operated LED light inside your newly dressed jar, dim the lights, and enjoy your beautiful creation!
DIY Crochet Candle Holders | Easy Step by Step Crochet Tutorial for Beginners


