
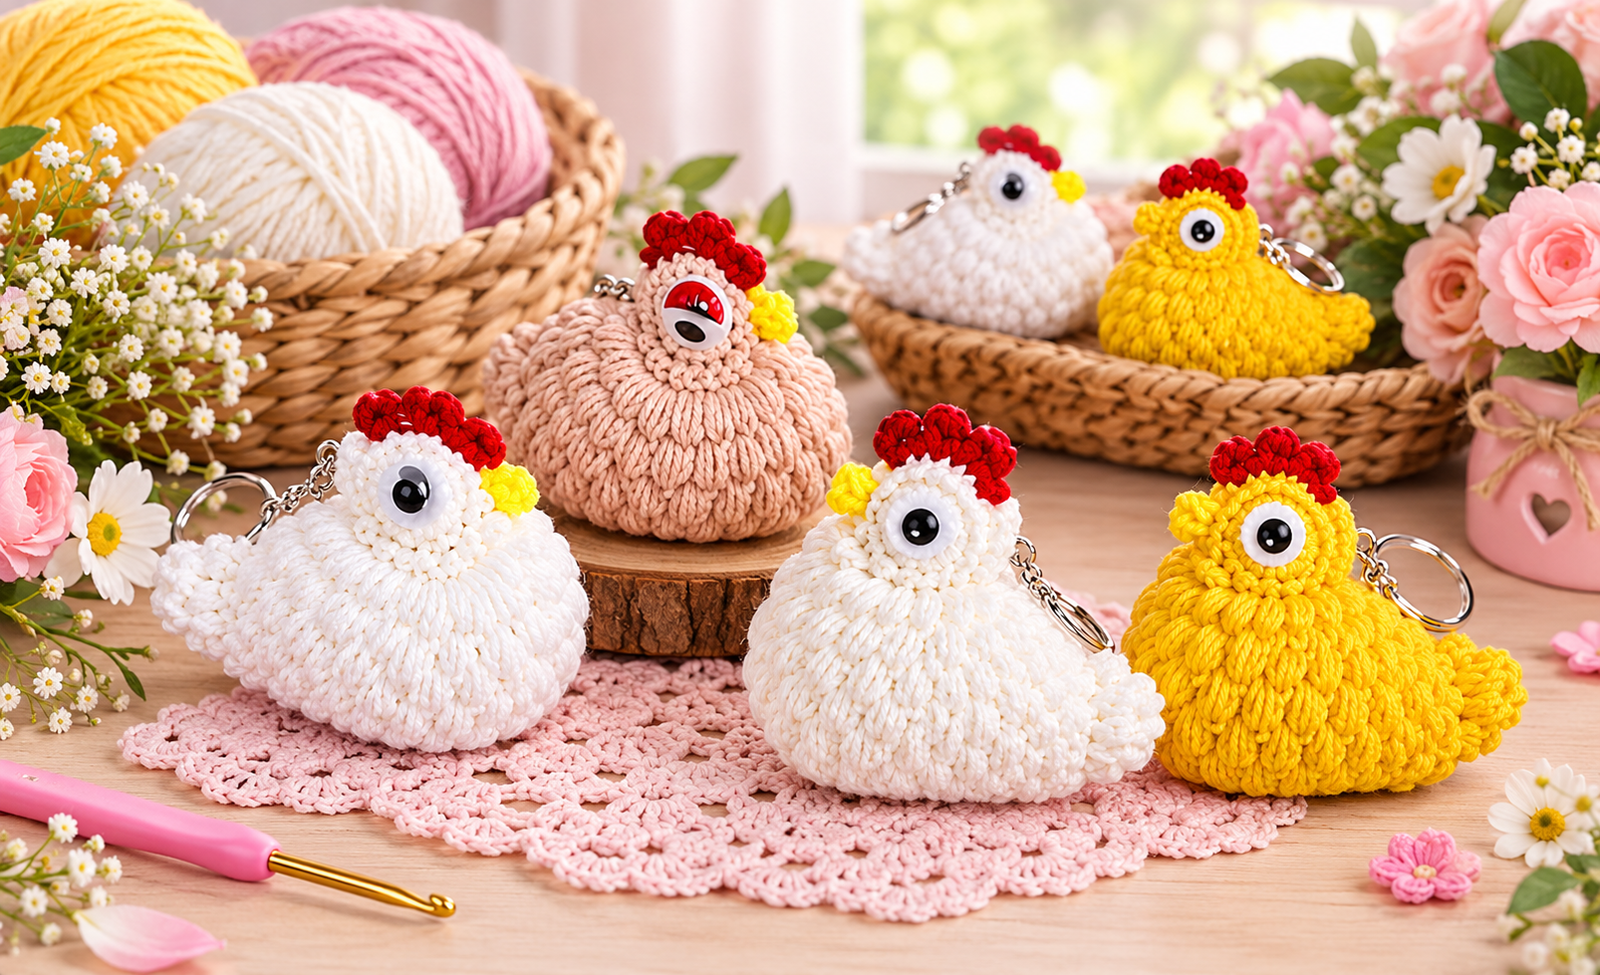
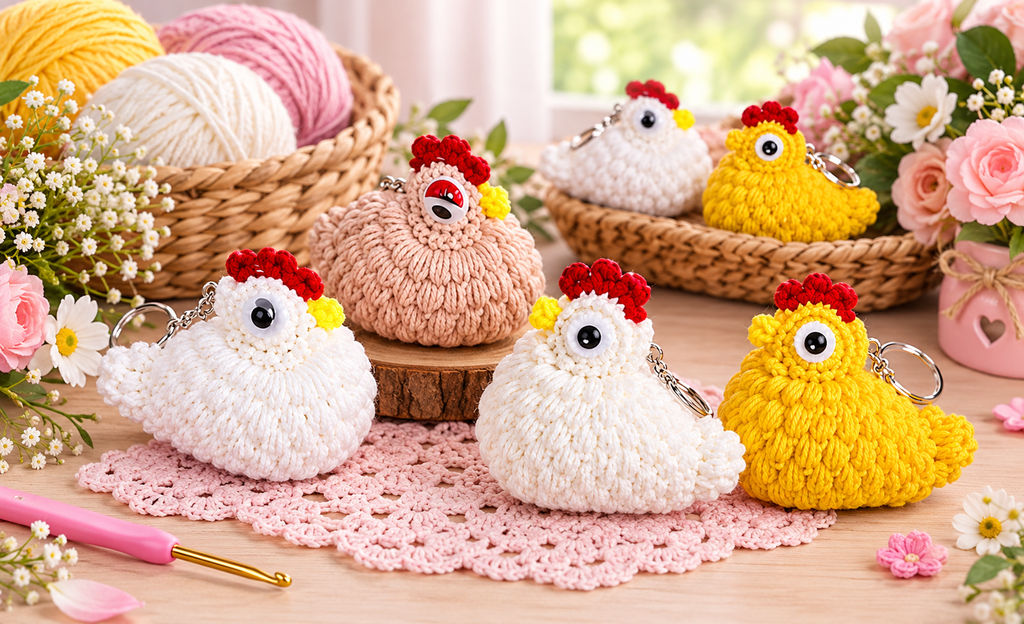
I love creating small, satisfying projects that can be finished in a single evening. This week, I decided to make a handful of adorable crochet chicken keychains using up some leftover cotton yarn from my basket. They turned out incredibly squishy and cute, thanks to the textured puff stitch pattern! Whether you want to clear out your yarn stash, create a last-minute handmade gift, or add a best-seller item to your next craft fair table, this beginner-friendly amigurumi chick is the perfect project.
In this free crochet guide, I am sharing my personal tips, exact step-by-step breakdown, and assembly notes so you can make your own textured little chicken. To help you visualize the stitches easily, I recorded the whole process. You can watch my step-by-step video guide directly on my YouTube Channel.
🐣 Step-by-Step Puff Stitch Chicken Pattern
1. Crocheting the Main Body
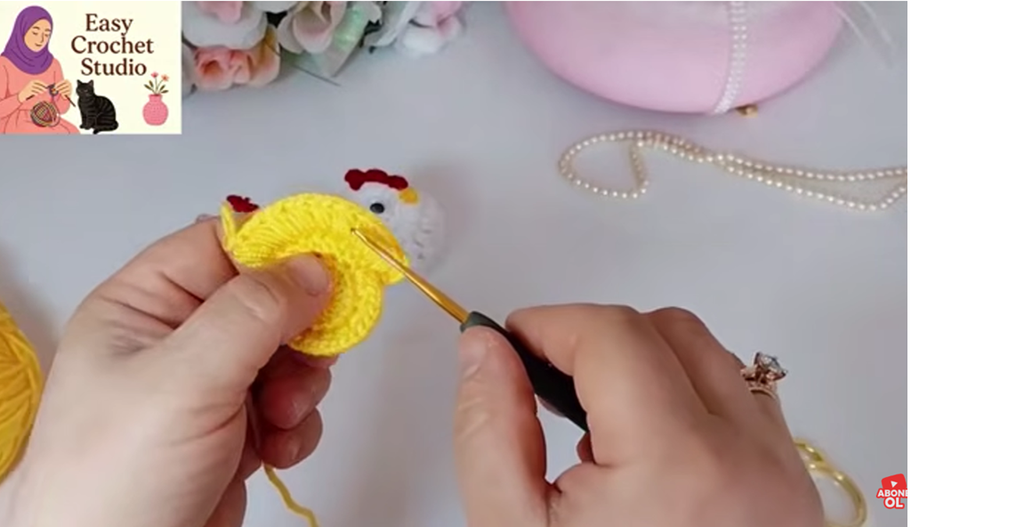
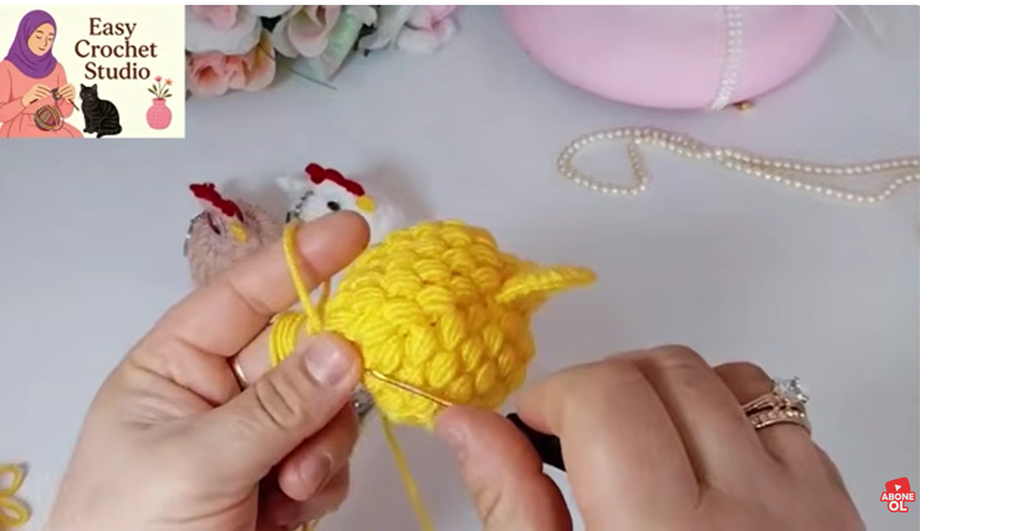
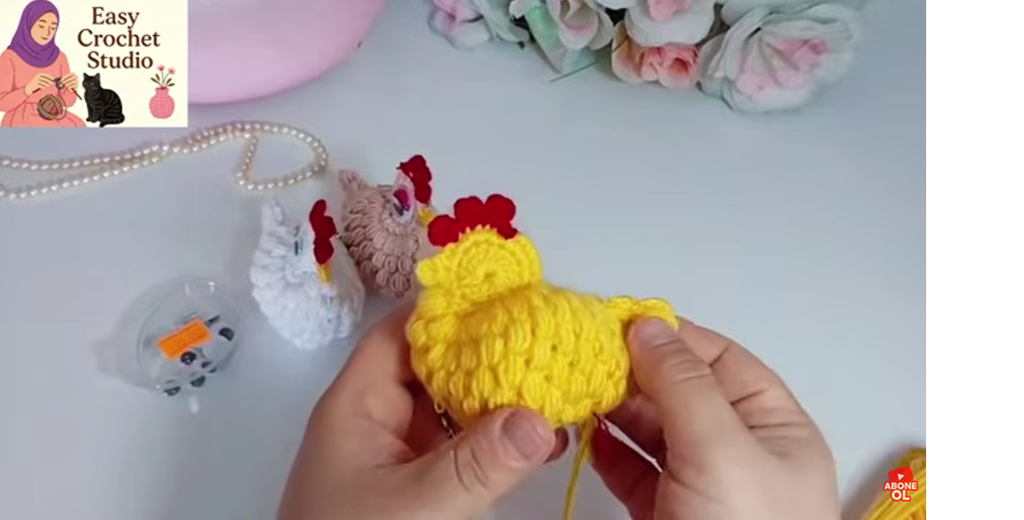
We begin by creating a magic ring to start the base. The textured look of the chicken is achieved by working the puff stitch pattern. To make a puff stitch, yarn over, insert your hook into the stitch, and pull up a loop to the height of your working stitches. Repeat this process multiple times in the same stitch before yarning over and pulling through all the loops on your hook to close. Work in continuous rounds, increasing gradually until you achieve a plump, spherical body.
2. Adding Safety Eyes and Stuffing
Before closing the top of the body, it is time to give your chicken some personality. Insert the 6 mm or 8 mm safety eyes between the designated rows, spacing them evenly apart on the front face. Snap the plastic washers tightly onto the back to secure them. Once the eyes are locked in, stuff the body firmly with fiberfill. Make sure it is round and squishy, but be careful not to overstuff so your stitches don’t stretch open.
3. Crocheting the Red Comb and Embroidering the Beak
After decreasing your stitches to close the top of the head, attach your red yarn to the very top center. Crochet a series of small puff stitches or chain loops directly onto the head to form the chicken’s red comb (crown). Next, take your orange or yellow yarn and use a yarn needle to embroider a simple inverted triangle stitch right between the eyes to create a cute little beak.
4. Attaching the Keychain Ring
To finalize your project, use your yarn needle to firmly sew the base of the metal keychain chain to the top of the chicken’s head, right behind the red comb. Knot the yarn securely, hide the remaining tails inside the amigurumi body, and snip off the excess. Your adorable puff stitch chicken keychain is officially complete!
🌟 Quick Crochet Tips for Beginners
- Keep your tension slightly tight when working amigurumi so that the fiberfill stuffing does not peek through the holes of your puff stitches.
- Experiment with variegated or velvet yarns to create unique, colorful variations of this chick pattern!
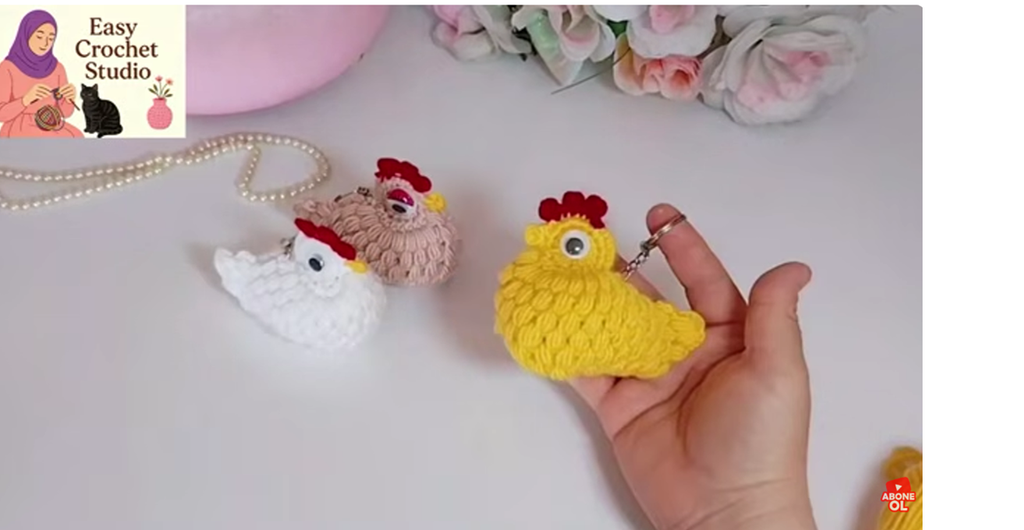
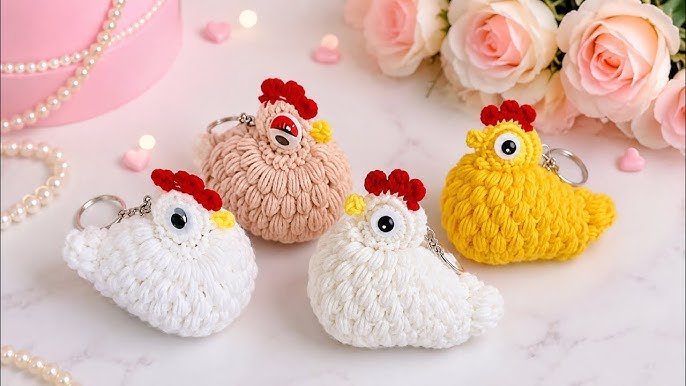
There you have it! In just about thirty minutes, you have turned a few yarn scraps into a wonderfully textured puff stitch crochet chicken keychain. This project is not only an excellent way to clear out your yarn stash, but it also makes a lovely, heartfelt gift that anyone would be happy to clip onto their backpack or keys. Because it is so fast and budget-friendly to make, we highly recommend whipping up a whole flock in different colors. Soft pinks, sunny yellows, and classic whites look absolutely beautiful together, especially if you are setting them up on a craft fair display table. Now, it is your turn to grab your hook and start crafting. Let us know in the comments section what color combination you chose for your flock, and feel free to share your finished photos with our community on social media. Happy crocheting, and we look forward to seeing you in our next free pattern tutorial here on knittingpatternsdiy.com!
How to Crochet a Cute Chicken Keychain | Easy Amigurumi Tutorial for Beginners 🐔


