
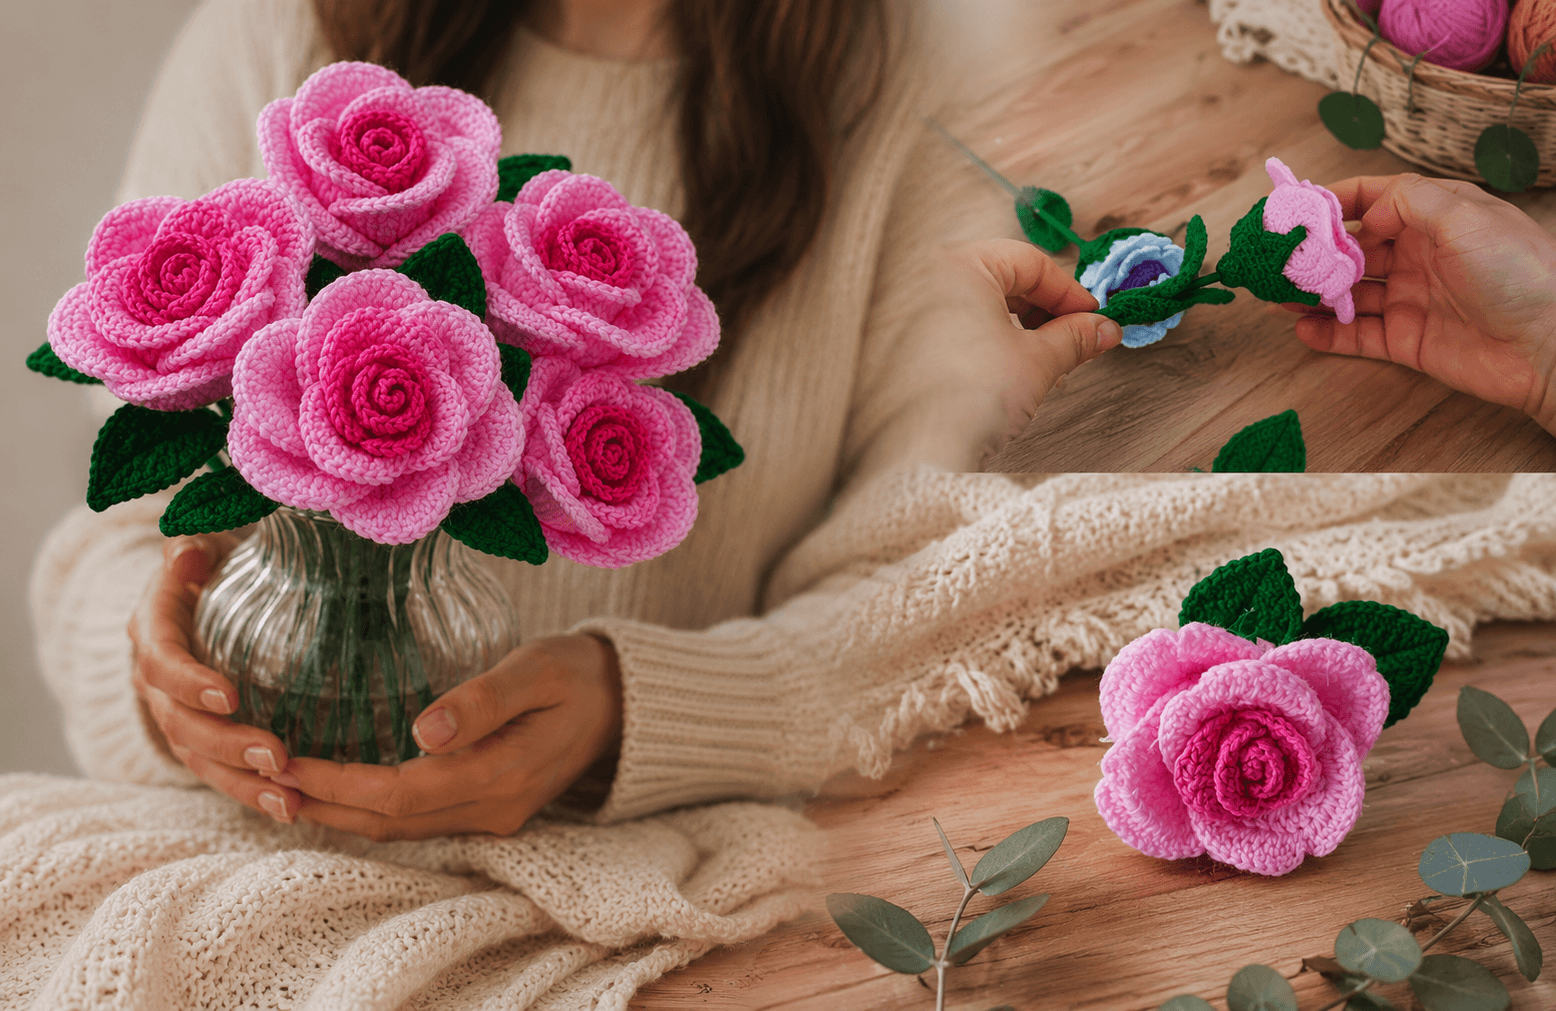
Hello everyone! Today, I am here with a wonderful project that is the most elegant of handmade crafts, and the ultimate choice for home decor and gifting: How to Crochet a 3D Rose!
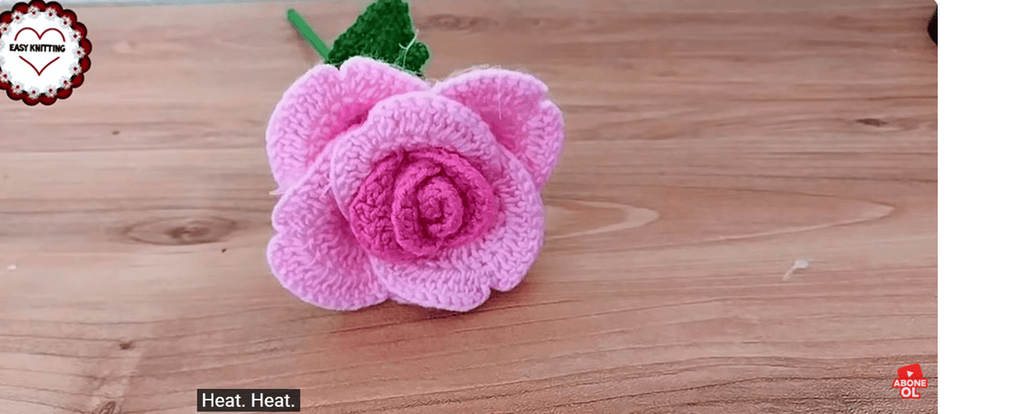
Crocheting those layered, voluminous, and realistic pink roses you see in the image is actually much easier than you think. If you want to create a crochet rose bouquet that never fades and will brighten up your home in every season, you are in the right place. Whether you are a beginner just starting your crochet journey or an experienced crafter, this detailed guide will help you create a masterpiece step-by-step. Let’s grab our supplies and get started!
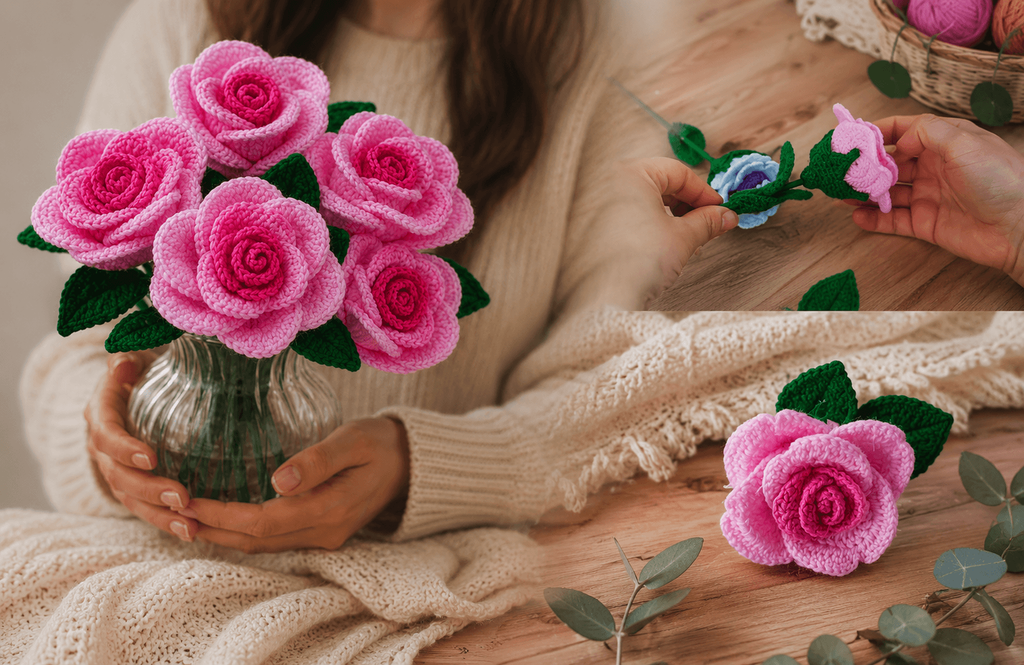
How to Crochet a Realistic Rose
Required Materials
Choosing the right materials is important for that your crochet work stands upright, looks full, and maintains its shape for a long time:
- Yarn: Two different shades of pink yarn for the rose petals (light pink for the outer layers and fuchsia/dark pink for the center) and a dark green yarn for the leaves. Amigurumi yarn (cotton/acrylic blend) is ideal because it does not pill.
- Crochet Hook: A 2.5 mm or 3.0 mm crochet hook, depending on your yarn thickness.
- Flower Stem Wire: Green-coated florist wire to turn your roses into a bouquet and keep them standing upright.
- Fiberfill: A small amount of stuffing to fill the center bud slightly and give it a 3D volume.
- Hot Glue Gun: To secure the crochet strip while wrapping it into a rose shape and to attach the leaves to the stem.
- Yarn Needle & Scissors: For weaving in the loose ends and trimming the yarn.
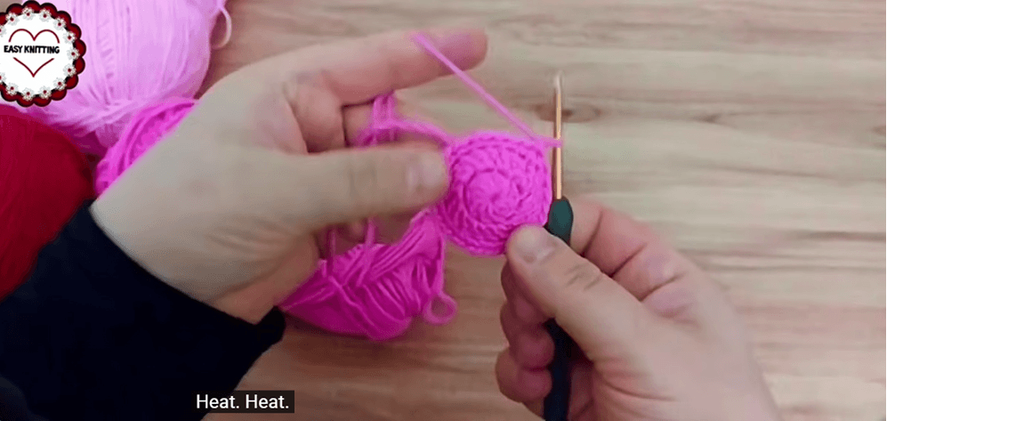
Step-by-Step Crochet Rose Instructions
1. The Rose Petals
Instead of crocheting individual petals one by one, we will crochet a single long strip and then wrap it together. This technique is incredibly practical and gives the rose a very natural volume.
- The Foundation Chain: Start with your dark pink yarn and make 60 chains.
- Row 1 (Creating the Bases): Yarn over, insert the hook into the 4th chain from the hook, and work a double crochet. Chain 2, and work another double crochet into the exact same stitch (forming a V-shape). Skip 2 chains, and repeat this process in the next stitch. Continue this pattern until the end of the row to create a grid of V-stitches.
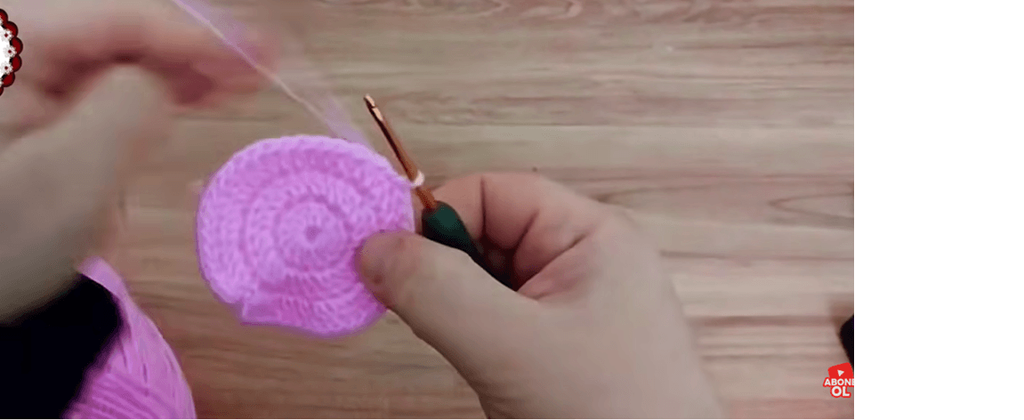
- Row 2 (Growing the Petals): Switch to your light pink yarn. Inside each V-stitch gap from the previous row, work 2 double crochets, chain 2, and work 2 more double crochets.
- Row 3 (The 3D Petal Shape): Without chaining between the gaps, work 8 or 9 double crochets inside every single chain-2 space. This step is what creates that beautiful, wavy, and curled texture of real rose petals. Fasten off and cut the yarn at the end of the row.
2. Assembling the Rose
- Take the dark pink starting end of your long wavy strip and secure it to the tip of your florist wire using hot glue.
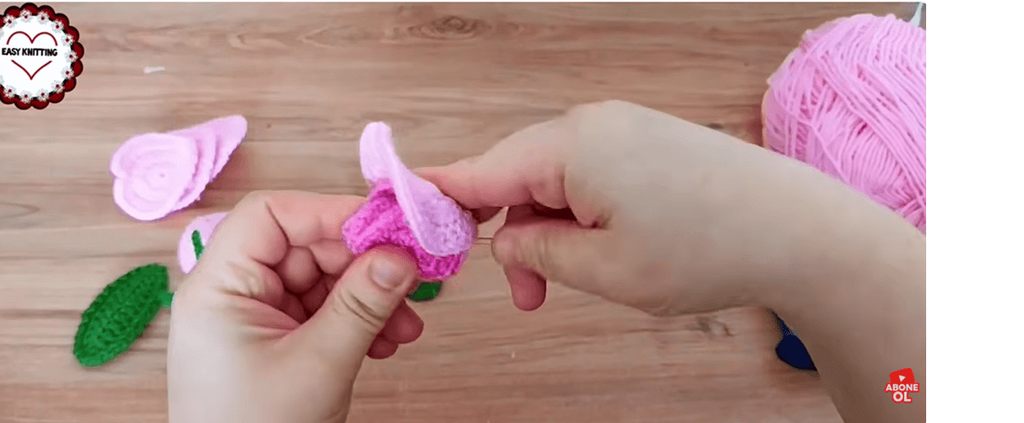
- Place a tiny bit of fiberfill stuffing in the very center, then slowly and gently wrap the crochet strip around itself without pulling too tightly.
- Secure the bottom base with hot glue after every few wraps to create layered petals that open outward naturally. Your 3D rose is ready!
3. Crochet Leaves & Sepal
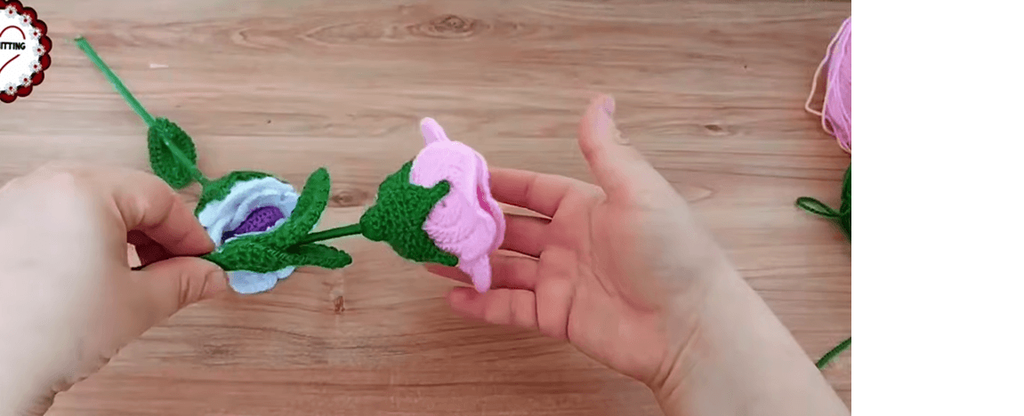
- The Sepal: Make a magic ring with your green yarn, work 6 single crochets inside, and increase each row to form a small cone. At the tips of the cone, chain 5 and slip stitch back down to create sharp, pointed sepal leaves. Slide this piece up through the stem wire and glue it to the base of the rose.
- The Leaves: For the leaves, chain 15 and work single crochets, half double crochets, and double crochets along the chain to shape a leaf. If you crochet over a thin wire while making the leaf, you will be able to bend and curve them elegantly, just like in the photo. Wrap and secure the leaves onto the main stem wire.
Once you complete all your roses, you can place them into a stylish glass vase to decorate the most beautiful corner of your home, or wrap them up as a stunning handmade gift for your loved ones. Happy crocheting to everyone who tries it! Don’t forget to share your questions and results in the comments section below.
crochet rose pattern, easy crochet flower, step by step crochet, 3d crochet rose, amigurumi flower bouquet, handmade rose craft, how to make crochet flowers
Crochet Rose Bouquet in Glass Vase | Easy DIY Pink Rose Flower Arrangement Tutorial


1 thought on “How to Crochet a Realistic Rose: Step-by-Step 3D Rose Flower”
Comments are closed.