
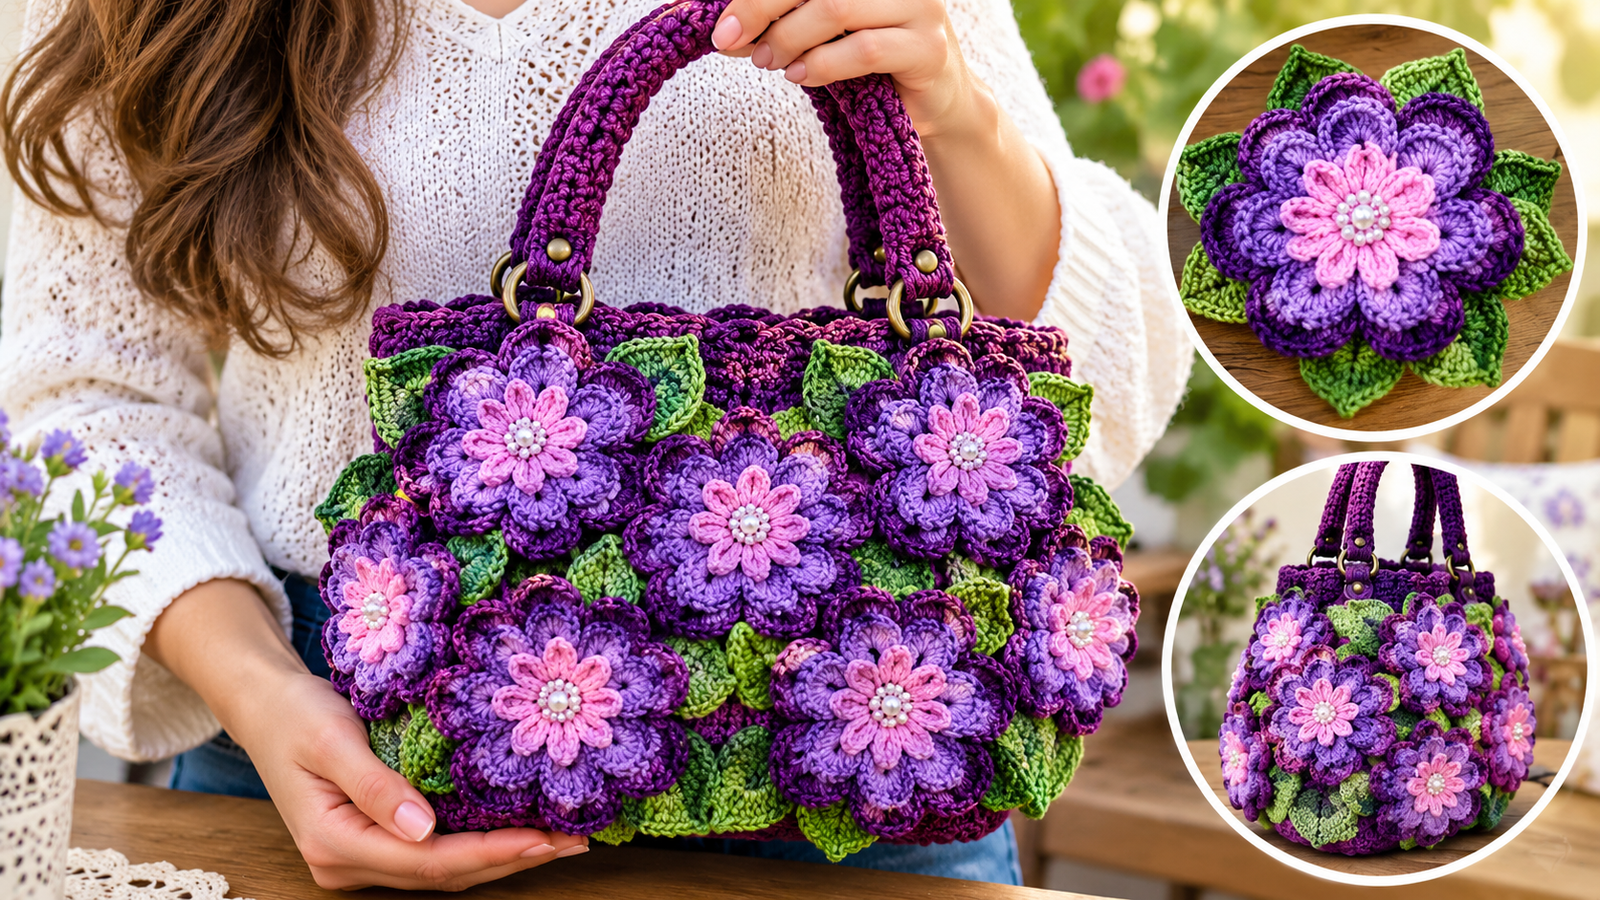
Essential Supplies and Project Materials
Light Lilac Petals First Layer: Color 6399
Deep Orchid Purple Petals Second Layer: Color 6375
Variegated Meadow Green Leaves: Color 9392
Coral Peach Central Rosette: Color 3536
Embellishments: 10 pieces of size 8 mm pearls and 1 piece of size 12 mm central pearl.
Notions: Tapestry needle for assembly, fine embroidery scissors, and a traditional sewing thread.
Step by Step Motif Instructions
Phase 1: The First Petal Layer Lilac
Foundation Ring: Chain 8 using your light lilac yarn and join with a slip stitch SL ST.
Base Row: Chain 3 counts as 1 DC then work 23 double crochets into the ring to complete a solid circle of 24 stitches.
Expansion: Work a round of single crochets SC with a strict calculation pattern: 2 SC, 1 increase 2 SC in one stitch around to create 32 stitches.
Petal Loops: Chain 8, skip 3 stitches, secure with a SL ST. Repeat this rhythm to form exactly 8 uniform base loops.
Filling Petals: Fill each loop by working 17 DC stitches inside the loop space 18 DC total per petal counting the chain.
Finishing Petal Edge: Work 1 SC over every double crochet to give the edge a clean non curling border. Fasten off.
Phase 2: The Deep Purple Layer and Foliage
The Second Layer: Attach your dark purple thread to the back post of the lilac layer. Work a longer loop sequence: Chain 11, skip 8, SL ST into the 9th. Fill these larger back loops with 21 DC stitches to offset a second tier of petals directly between the first row.
Pointed Leaves: Attach the variegated green thread behind the second petal tier. Chain 12, skip 9, SL ST into the 10th. Fill the loop with 23 DC. When working the SC border on the leaves place an accent peak at the center apex 2 SC, chain 2, 2 SC in the 12th stitch to create a crisp leaf point. Fasten off.
Phase 3: The 3D Pearl Core Assembly
Mini Rosettes: Using the coral yarn chain 11 and form a ring. Work 5 DC then in the 6th stitch work 2 DC, chain 2, 2 DC follow with 5 DC on the other side. Crochet 8 matching elements.
Flower Core: Thread a sewing needle and pass it through the base of all 8 coral loops. Pull the thread tight and tie a knot to bunch them into a dense rosette ring.
Pearl Wreath: Sew the large 12 mm pearl dead center. String the ten 8 mm smaller pearls onto a secondary thread form a perfect ring and tie it snugly around the large central pearl.
Final Attachment: Pass the structural threads of this completed pearl core through the center hole of your main lilac purple flower tie it securely at the back and weave in your ends. Always wet block your completed Agate Flowers flat to perfectly align the layered petals.
Flor Ágata em crochê com Maria José


