
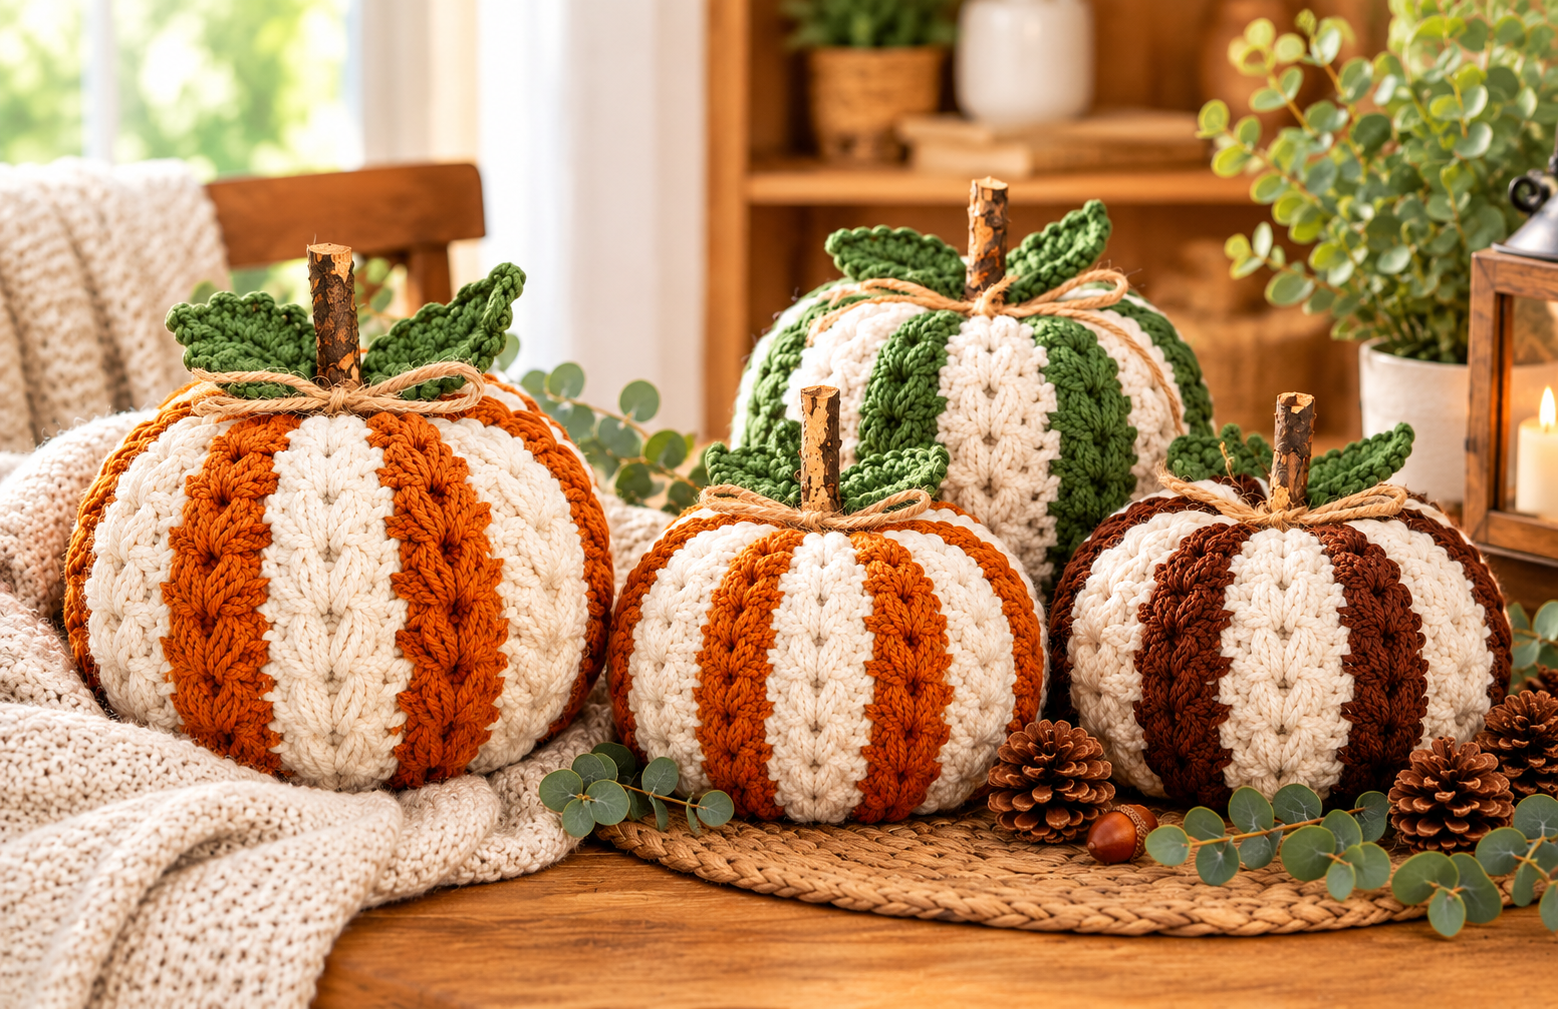
How to Crochet a Textured Farmhouse Braided Pumpkin: Free Pattern
Fall is the perfect season to bring warmth, texture, and cozy vibes into your home. If you love rustic charm and modern cottage aesthetics, this farmhouse braided crochet pumpkin is the ultimate weekend project. Unlike traditional smooth crochet pumpkins, this design features stunning, raised braided columns that mimic the look of high-end boutique decor.
Whether you are looking to spruce up your Thanksgiving dinner table, decorate your mantlepiece, or create a thoughtful handmade gift, this texture-rich pumpkin is an absolute showstopper. The best part? By simply altering your yarn colors, you can easily transition from vibrant traditional autumn orange to muted, soft neutral tones that look great all year round.
In this free DIY guide, we will break down everything you need to create your own beautiful autumn accents, including the exact materials, step-by-step logic, and professional finishing tricks.
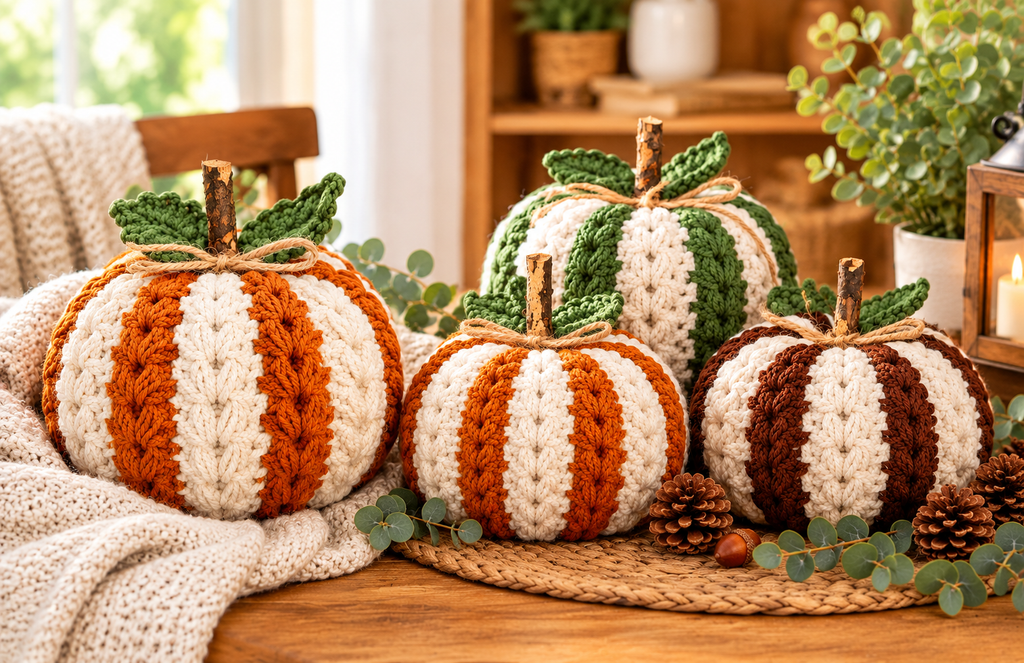
farmhouse braided crochet pumpkin
The Secret to the Farmhouse Braided Texture
The gorgeous, thick ridges on this pumpkin are created using a unique combination of two fundamental stitches: the Half Double Crochet (HDC) and the V Puff Stitch.
To get that distinct, sharp transition between the braided columns and the body of the pumpkin, you will work your half double crochets strictly into the third loop. Working into the third loop pushes the normal top “V” of the stitch completely to the front. This creates a beautiful, braided horizontal chain effect that separates your textured sections.
If you are a beginner and find it tricky to locate the third loop, do not worry! You can easily substitute it by working into the back loops only (BLO). While the texture will be slightly softer, your pumpkin will still retain a lovely, ribbed farmhouse style.
Clever Crafting: The “No-Gap” Stuffing Trick
One common issue crafters face when making crochet pumpkins is that the white polyester fiberfill can sometimes peek through the stitches, especially when using looser yarn tension or textured designs like puff stitches.
To keep your work looking incredibly neat and professional, try the nylon sock trick. Before inserting your loose stuffing directly into the crochet shell, take an old nylon stocking or a color-matched sock and place it inside the pumpkin body first. Fill the sock with your polyester fiberfill, shape it gently into a flat donut or disc shape, tie it off, and tuck the ends inside. This creates a secure internal bladder that completely hides the white fluff, ensuring your contrast colors pop without any messy distractions.
Finishing Touches: Stem, Leaves, and Vines
A great crochet project is all about the details. Once your pumpkin body is tightly closed and secured with a deep central indent to give it that authentic, squashed look, it is time for the finishing touches.
You have two wonderful stylistic routes to choose from:
- The All-Yarn Route: You can follow our quick companion pattern to crochet a custom structured stem using a camel or beige tone worked in continuous rounds, paired with a multi-pointed green leaf.
- The Rustic Woodland Route: For a more organic, modern farmhouse look, skip the crochet hook and grab a real cinnamon stick or a dry piece of driftwood from the garden. Secure it into the center with a hot glue gun, and tie a simple bow using rustic jute twine or brown ribbon.
No matter which style you choose, this project is bound to add the perfect touch of handmade comfort to your autumn seasonal styling. Happy crocheting!
🛒 Required Materials & Tools
- Yarn: #4 Worsted Weight Acrylic Yarn (Two contrasting colors for the two-tone braided effect, or one solid color for a monochromatic look).
- Crochet Hook: 5.5 mm (Size I) crochet hook (or a 5.0 mm hook if you tend to crochet loosely).
- Stuffing: High-quality Polyester Fiberfill.
- Notions: Tapestry needle (darning needle with a large eye), sharp scissors, and safety pins or stitch markers.
- Optional Decor: Real wooden stick, cinnamon stick, hot glue gun, and natural jute twine.
Easy Pumpkin Crochet Pattern | 2 Sizes | Step-by-Step Tutorial Farmhouse Braided Crochet Pumpkin


