
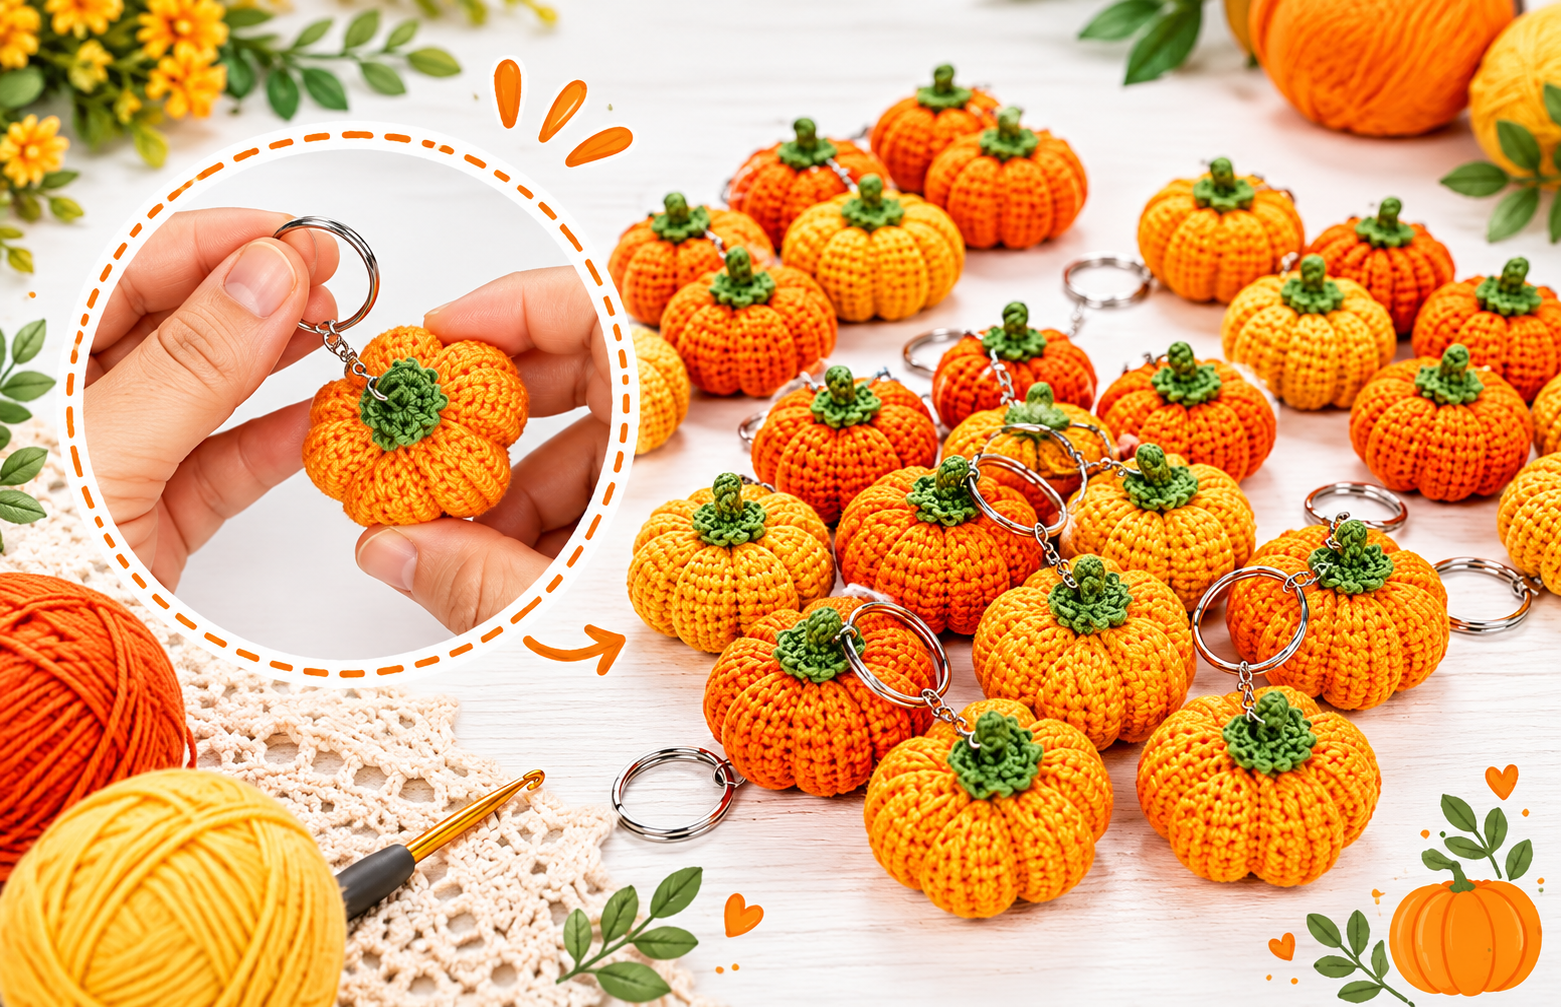
Autumn is the perfect season to get cozy with your crochet hooks and leftover yarn scraps. If you are looking for a quick, cute, and beginner-friendly fall craft, making a mini amigurumi pumpkin keychain is the ultimate stash-buster project. In less than 20 minutes, you can create a beautiful handmade accessory that is perfect for autumn decor, Halloween gifts, or selling at local craft fairs.
This step-by-step guide will walk you through the essential materials and the simple process of crafting your own festive pumpkin companion.
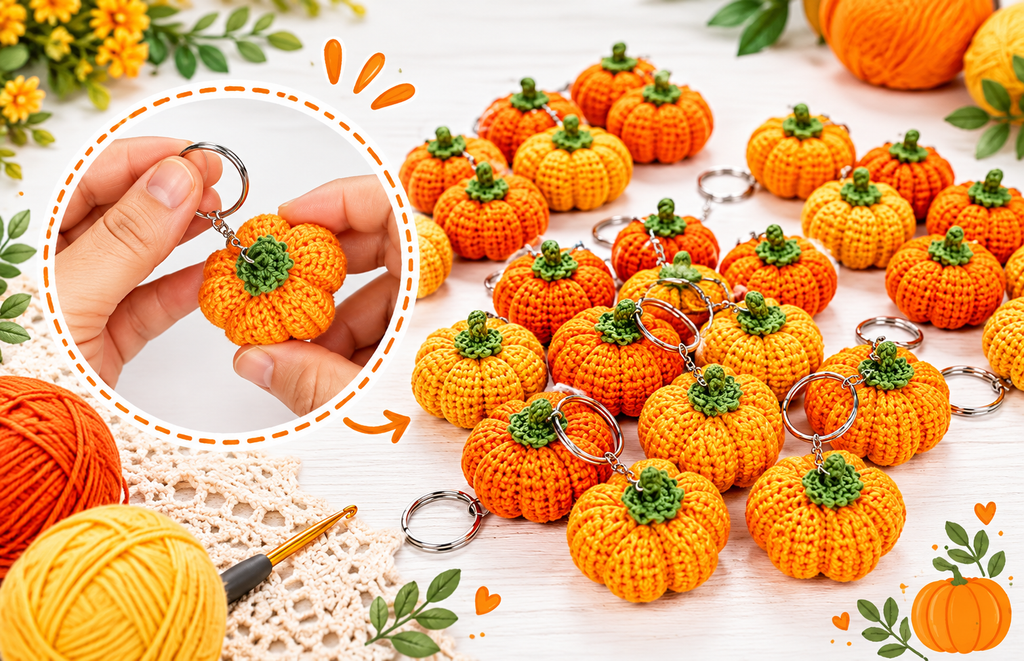
How to Crochet a Mini Pumpkin Keychain
Required Materials and Tools
Before jumping into the pattern, gather the following supplies to ensure a smooth crocheting experience:
- Yarn: High-quality cotton or acrylic sport weight yarn. You will need orange for the main pumpkin body and a small amount of green for the top stem.
- Crochet Hook: A 2.5 mm or 3.0 mm hook, depending on your yarn weight and personal tension. A smaller hook helps keep the stitches tight so the stuffing doesn’t show through.
- Fiberfill: Premium polyester stuffing to give your mini pumpkin its signature plump, bouncy shape.
- Keychain Hardware: Metal keychain rings with short chains attached for easy assembly.
- Essential Tools: A sturdy yarn needle for weaving in ends, a reliable stitch marker to keep track of your continuous rounds, and a sharp pair of scissors.
Step-by-Step Crochet Pumpkin Guide
- Crafting the Pumpkin Body
To begin your pumpkin, you will start with a basic magic ring (magic circle) using your orange yarn. Work a series of single crochets into the ring, and then follow a continuous round pattern of gradual increases. This creates a flat, circular base that slowly expands into a rounded, bowl-like shape.
Once you reach the maximum width, work a few even rounds without any increases to build the height of your pumpkin. Next, begin the decreasing rounds. Before the opening becomes too small, firmly stuff the body with your polyester fiberfill. Continue decreasing until the opening is almost closed, leave a long tail of yarn, and cut it.
- Creating the Iconic Pumpkin Ribs
The secret to making your amigurumi look like a real pumpkin lies in sculpting the ribs. Thread your long orange yarn tail onto your yarn needle. Pass the needle straight through the center of the pumpkin from the bottom to the top, then wrap the yarn around the outside of the body and pull it back through the center. Repeat this process 5 to 6 times around the sphere, pulling tightly each time. This creates distinct indents that mimic natural pumpkin ridges. - Adding the Green Stem and Keychain
Switch to your green yarn to crochet a tiny stem. A simple chain of 4 or 5 stitches, followed by slip stitches back down the chain, creates a perfect little stem. Sew this stem securely onto the top center of your pumpkin. Finally, open the jump ring of your metal keychain, loop it through the top stitches right next to the stem, and close it tightly with pliers.
Your adorable mini pumpkin keychain is now complete and ready to bring autumn vibes wherever you go!
How to Crochet a Mini Pumpkin Keychain | Easy Amigurumi Tutorial for Beginners 🎃


1 thought on “How to Crochet a Mini Pumpkin Keychain: Easy Amigurumi Tutorial”
Comments are closed.