
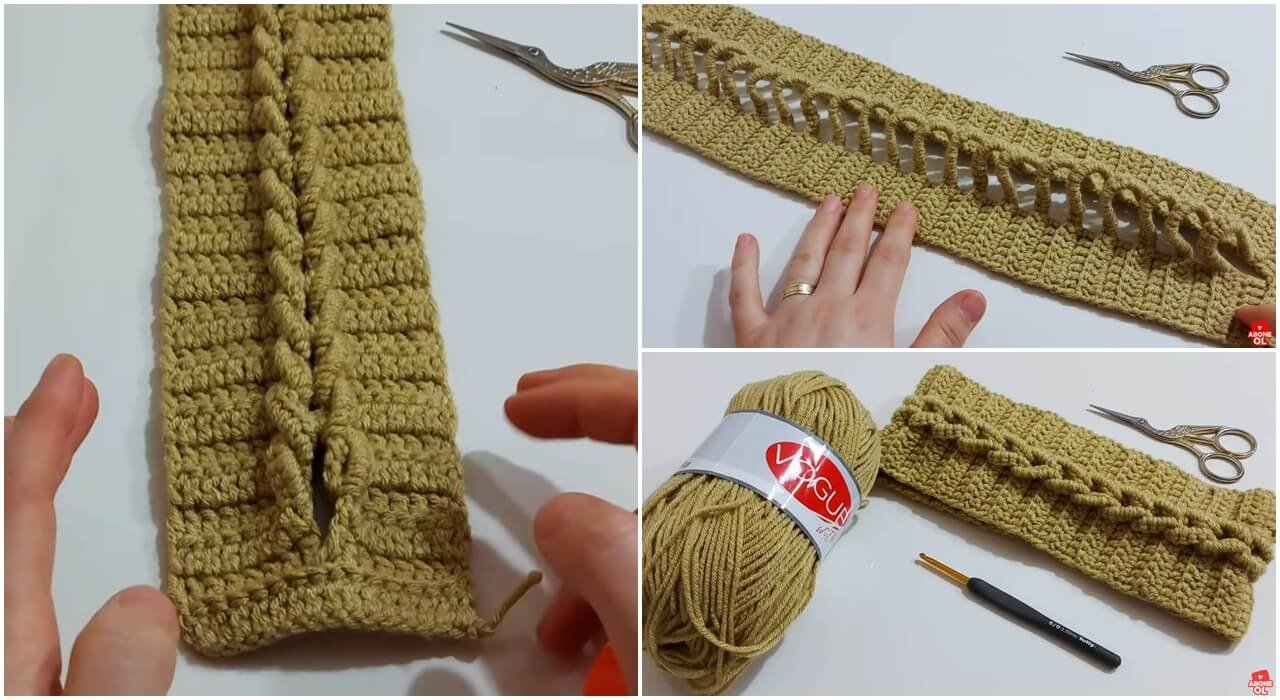
Hey there, fellow makers! Welcome back to my cozy corner of the internet. If you are looking for a quick, satisfying, and absolutely gorgeous project to kickstart your weekend, you have come to the right place.
Today, we are diving into one of my absolute favorite accessories: the easy crochet braided headband. Trust me, if you can drop a few basic stitches, you can totally crush this pattern. It looks super intricate—like you spent days working on complex cable work—but the secret is all in a clever twisting technique at the very end.
Whether you want to keep your ears warm during chilly morning walks, create a thoughtful handmade gift, or whip up some stock for your next autumn craft fair, this twisted crochet headband is going to be your new go-to project.
Let’s grab our hooks, put on a favorite movie, and get stitching!
Why You’ll Love This Crochet Ear Warmer Pattern
Before we jump into the yarn, let’s talk about why crochet headbands are taking over the crafting world right now. First off, they are complete instant gratification. Unlike a massive blanket or a complex sweater, a crochet ear warmer pattern takes less than two hours from the first slip knot to weaving in the final tails.
Second, they are incredible stash-busters. We all have that one lone skein of beautiful yarn sitting at the bottom of our basket, waiting for the perfect project. This is it! You only need a fraction of a skein to finish this piece. Plus, the final twisted braid detail adds a modern, retail-ready texture that instantly upgrades any casual outfit.
The Magic Materials List
To get started on your own braided headband, you will need to gather a few basic supplies. Don’t worry, nothing fancy is required here!
- Yarn: 1 skein of Medium weight yarn (Category 4 / Worsted weight). I highly recommend a soft acrylic or a wool blend for ultimate warmth and stretch.
- Crochet Hook: A 4.5 mm or 5.0 mm (H-8) hook. Check your yarn label, but a 5mm usually gives the best drape and flexibility.
- Scissors: A sharp pair for snipping your yarn ends.
- Yarn Needle: Also known as a tapestry needle, vital for sewing that beautiful twisted seam together.
- Stitch Markers (Optional): Super helpful if you tend to lose track of your first or last stitches in a row.
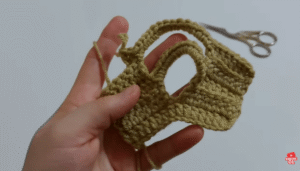
Top Tips for Crochet Beginners
If you are new to the world of crochet, don’t feel intimidated by the cable-like appearance of this headband. Here are three quick pro-tips to guarantee success:
- Watch Your Tension: Try to keep your stitches relaxed. If you pull your yarn too tight, the headband will lose its comfy stretch and feel stiff against your head.
- Count Your Stitches: It is incredibly easy to accidentally drop a stitch at the end of a row, making your headband look uneven. Take an extra five seconds to count at the end of each row.
- The Seam is Everything: The magic happens during the assembly. Take your time folding the ends together to get that perfect, seamless twist.
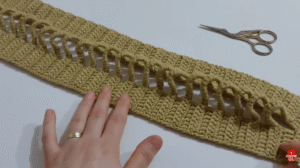
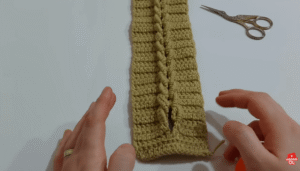
Final Thoughts
There is nothing quite like the feeling of wearing something beautiful that you made with your own two hands. This easy crochet braided headband is practical, stylish, and so much fun to make. Once you finish your first one, you will want to make them in every single color of the rainbow!
If you enjoyed this pattern, make sure to leave a comment below and share your progress. I absolutely love seeing your finished projects. Happy crocheting, everyone!
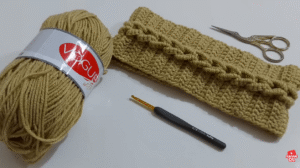
Easy Crochet Braided Headband / Crochet Headband Tutorial
Please follow and like us:


1 thought on “Easy Crochet Braided Headband / Crochet Headband Tutorial”