
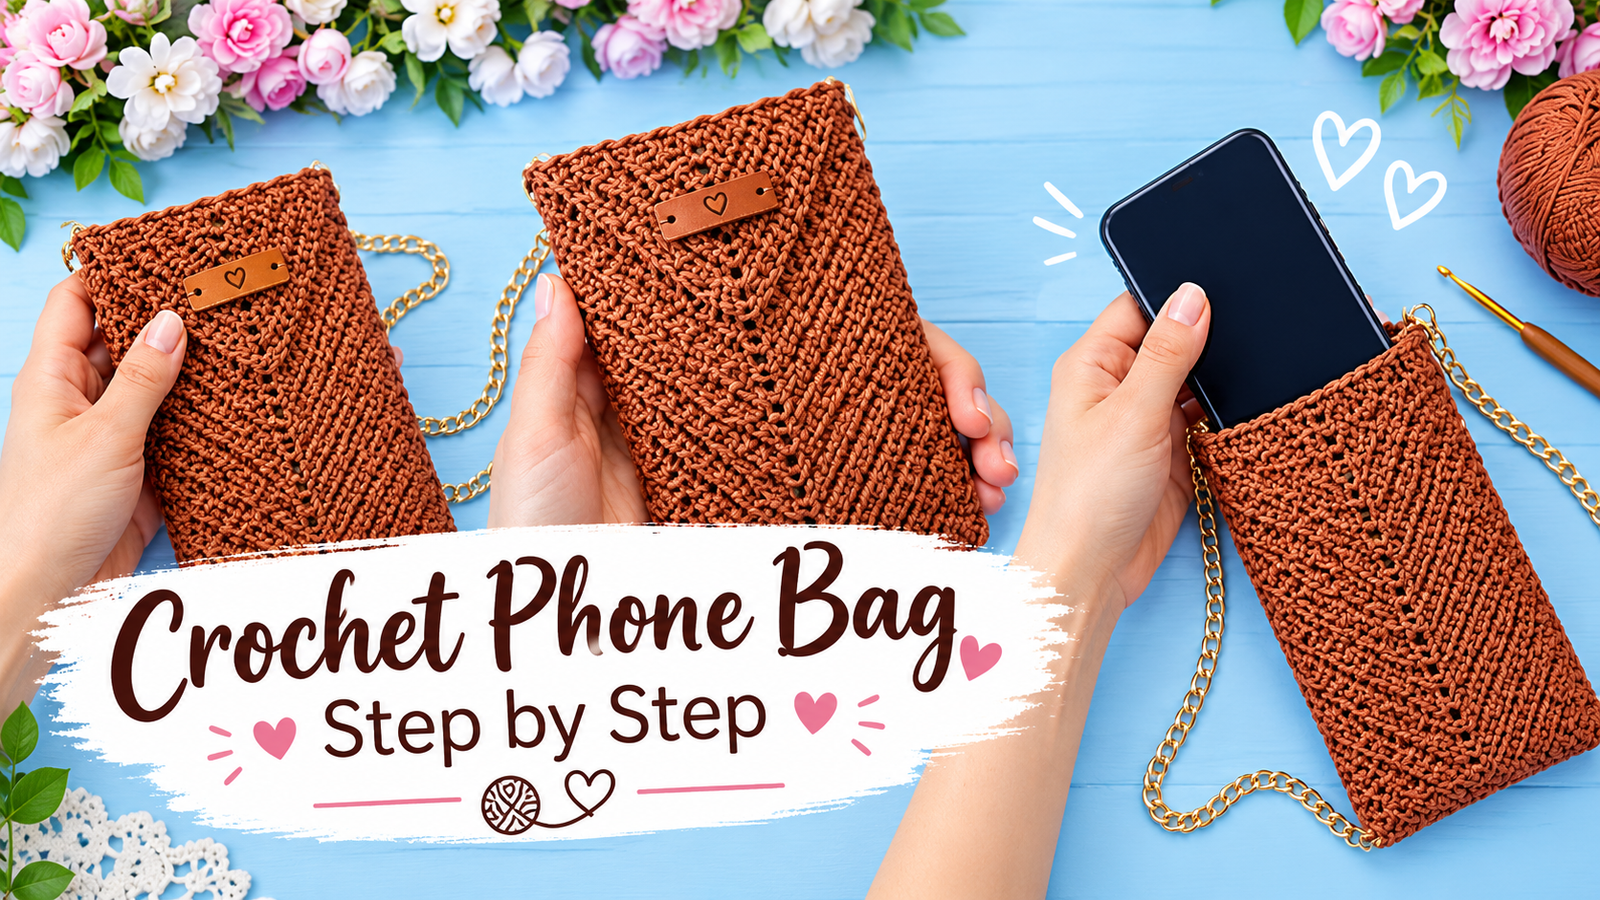
Are you looking for a trendy, practical, and beginner-friendly crochet project? This DIY Chevron Crochet Phone Bag is the perfect solution. Whether you want to create a stylish accessory for yourself or craft a thoughtful handmade gift for friends and family, this step-by-step guide will walk you through the entire process.
Using an elegant chevron and v-stitch pattern, this phone pouch is designed to hold your smartphone, cards, and daily essentials securely while adding a touch of handmade charm to your outfit.
Why You’ll Love This Crochet Phone Purse
- Beginner-Friendly: The pattern utilizes foundational stitches that are easy to master, making it a stress-free project for novice crocheters.
- Quick to Make: Thanks to the thick, durable yarn choices, you can finish this chic purse in just one afternoon.
- Highly Customizable: You can easily swap yarn colors, adjust the strap length, or add unique hardware to match your personal style.
Materials and Tools Needed
Before casting on your first stitch, gather the following high-quality materials to ensure your phone bag turns out sturdy and durable:
🧶 Primary Materials
- Yarn: Approximately 100g of high-quality macrame cord, polyester cord, or t-shirt yarn. Choosing a sturdy yarn helps the bag retain its shape and protect your device.
- Crochet Hook: A 3.5 mm or 4.0 mm hook, depending entirely on the thickness of your chosen yarn and your personal tension preferences.
⛓️ Essential Accessories
- Metal Chain Strap: A sleek metallic crossbody chain to transform your pouch into a wearable purse.
- D-Rings: Two small D-rings to securely attach the metal chain strap to the sides of your bag.
- Leather Label: A “Handmade” leather label to give your finished project a polished, boutique-level aesthetic.
✂️ Required Tools
- Craft Scissors: For clean cuts when finishing your yarn.
- Tapestry Needle: To weave in loose ends and cleanly sew the D-rings and leather label onto the body.
- Lighter: Crucial if you are utilizing polyester cord; use it to carefully melt the raw cut ends to prevent unravelling.
Step-by-Step Crochet Instructions
1. Designing the Base
To begin your chevron phone purse, you will start by creating a foundation chain that matches the width of your phone. Always add an extra centimeter of clearance so your phone slides in and out effortlessly. Crochet in a continuous oval shape around both sides of the foundation chain to establish a seamless bottom tracker.
2. Building the Chevron V-Stitch Pattern
Once your solid base is established, transition directly into the chevron design. The beautiful texture is created by working combinations of double crochets, skipping specific chains to form the valleys, and placing multiple stitches into a single chain to form the peaks. Repeat this rhythmic wave pattern round after round to build up the height.
3. Attaching Hardware and Finishing Touches
When the pouch matches the exact height of your smartphone, fasten off your yarn and cleanly weave in the remaining tails with your tapestry needle. Position the D-rings on the upper interior edges of both sides and sew them down securely. Clip on your metal chain strap, stitch your signature leather label onto the front center, and your custom phone purse is officially ready for use!
DIY Crochet Chevron Phone Purse | Easy Crochet Phone Pouch for Beginners
Please follow and like us:


