
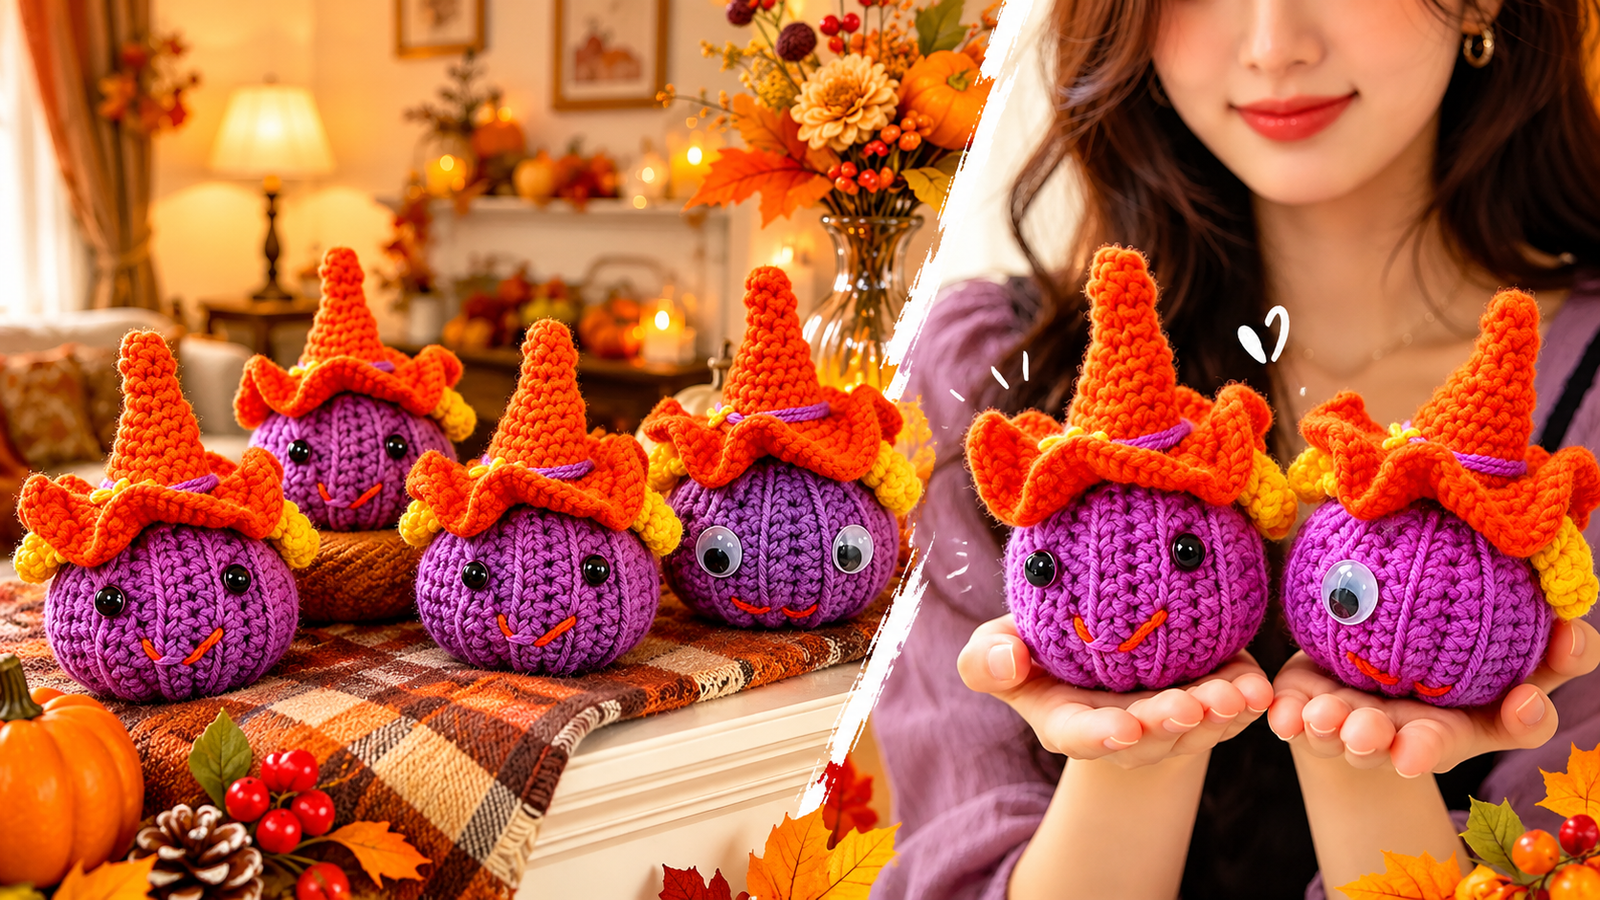
Welcome to the ultimate autumn craft project! As the spooky season approaches, there is no better way to celebrate than by making your own handmade decorations. In this comprehensive guide, we are sharing a delightful, beginner-friendly pattern for an Amigurumi Pumpkin Witch.
Combining the classic charm of a fall pumpkin with a whimsical witch hat, this soft plushie adds a perfect touch of cozy magic to your home. Whether you want to spice up your living room mantle, create a spooky keychain, or surprise a loved one with a unique holiday gift, this step-by-step crochet tutorial has you covered.
Crocheting your own holiday decor is not only cost-effective but also incredibly therapeutic. This pattern is structured specifically for beginners and intermediate crocheters who want to practice basic shaping, color changes, and assembly techniques. Let’s dive into the required supplies and get your hooks ready!
Complete Materials Checklist
Before you pick up your hook, gather these essential supplies to bring your pumpkin witch plushie to life:
- Yarn (Medium Weight / Worsted Weight / Size 4): You will need vibrant Purple for the pumpkin body, bright Orange for the iconic witch hat, and Yellow or Red accents for the hat brim and stitched facial details.
- Crochet Hook: A 2.5 mm or 3.0 mm hook works best, depending heavily on your personal yarn tension. Keep your stitches tight to ensure the stuffing stays completely hidden inside.
- Safety Eyes: 8mm or 10mm black safety eyes give the best finish. Alternatively, you can use playful googly eyes for a quirky, animated look as seen in our latest video tutorial.
- Fiberfill / Toy Stuffing: High-quality polyester fiberfill for plumping up your pumpkin and helping the hat hold its shape.
- Essential Notions: A sturdy yarn needle for sewing sections together, sharp scissors, and a reliable stitch marker to track your continuous rounds.
Step-by-Step Pumpkin Witch Amigurumi Pattern Guide
Creating this spooky plushie is an enjoyable weekend project divided into manageable sections. By using basic amigurumi stitches, you can master this pattern effortlessly.
Part 1: The Purple Pumpkin Body
To start your pumpkin, you will begin with a magic ring using your purple yarn. Work six single crochets (sc) into the ring. In the following rounds, you will increase evenly until the circle expands to your desired width.
Next, work several rows of even single crochets to build the height of the pumpkin. Once the height is established, insert your safety eyes between the designated rounds, leaving a few stitches of space between them.
Begin your decrease rounds, stuffing the body firmly with fiberfill before the opening becomes too small. Fasten off, leaving a very long tail. Use the yarn tail to pull deeply through the center and wrap around the outside walls, pulling tightly to create those characteristic, indented vertical pumpkin ridges.
Part 2: The Whimsical Orange Witch Hat
Switch over to your orange yarn to craft the pointed witch hat. Start with a magic ring and work four single crochets. Increase slowly over the next few rounds to create a sharp, neat cone shape.
Once the cone reaches the proper length, switch briefly to your yellow or red accent yarn to crochet a contrasting band row. Switch back to orange and work increases into the front loops only (FLO) to flare out the dramatic brim of the hat. Fasten off and leave a long tail for sewing.
Assembly and Final Touches
Stuff the witch hat lightly with fiberfill to help it maintain its structure. Position the hat squarely on top of the purple pumpkin body and sew it securely in place using your yarn needle.
To finish, use a scrap of red or yellow yarn to embroider a cute, smiling mouth just below the safety eyes. Your adorable handmade creation is ready to display!
How to Crochet a Pumpkin Witch Amigurumi | Easy Halloween Crochet Tutorial
Please follow and like us:


