
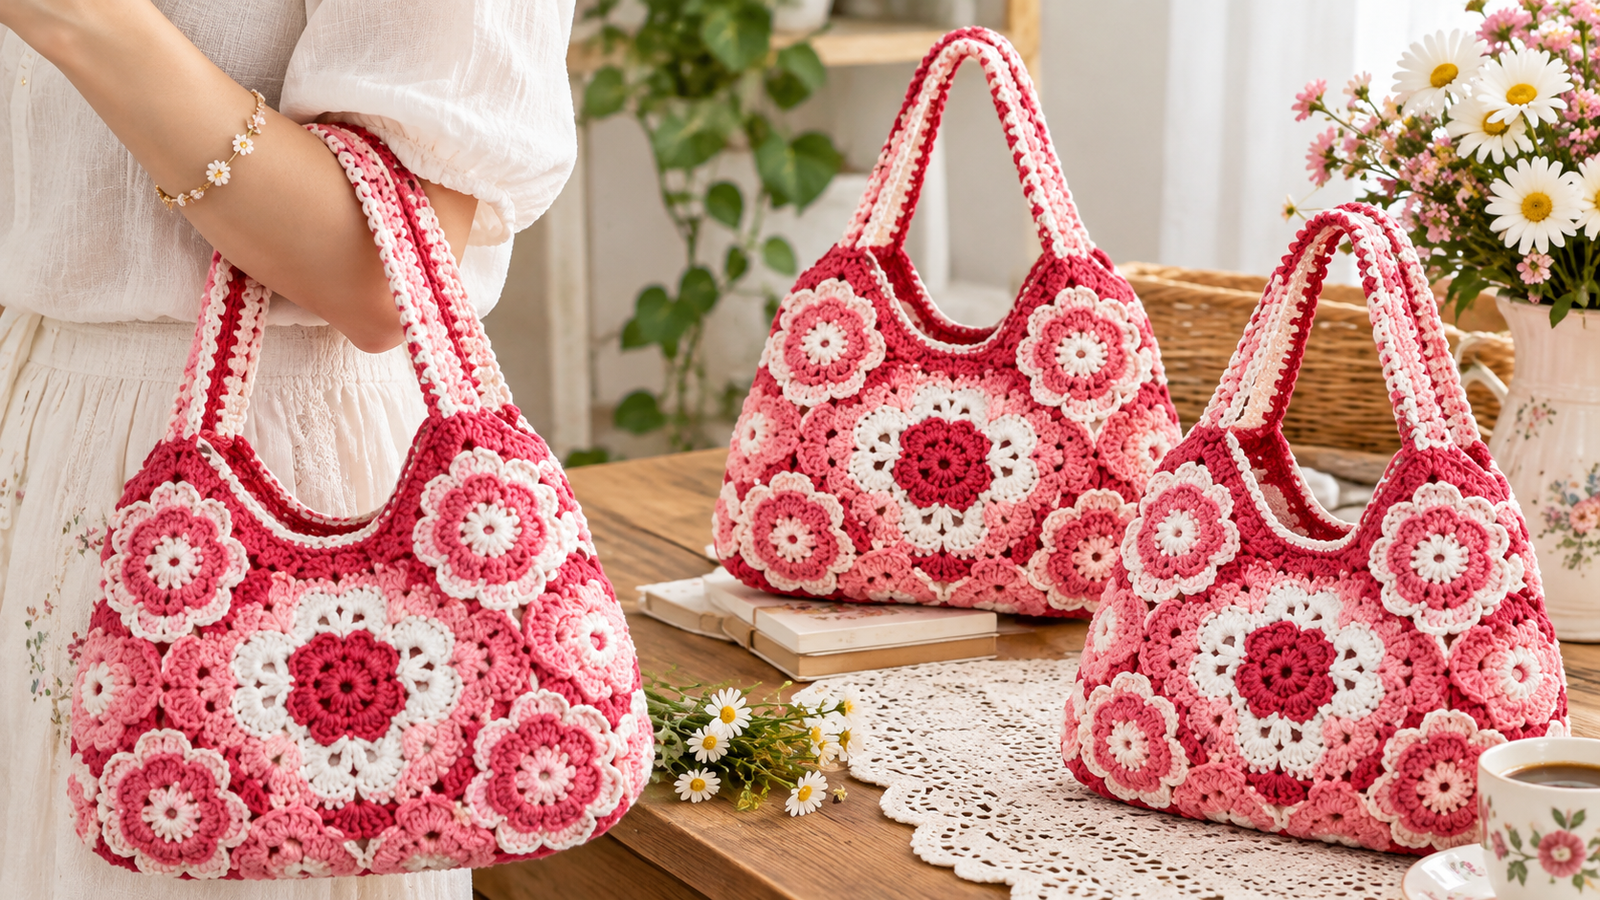
Are you looking for a trendy, beautiful, and highly rewarding crochet project to add to your accessory collection? Learning how to crochet a 3D flower granny square bag is the ultimate way to combine functional fashion with your passion for yarn crafts. These stunning floral bags have taken the fashion world by storm, offering a beautiful vintage look with a modern, texture-rich twist.
Whether you want to create a vibrant summer tote bag, a charming gift for a loved one, or a standout product for your craft fair shop, this beginner-friendly guide is exactly what you need. In this comprehensive DIY tutorial, we will break down everything required to make this lovely accessory from start to finish.
🧶 Materials Needed
Before we dive into the step-by-step process, let’s get your crafting station ready. To create this gorgeous crochet floral bag, you will need the following high-quality materials:
- Yarn: Cotton or Acrylic Worsted Weight Yarn (4 Ply) in 4 contrasting colors. We recommend Dark Pink/Berry, Medium Pink, Soft Pink, and White for a beautiful gradient effect.
- Crochet Hook: A 3.5 mm or 4.0 mm crochet hook, depending on your yarn thickness and tension preferences.
- Scissors: For cutting yarn ends neatly.
- Yarn Needle: Essential for weaving in loose ends and sewing your floral motifs together securely.
- Measuring Tape: To check and maintain consistent square sizes throughout the project.
Step 1: Crafting the 3D Flower Center
The magic of this bag lies in its unique texture. The structure begins with an adorable, dimensional floral center. You will start by creating a magic ring or a small chain loop using your darkest pink yarn. Working into this ring, you will create the first layer of delicate petals using standard stitches like double crochets.
To achieve the signature 3D crochet flower look, you will transition to your medium and soft pink yarns, working stitches into the back loops and building layered rows. This technique forces the petals to pop forward, giving the flower its realistic, blooming appearance.
Step 2: Expanding into a Granny Square Motif
Once your beautiful flower core is complete, it is time to transform it into a workable block. Switch to your crisp white yarn and attach it to the back chains of your outer petal layer.
By strategically placing corner clusters consisting of double crochets and chain spaces, you will seamlessly transition the round shape of the flower into a perfectly square frame. Continue expanding the granny square motif for a few rows until your block reaches your desired dimensions. Repeat this process until you have enough identical squares to form the main panels of the bag.
Step 3: Final Assembly and Straps
After weaving in all your loose ends with a yarn needle, lay your completed floral squares out to plan the layout. You can connect them using a slip stitch join for a raised decorative seam, or a mattress stitch for an invisible finish.
Once the front and back body panels are joined together, attach your yarn to the top opening to crochet durable bag straps or handles. You can opt for thick, sturdy double crochet straps that sit comfortably on your shoulder. Give your finished project a light steam block to settle the stitches, and your magnificent handmade floral tote bag is ready to turn heads!
How To Crochet A 3D Flower Granny Square Bag | Step-By-Step Tutorial
Please follow and like us:


1 thought on “How to Crochet a 3D Flower Granny Square Bag: Free Tutorial”