
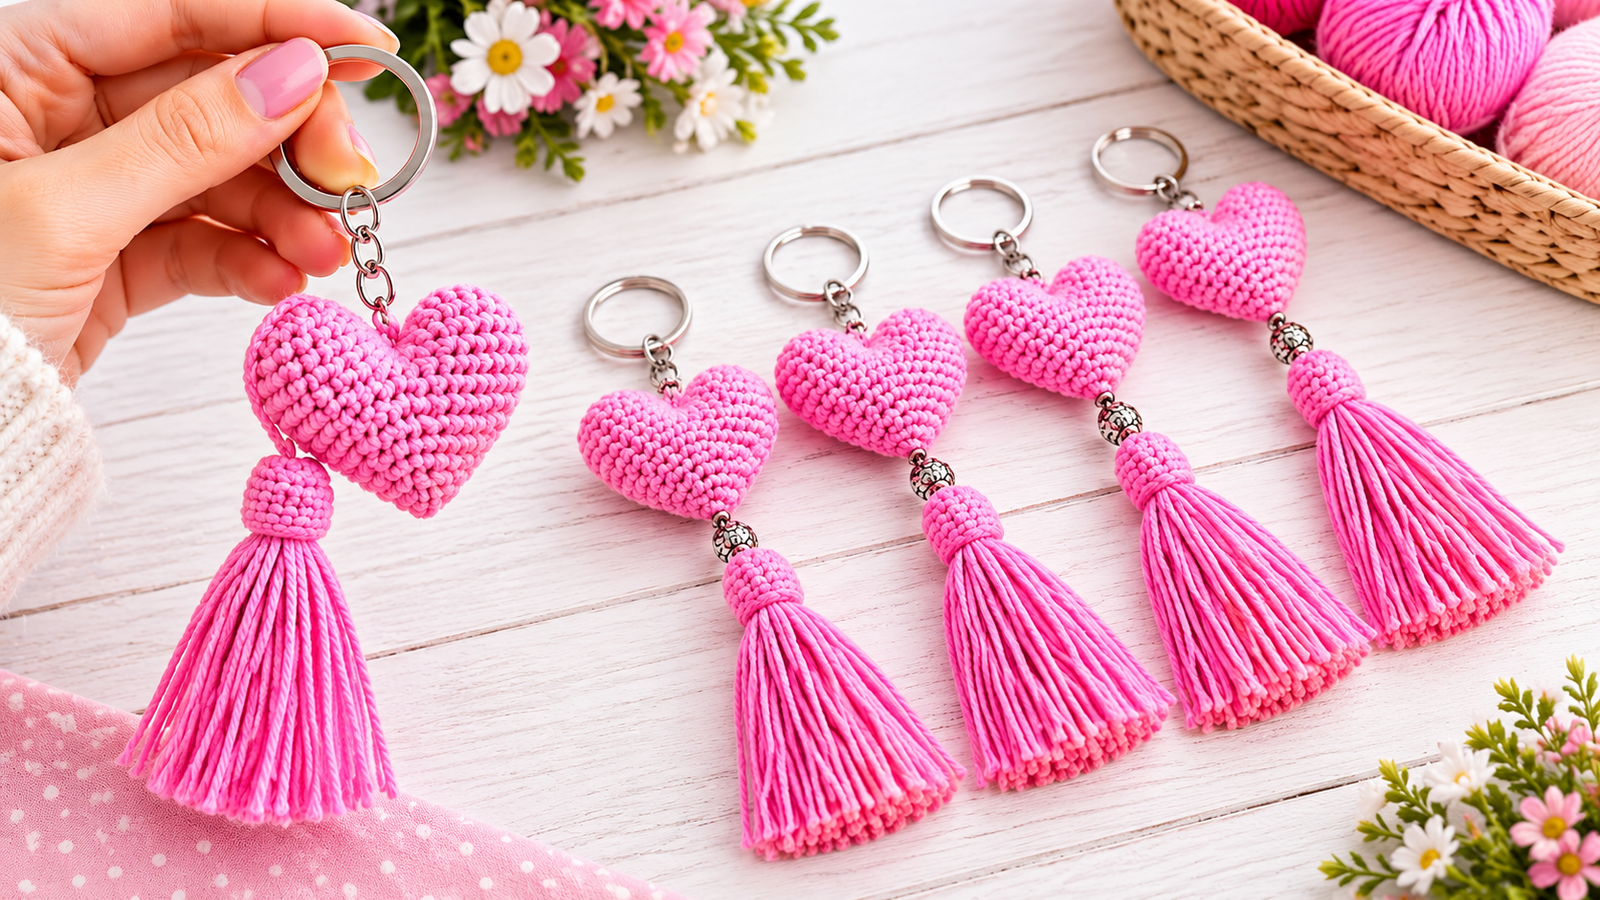
Are you searching for a quick, adorable, and budget-friendly crochet project? Making a crochet heart keychain is the ultimate way to create something meaningful in less than an hour. This charming DIY amigurumi heart features a classic plush design completed with an elegant yarn tassel and a decorative silver spacer bead. It serves as a wonderful handmade gift idea for Valentine’s Day, Mother’s Day, birthdays, or simply as a stylish bag charm for backpacks and purses.
For intermediate crafters and enthusiastic beginners alike, this step-by-step amigurumi tutorial provides an excellent opportunity to practice shaping and seamless assembly. Plus, it is a fantastic stash-buster project for utilizing leftover scrap yarn from your previous knitting or crocheting ventures. By attaching standard metal hardware, you can instantly turn a simple soft sculpture into a functional, everyday accessory.

Required Materials & Tools
Before starting, gather the essential supplies listed below to ensure your amigurumi heart maintains a clean shape and sturdy structure.
- Yarn: Light-weight cotton or acrylic yarn in pink, red, or any color of your choice. Cotton yarn offers great stitch definition, while acrylic provides a soft, fuzzy feel.
- Crochet Hook: 2.5 mm or 3.0 mm steel or ergonomic crochet hook, depending on your yarn weight. Choosing a slightly smaller hook ensures tight stitches so the stuffing stays hidden.
- Fiberfill: Premium polyester stuffing to plump up the amigurumi heart and give it a bouncy, 3D shape.
- Hardware: A sturdy metal keyring attached to a short chain, along with open jump rings for secure fastening.
- Decorative Bead: 1 silver spacer bead to elevate the look of your handmade yarn tassel.
- Essential Tools: A sharp yarn needle for weaving, embroidery scissors, and a reliable stitch marker to track your continuous rounds.
Step-by-Step Amigurumi Heart Guide
Follow this structured overview to craft the foundation, body, and decorative elements of your custom keychain.
Step 1: Crocheting the Twin Heart Humps
An amigurumi heart is built from the top down by creating two separate dome-like structures. Start by making a magic ring and working single crochet stitches in continuous rounds. You will increase the stitch count gradually to form a small cup. Once the first hump is finished, fasten off the yarn. Repeat the exact process for the second hump, but do not cut the yarn this time.
Step 2: Joining and Shaping the Body
Insert your hook into the designated stitch of the first hump to join both pieces together. Crochet continuously around both circles. This creates the wide upper section of the heart. In the subsequent rounds, you will strategically place invisible decreases (sc2tog) on the left and right sides. This systematic reduction tapers the width down toward a sharp bottom point.
Step 3: Stuffing and Closing the Tip
Before the opening becomes too narrow, firmly pack the polyester fiberfill inside both lobes of the heart. Use the back of your crochet hook to distribute the stuffing evenly. Continue the decrease rounds until only a few stitches remain. Cut the yarn, thread your needle, weave through the front loops, and pull tight to seal the tip.
Step 4: Crafting the Tassel & Hardware Assembly
Wrap your yarn around a small piece of cardboard several times to create the tassel. Tie the top securely, cut the bottom loops, and wrap a separate strand around the neck to form a neat head. Thread the top strands through your decorative silver bead and attach it to the bottom tip of the heart. Finally, use pliers to secure the jump ring and metal keyring to the top center of the heart.
Easy Crochet Heart Keychain Pattern | Step-by-Step Amigurumi Tutorial for Beginners
crochet heart pattern, free amigurumi tutorial, DIY heart keychain, easy crochet bag charm, how to crochet a heart, scrap yarn projects.
Please follow and like us:


3 thoughts on “How to Crochet a Heart Keychain: Free Amigurumi Tutorial”
Comments are closed.