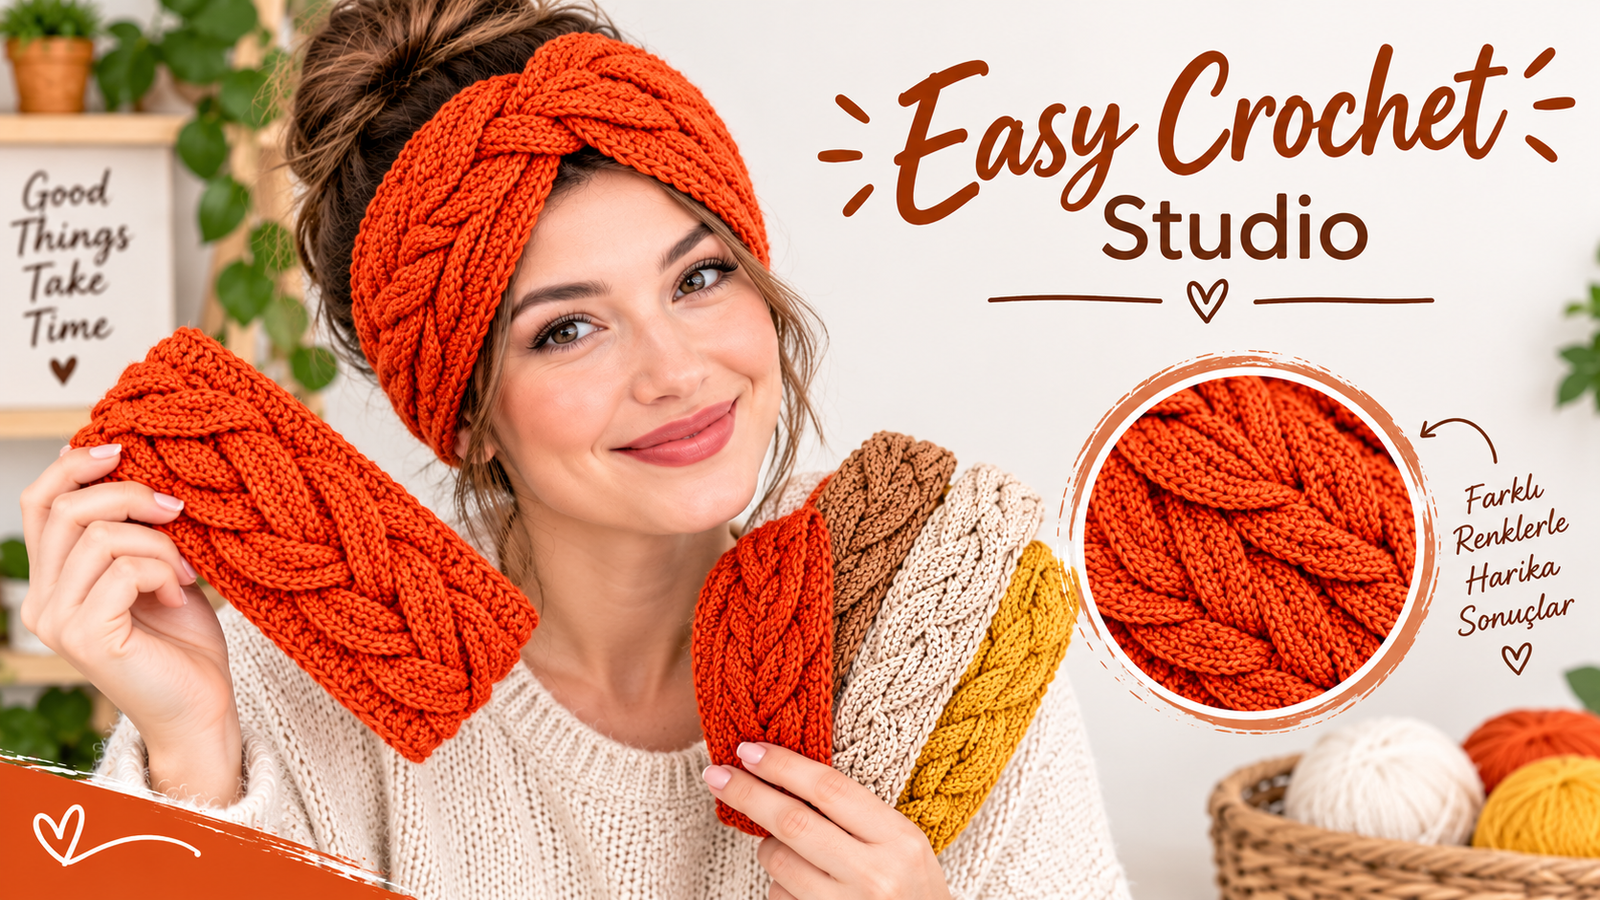
Learn how to crochet a stunning magic braided headband with this free amigurumi-style textured pattern. Discover the secret two-strip braiding technique, required materials, and finishing tips with a hair elastic for the ultimate handmade winter accessory.
As the chilly winter breeze sets in, there is nothing quite like cozying up with your favorite yarn to create beautiful, functional accessories. If you are looking for a unique, modern, and highly rewarding holiday craft, learning how to crochet a magic braided headband is the absolute perfect choice. This pattern introduces an incredible “magic braid” technique where you transform simple crochet strips into an interwoven, cable-like masterpiece without working complex stitches.
Whether you want to curate stylish ear warmers for your personal wardrobe, create heartfelt handmade holiday gifts, or stock up on best-sellers for your upcoming winter craft fairs, this beginner-friendly design on knittingpatternsdiy.com is a must-try. It works up quickly, looks high-end, and brings instant festive cheer.
Required Materials
- Yarn: Medium Weight Acrylic Yarn (Tex 613) or any soft wool blend you have at home
- Crochet Hook: 3 mm crochet hook (or a compatible size to ensure your stitches are firm with no gaps)
- Elastic: A standard hair elastic for a flexible, comfortable fit
- Tools: A round-tip tapestry needle, sturdy cotton thread for assembly, scissors, and a measuring tape
Technical Abbreviations Used
- ch: Chain
- hdc: Half Double Crochet
- blo: Back Loop Only
Step-by-Step Written Pattern Blueprint
1. Crocheting the First Base Strip
Leave about 15 cm of yarn tail for final weaving, then make a slip knot to begin
- Row 1: Work 103 chains . Turn the chain row over to the wrong side . Starting from the 3rd chain from your hook, work 101 hdc by catching the back bumps of the chains . Ch 2 and turn .
- Rows 2-4: Work 101 hdc across, always inserting your hook into the back loop only (blo) of the previous row to create a gorgeous ribbed texture . Ch 2 and turn at the end of each row .
- Row 5 (Creating the Magic Slits): This is where the magic happens! Work 18 hdc in blo . *Ch 5, skip 5 stitches on the base, then work 18 hdc in blo . Repeat from * across the row. Finish the row with 9 hdc in blo .
- Rows 6-9: Work 101 hdc in blo across all stitches . When you reach the ch-5 spaces from Row 5, simply work 1 hdc into each of the 5 chains to build up the upper edge of the slits . Fasten off, leave a long tail, and weave in your ends neatly with a tapestry needle .
2. Crocheting the Second Strip
Repeat the exact same steps to crochet a second identical strip . You will now have two ribbed crochet panels featuring strategic open spaces .
3. The Magic Braiding Technique
Lay your two strips flat . Note that one end has a smaller space before the first slit, while the other end has a larger space . Rotate one strip so they mirror each other. Place one strip directly on top of the other . Take the bottom strip’s end, fold it slightly, and pull it up through the first slit of the top strip . Now take that same strip, guide it to the next open slit, and pull it through . Continue weaving the strips back and forth through the open slits like a continuous puzzle. Once complete, gently adjust the braided loops so they look even and uniform on both sides .
How to Add the Comfort Hair Elastic
Conclusion: Your Next Cozy Winter Masterpiece
How to Crochet a Magic Braided Headband


1 thought on “How to Crochet a Magic Braided Headband: Free Easy Ear Warmer Pattern”