
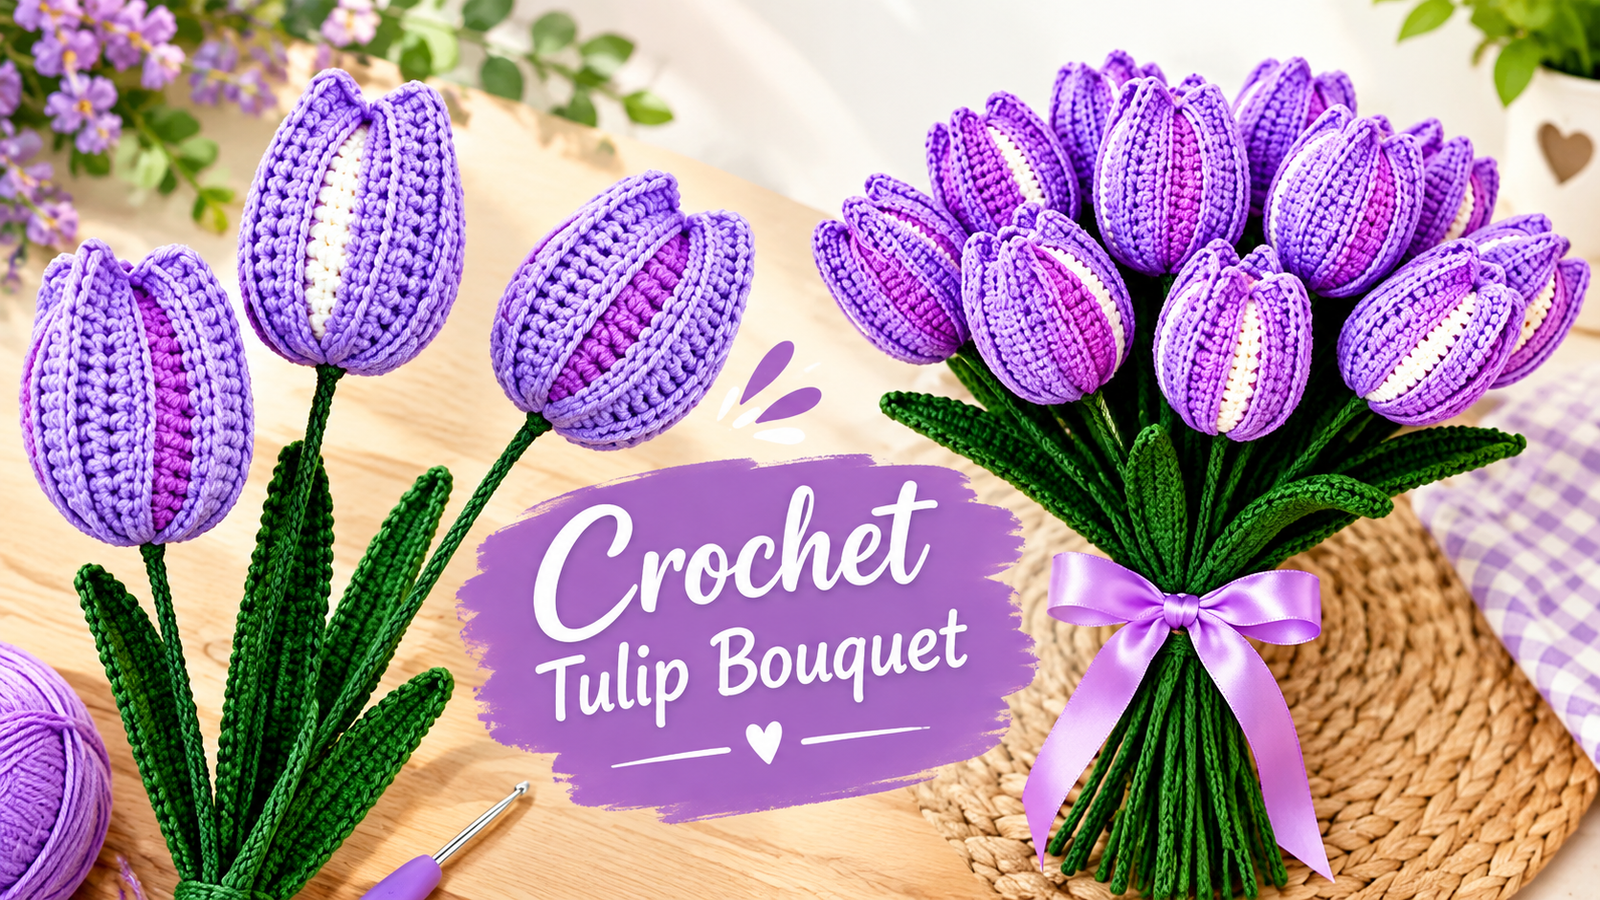
Flowers are a timeless way to brighten up any room, but fresh blossoms unfortunately fade away within a few days. If you want to capture the elegant beauty of spring permanently, crafting a handmade crochet tulip bouquet is the perfect solution. These stunning, realistic crochet flowers are incredibly durable and make meaningful gifts for Mother’s Day, birthdays, weddings, or charming additions to your own home decor.
Whether you are a beginner looking for a rewarding weekend project or an experienced crafter building a handmade business, this clear, step-by-step guide will walk you through creating your own vibrant tulip bouquet.
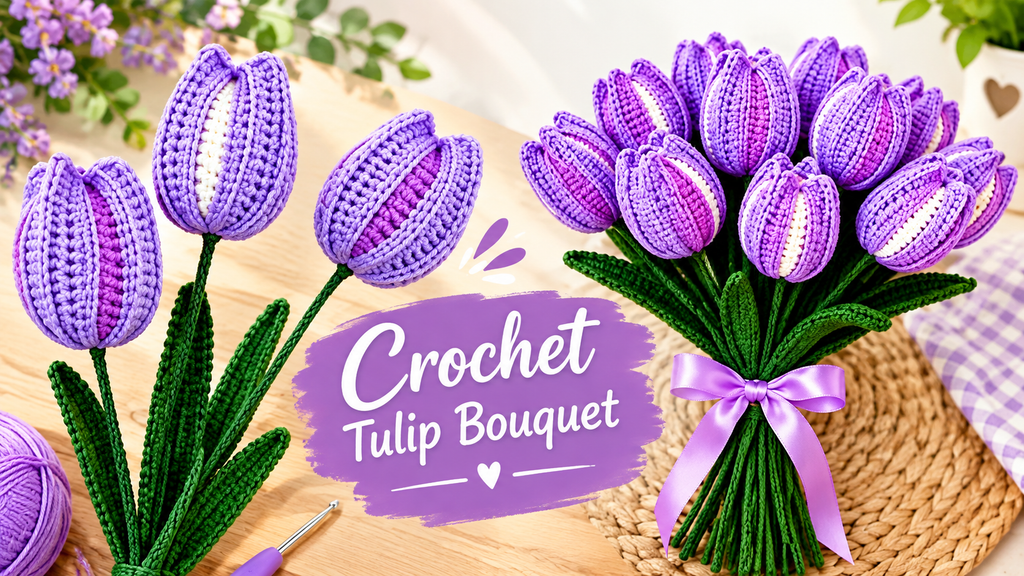
handmade crochet tulip bouquet
Required Materials and Tools
To create these elegant, lifelike tulips, make sure to gather the following crafting supplies:
- Yarn: High-quality cotton yarn is highly recommended for a crisp, clean stitch definition. You will need purple, pink, or white for the colorful flower petals, and green yarn for the leaves and stem.
- Crochet Hook: A 2.5 mm hook to ensure your stitches remain tight enough so the interior stuffing remains completely hidden.
- Floral Wire: Sturdy craft or floral wire to provide structure to the stem and allow you to bend the leaves into natural shapes.
- Floral Tape: Green floral tape to smoothly wrap and secure the wire stems.
- Fiberfill: A small amount of polyester stuffing to fill out the base of the tulip bud and give it a plump shape.
- Essential Tools: A blunt yarn needle, sharp scissors, and an optional hot glue gun for extra security during assembly.
Step-by-Step Guide to Crafting Crochet Tulips
1. Crocheting the Elegant Tulip Bud
The tulip flower bud is worked as a simple, hollow cylinder rather than a complex sphere. Using your chosen petal color (pink, purple, or white), start by chaining a foundation row or beginning with a magic circle, then work in continuous rounds of single crochets. Gradually expand the rounds until you reach the desired width.
From there, work even rows without any increases to build the height of the tube. Once the cylinder is complete, fasten off your yarn, leaving a long tail. Lightly stuff the lower half of the tube with polyester fiberfill to keep the base plump while leaving the top soft.
2. Shaping the Unique Tulip Petals
The realistic look of this tulip comes from how the top of the cylinder is sewn together. Thread your long yarn tail onto a needle. Instead of closing the opening in a straight line, flatten the top and pinch the opposite sides together to form a cross or an “X” shape.
Sew through the center points securely. This simple closing technique perfectly mimics the natural overlapping petals of a real, blooming tulip bulb.
3. Crafting the Leaf and Assembling the Stem
To make the stem, take your floral wire, apply a dab of hot glue or floral tape at the top, and insert it firmly into the bottom base of your stuffed tulip bud. Carefully wrap the entire length of the wire with green floral tape or green yarn.
To make the leaf, switch to your green yarn and crochet a long, narrow oval shape around a piece of thinner floral wire. This allows you to bend and sculpt the leaf realistically. Sew or glue the green leaf onto the lower section of the wrapped stem, and your gorgeous crochet tulip is ready to shine!
Easy Crochet Tulip Bouquet 🌷 | How to Make Realistic Crochet Tulips Step by Step


