
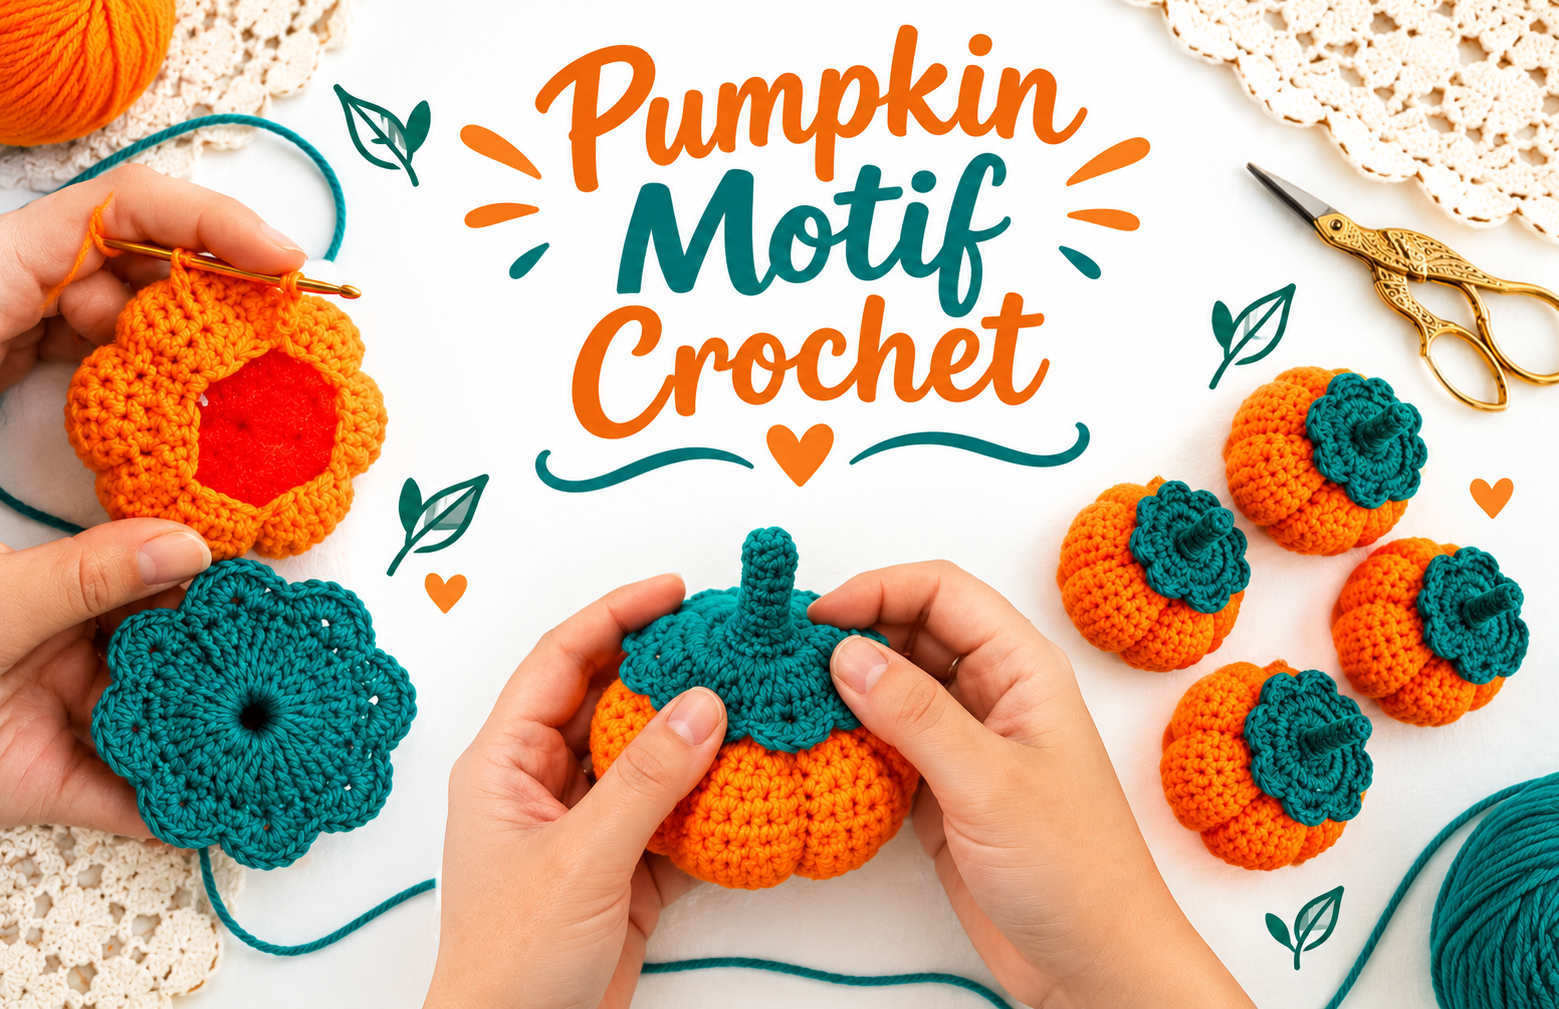
Welcome the Cozy Autumn Vibe
As the crisp autumn breeze rolls in and leaves begin to change, there is nothing quite like settling down with a cozy yarn project. If you are looking to combine functional home storage with adorable seasonal decor, learning how to crochet a pumpkin box with lid is the ultimate weekend craft. Standard crochet pumpkins are beautiful, but creating a hollow trinket container with a removable top adds a whole new layer of practicality to your handmade designs.
In this comprehensive guide, we will explore everything you need to know to create a beautiful, ribbed pumpkin basket. This design features a spacious orange base and a contrasting green lid topped with a tiny stem. Whether you are a beginner looking to expand your skills or an intermediate crocheter searching for a festive project, this tutorial will guide you smoothly through every single stitch.
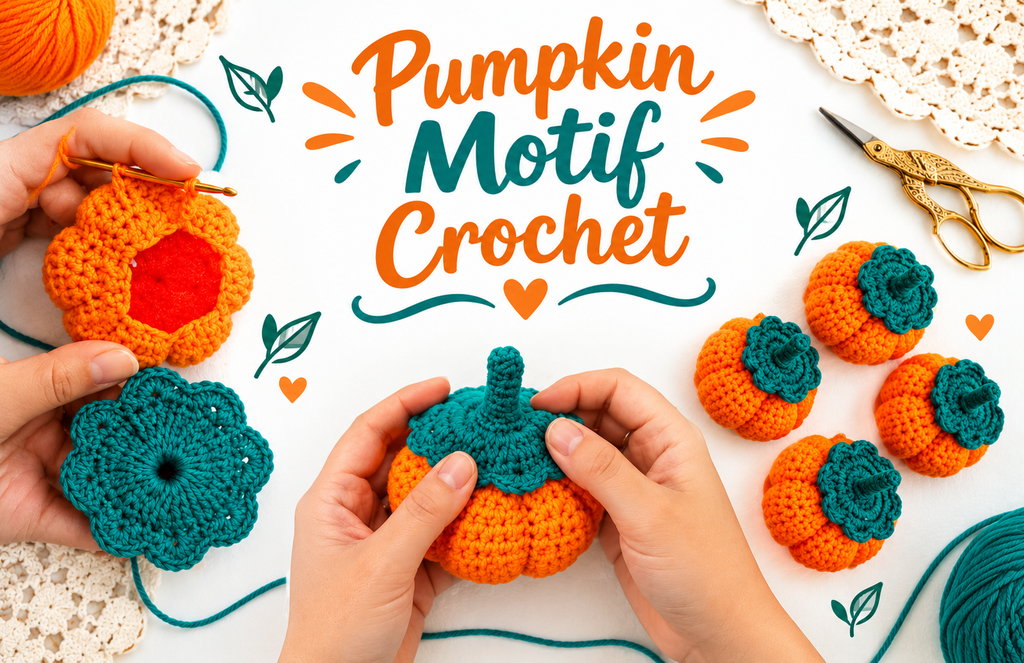
how to crochet a pumpkin box with lid
Required Materials & Tools
To ensure your festive autumn container holds its shape beautifully and provides solid structural durability, gather the following essential crafting supplies:
- Yarn: Medium weight yarn (Worsted weight / Size 4) is highly recommended for this project. You will need a vibrant orange yarn to form the main pumpkin base, alongside a rich green or teal yarn for the lid and stem assembly. Cotton or sturdy acrylic blends work best here to keep the walls upright.
- Crochet Hook: A 3.0 mm or 3.5 mm crochet hook, depending on your personal stitch tension. A slightly tighter tension helps the box stand firmly without collapsing.
- Tapestry Needle: An absolute must-have tool for weaving in your yarn tails and carefully sewing the deep, characteristic pumpkin ribs.
- Essential Accessories: A sharp pair of scissors to trim yarn ends and a reliable stitch marker to keep track of your active rounds.
- Fiberfill Stuffing (Optional): You can use a small amount of polyester fiberfill if you wish to give extra plush structure to the stem or create double-thick walls.
Creative and Functional Ways to Use Your Pumpkin Box
Once you successfully master how to crochet a pumpkin box with lid, you will quickly realize how incredibly practical this little basket truly is. It is highly versatile and fits perfectly into multiple settings:
- Halloween Candy Bowls: Place it right by your entryway filled to the brim with sweet treats and candies for holiday guests or trick-or-treaters.
- Charming Trinket Holders: Use it on your bedroom vanity or nightstand to safely store small items like jewelry, rings, bobby pins, or stitch markers.
- Cozy Festive Decor: Simply display it on your living room coffee table, fireplace mantel, or kitchen counter as a standalone autumn focal piece.
Step-by-Step Guidance and Video Tutorial
Shaping the ribbed edges and transitioning from the round base to the flat lid can sometimes feel a bit abstract through written words alone. To make your crafting journey completely seamless and enjoyable, visual assistance is highly recommended. To watch every single single crochet stitch, seamless color change, and assembly step executed in real-time, you can easily follow along with this step-by-step pumpkin box video tutorial to perfect your project.
As you work across the rounds, pay close attention to creating clean transitions when crafting the vertical ridges. This ensures your final product has that classic, plump pumpkin aesthetic.
Conclusion: Start Your Fall Crafting Today!
There is immense joy in turning a simple skein of yarn into a beautifully organized, decorative piece of home art. This project makes a phenomenal seasonal gift for loved ones, a festive storage solution, or a popular item to sell at autumn craft markets. Dust off your favorite fall yarn shades, grab your crochet hook, and start bringing this cozy basket to life. Make sure to save knittingpatternsdiy.com to your browser bookmarks for more free crochet patterns, daily craft inspiration, and easy tutorials!
DIY Crochet Pumpkin Trinket Box | Easy Autumn Amigurumi Basket Pattern


1 thought on “How to Crochet a Pumpkin Box with Lid: Easy Fall Tutorial”
Comments are closed.