
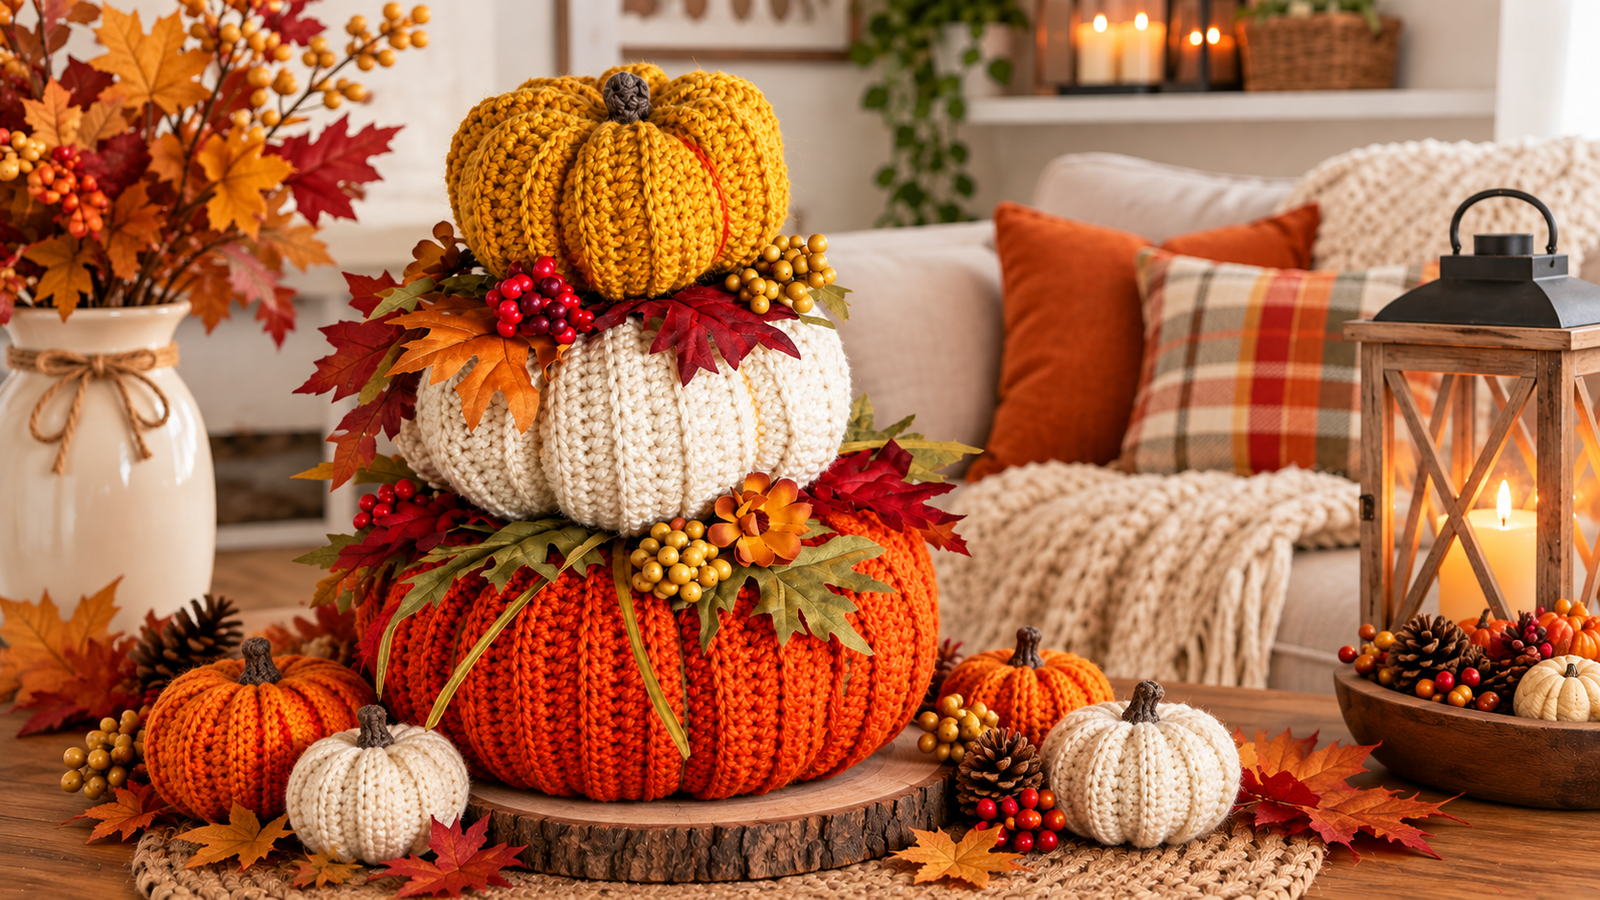
Standard crochet pumpkins are lovely on their own, but stacking them into a multi-tiered display adds an instant designer touch to your Thanksgiving table or living room mantel. In this comprehensive, step-by-step DIY guide, we will break down everything you need to know to create your own gorgeous autumn heirloom. Grab your favorite cozy yarn, settle in with a warm drink, and let’s dive into this beautiful fall craft!
🧵 Materials & Tools Needed
Before starting your autumn topiary project, gather the following essential crafting supplies:
* Crochet Hook: 5.00 mm (Size H-8) crochet hook (or size needed to obtain a tight gauge so stuffing doesn’t show).
* Yarn: Worsted weight yarn (Medium / Size 4). For the classic autumn look featured in our tutorial, we recommend Red Heart Super Saver in these specific shades:
• Carrot Gold (Vibrant traditional orange for the main pumpkin bodies)
• Aran or Ecru (A lovely, soft cream color for a modern contrast pumpkin)
• Cafe Latte (A small amount of medium brown for the top stem)
* Stuffing: High-quality polyester fiberfill (Poly-fill) to shape your pumpkins.
* Floral Accents (Optional): Autumn floral picks containing faux maple leaves, berries, and mini silk flowers.
* Tools: Sharp scissors, a blunt-tip tapestry needle (yun iğnesi) for assembly, and an optional hot glue gun if you choose to attach the floral elements quickly.
📐 Finished Project & Pattern Dimensions
The beauty of this design lies in its perfectly proportioned grading. By simply changing your initial chain lengths and row counts, you will create three distinct sizes that nestle together flawlessly:
* Large Base Pumpkin: 9 inches wide and 4.5 inches tall (Chain 41, work 54 rows).
* Medium Center Pumpkin: 7.5 inches wide and 3.5 inches tall (Chain 31, work 42 rows).
* Small Top Pumpkin: 5.5 inches wide and 2.5 inches tall (Chain 21, work 30 rows).
* Final Assembled Centerpiece: Measures approximately 9 inches wide by 10.5 inches tall (excluding optional floral extensions).
🪡 Essential Stitch Abbreviations (US Terms)
This pattern is highly accessible because it relies entirely on foundational crochet techniques:
* CH: Chain
* ST: Stitch
* HDC: Half Double Crochet
* BLO: Back Loop Only (This is the secret to creating the gorgeous, raised ribbed rows that look like natural pumpkin crevices!)
* SC: Single Crochet (Used exclusively for the spiral-constructed stem)
💡 Top Pro-Tips for Perfect Pumpkin Assembly
To ensure your stacked topiary looks entirely professional, keep these expert assembly secrets in mind while crafting:
1. Leave Long Tails: Always begin your starting chains and end your final rows with exceptionally long yarn tails (around 18 to 24 inches). You will need these sturdy tails to execute the gathering büzgü stitches, sew the side seams together, and pull the formatting segments tight.
2. Keep D填充 Under Control: When adding your polyester fiberfill, do not overstuff the pieces until they become rigid spheres. Instead, keep them slightly under-stuffed and plush. Pressing down on them slightly while stuffing ensures they maintain a flattened, yassı silhouette. This flat top-and-bottom shape prevents the topiary from tipping over and allows the layers to sit flush against one another.
3. To Glue or To Stack? We highly recommend leaving the three pumpkins completely unattached to one another! When you place them on your table, they will naturally nestle together securely due to their ribbed textures. Leaving them separate makes post-holiday storage incredibly easy, as they can be packed away flatly without crushing your beautiful faux floral work.
Get ready to transform simple skeins of yarn into an unforgettable holiday showstopper. Happy crocheting, and may your home be filled with handmade warmth this season!
Stacked Pumpkin Centerpiece Crochet Tutorial, Step by Step pattern by Winding Road


