
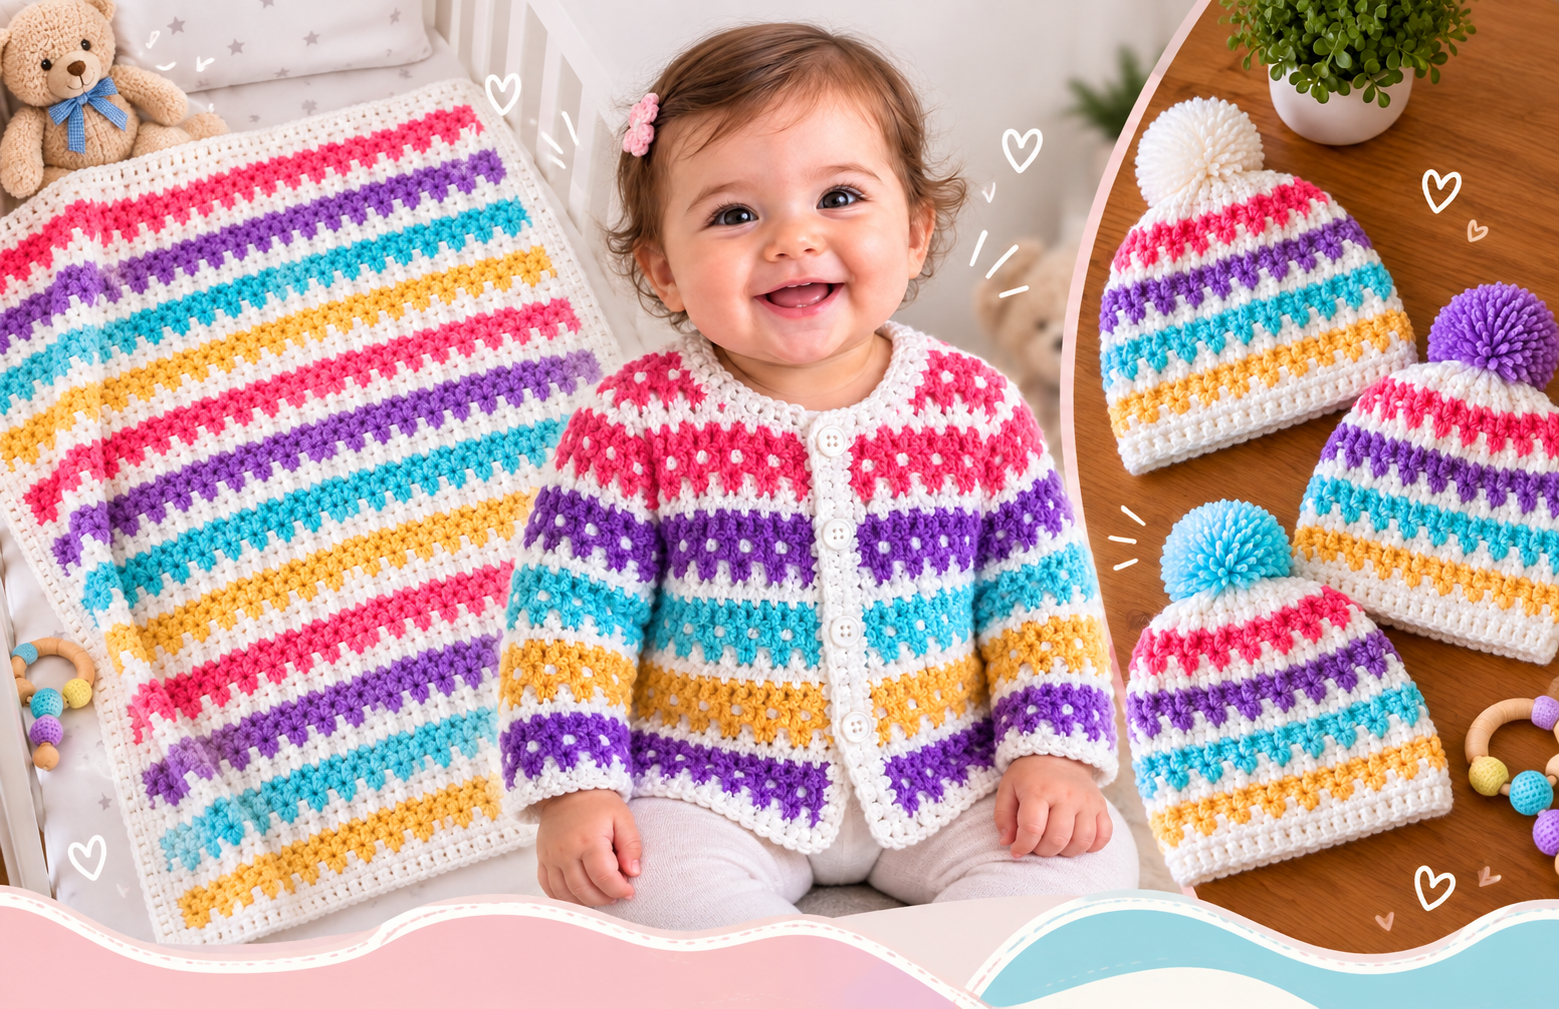
If you are looking for a craft technique that combines the cozy, dense texture of traditional knitting with the speed and simplicity of crochet, the Tunisian knitting pattern is your perfect match. Often called Tunisian crochet, this beautiful needlecraft is taking the DIY world by storm. Today on knittingpatternsdiy.com, we are breaking down a super easy Tunisian knitting pattern that anyone—even absolute beginners—can master in just one afternoon.
Grab your yarn and hooks, because this versatile stitch is about to become your absolute favorite for making soft baby blankets, stylish cardigans, cozy winter scarves, and modern home decor
Materials Needed for Tunisian Knitting
Before jumping into the step-by-step instructions, gathering the right tools will guarantee a smooth, snag-free crafting experience. Here is your essential checklist:
- Tunisian Crochet Hook: Unlike regular crochet hooks, a Tunisian hook is extra-long and features a stopper at the end (or an attached flexible cable) to hold all your stitches. For medium yarn, a 4.0 mm to 5.5 mm (US G/6 to I/9) hook works perfectly.
- Yarn: Beginners should opt for a smooth, medium-weight (Worsted or DK) acrylic or cotton yarn. Light or solid colors make it much easier to see your stitch placement. Anti-pilling baby yarn is highly recommended for blankets.
- Scissors: A sharp pair for clean yarn cuts during color changes or finishing.
- Measuring Tape: Essential to track your project’s dimensions (e.g., aiming for a standard 36×36 inch baby blanket).
Step-by-Step Tunisian Knitting Instructions
The magic of the Tunisian knitting technique lies in its unique rhythm. Every complete row consists of two distinct phases: the Forward Pass (collecting loops) and the Return Pass (closing loops). You never turn your work; the right side always faces you.
Step 1: The Foundation Chain & Forward Pass
Start by making a standard slip knot and crocheting a loose foundation chain to your desired width. Insert your hook into the second chain from the hook, yarn over, and pull up a loop. Leave that loop on your hook. Repeat this process for every single chain across. When you reach the end, your hook will be loaded with a long row of loops.
Step 2: The Return Pass (The Cleanup)
Now it is time to work your way back to close the loops. Yarn over and pull through the very first loop on your hook (this creates your edge stitch). Next, yarn over and pull through two loops at the same time. Repeat the yarn over and pull through two pattern all the way back across the row until only one single loop remains on your hook.
Step 3: Working the Simple Stitch
Look closely at your work; you will see distinct vertical bars running down the front. To start your next row, insert your hook from right to left under the next vertical bar. Yarn over and pull up a loop, leaving it on the hook. Collect loops from every vertical bar until the end of the row, then repeat Step 2 to work your way back. Keep repeating this beautiful loop cycle until your project reaches its final size!
Pro Tips for Flawless Tunisian Crochet
- Fixing the Curl: Tunisian crochet naturally tends to curl at the bottom edge due to its tight structure. To completely fix this, always use a hook that is one or two sizes larger than what the yarn label recommends.
- Perfect Selvedge Edges: For clean, straight side edges that do not sag, make sure to insert your hook through both loops of the very last vertical stitch at the edge of your forward pass.
This super easy Tunisian knitting pattern is the ultimate gateway to beautiful, handmade DIY wardrobe essentials and gifts. Happy stitching!
Please follow and like us:


