
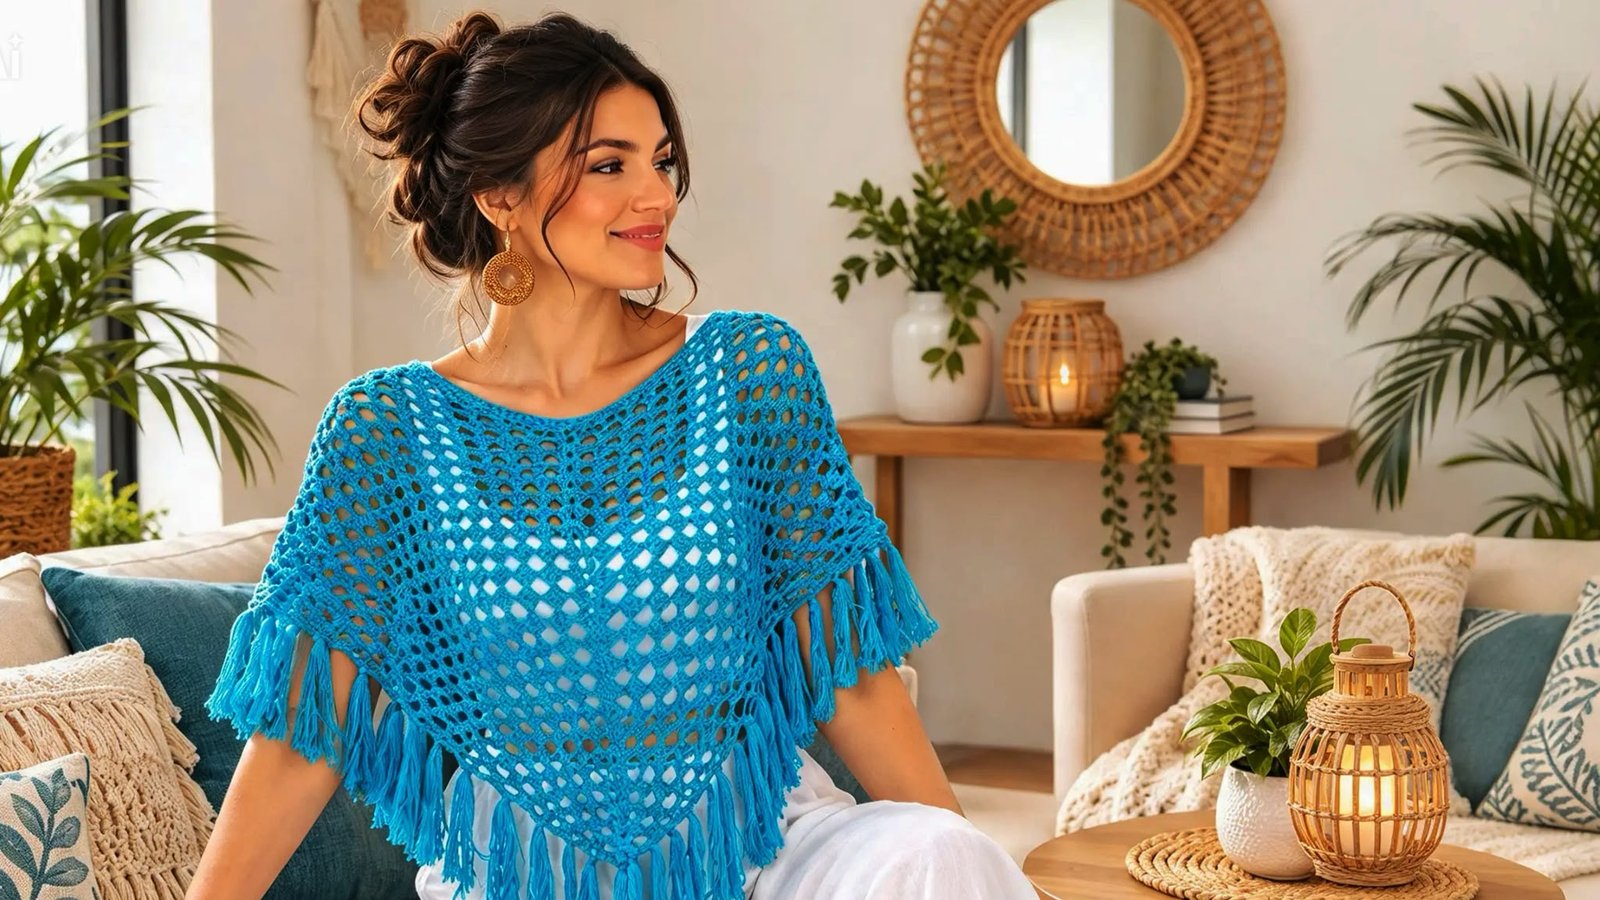
Are you looking for a stylish, comfortable, and incredibly rewarding DIY project to kickstart your garment-making journey? If so, discovering how to create an easy crochet poncho pattern is the absolute perfect choice for you. Handmade wardrobe staples are incredibly popular right now because they allow you to express your unique style, require minimal construction hassle, and make the most delightful gifts for fashion lovers.
Whether you want to craft a breezy, open-stitch summer cover-up for your next tropical vacation or a cozy, oversized layer for cooler autumn nights, this comprehensive design is exactly what you need. In this beginner-friendly tutorial, we will walk you through the essential steps to create a beautiful, geometric poncho decorated with delicate, flowy tassels. Even if you are completely new to working in rounds or stitching full-size garments, this project will help you build solid crafting confidence without any stress.

Materials Needed for This Crochet Project
Before we jump into the step-by-step instructions, let us gather all the necessary supplies. Choosing the right combination of yarn and hook size is essential to achieving the perfect drape for your finished garment.
- Yarn Options:
- For a Summer Beach Cover-Up: 1.5 skeins of fine, lightweight cotton or bamboo blend yarn (such as Hobbii fine yarn).
- For a Cozy Winter Poncho: 1.5 skeins of medium weight (Size 4) 100% acrylic yarn.
- Crochet Hook: Size 5.0 mm (H-8) aluminum crochet hook (Note: Using a slightly larger hook with fine yarn creates beautiful, airy gaps perfect for warm weather).
- Measuring Tape: To check your head circumference and gauge your progress.
- Scissors: For cutting your yarn tails and crafting custom tassels.
- Yarn Needle: For weaving in loose ends securely.
Step-by-Step Guide: How to Crochet a Poncho
Step 1: The Foundation Chain and Sizing
Every great wearable project starts with a perfect foundation. To begin, grab your chosen yarn and create a secure slip knot. Insert your hook and start chaining. You will need to chain enough stitches to comfortably wrap the foundation loop around your head. As a golden rule, make sure to leave about one inch of extra space so the neck hole glides on and off easily without scraping your face.
Crucial Formatting Tip: Everyone’s body size and personal style preferences are different, which is why we don’t enforce a single chain count. However, you must ensure your total foundation number is an even number. For an average adult female size small, anywhere between 70 to 80 chains provides a fantastic fit.
Step 2: The Foundation Double Crochet Row
Once you are completely satisfied with the length of your foundation loop, it is time to build structure. Work one double crochet (dc) stitch into every single chain all the way down to the end of the row. If you need a quick refresher, a double crochet is done by yarning over, inserting the hook into the stitch, yarning over, pulling through, yarning over, pulling through two loops, and yarning over to pull through the final two loops.
After completing the row, carefully lay your work flat to ensure it is not twisted. Bring the two opposing ends together and work a slip stitch (sl st) through both the top and bottom edges. This transforms your flat strip into a continuous circular loop, making the rest of the pattern incredibly smooth to execute.
Step 3: Setting Up the Three-Double-Crochet Clusters
Now, we will establish the main textured body pattern, which closely mimics classic granny stitch structures:
- Chain 2 (this acts as your very first double crochet).
- Work 1 double crochet into each of the next 2 stitches. You now have a cluster of 3.
- Chain 1, do not skip any base stitches, and immediately work another set of 3 double crochets in a row.
- Repeat the “3 double crochets, chain 1” sequence all the way around the ring until you reach your starting point, then slip stitch to join. You will now see beautiful, uniform gaps forming.
Step 4: Shaping the Front and Back Points (The Corners)
To turn a basic loop into a traditional draped poncho shape, you must create two distinct, stacked corner points directly opposite each other.
- First Corner (The Start): In the first gap, chain 2, work 2 double crochets, chain 1, and work 3 more double crochets all inside the exact same opening.
- The Kenar Rows: Chain 1, and work standard 3-double-crochet clusters into each side gap until you reach the exact halfway point of your loop.
- Second Corner (The Halfway Point): Fold your work exactly in half to find the opposite side. In this middle opening, work another corner cluster: 3 double crochets, chain 1, 3 double crochets.
- For all subsequent rows, simply build standard clusters in side openings and stack identical corner combinations inside the previous row’s corner spaces. Keep going until the width fits your shoulders beautifully.
Step 5: Adding the Perfect Boho Tassels
To elevate your beautiful garment and add a high-end boutique aesthetic, creating custom fringe tassels is highly recommended.
- Decide your desired final tassel length and double it.
- Loop your yarn back and forth at this exact length until it reaches your preferred thickness, then snip the end from the main ball.
- Fold the gathered bundle completely in half, push the loop through an open stitch along the bottom border using your hook, pull the loose tails through the loop, and tug tightly to secure.
- Trim the bottom loops open with sharp scissors. Repeat this process along the entire hemline for a gorgeous bohemian finish!
Crochet Poncho Beginner Friendly Tutorial │ Crochet Beach Cover Up
Please follow and like us:


