
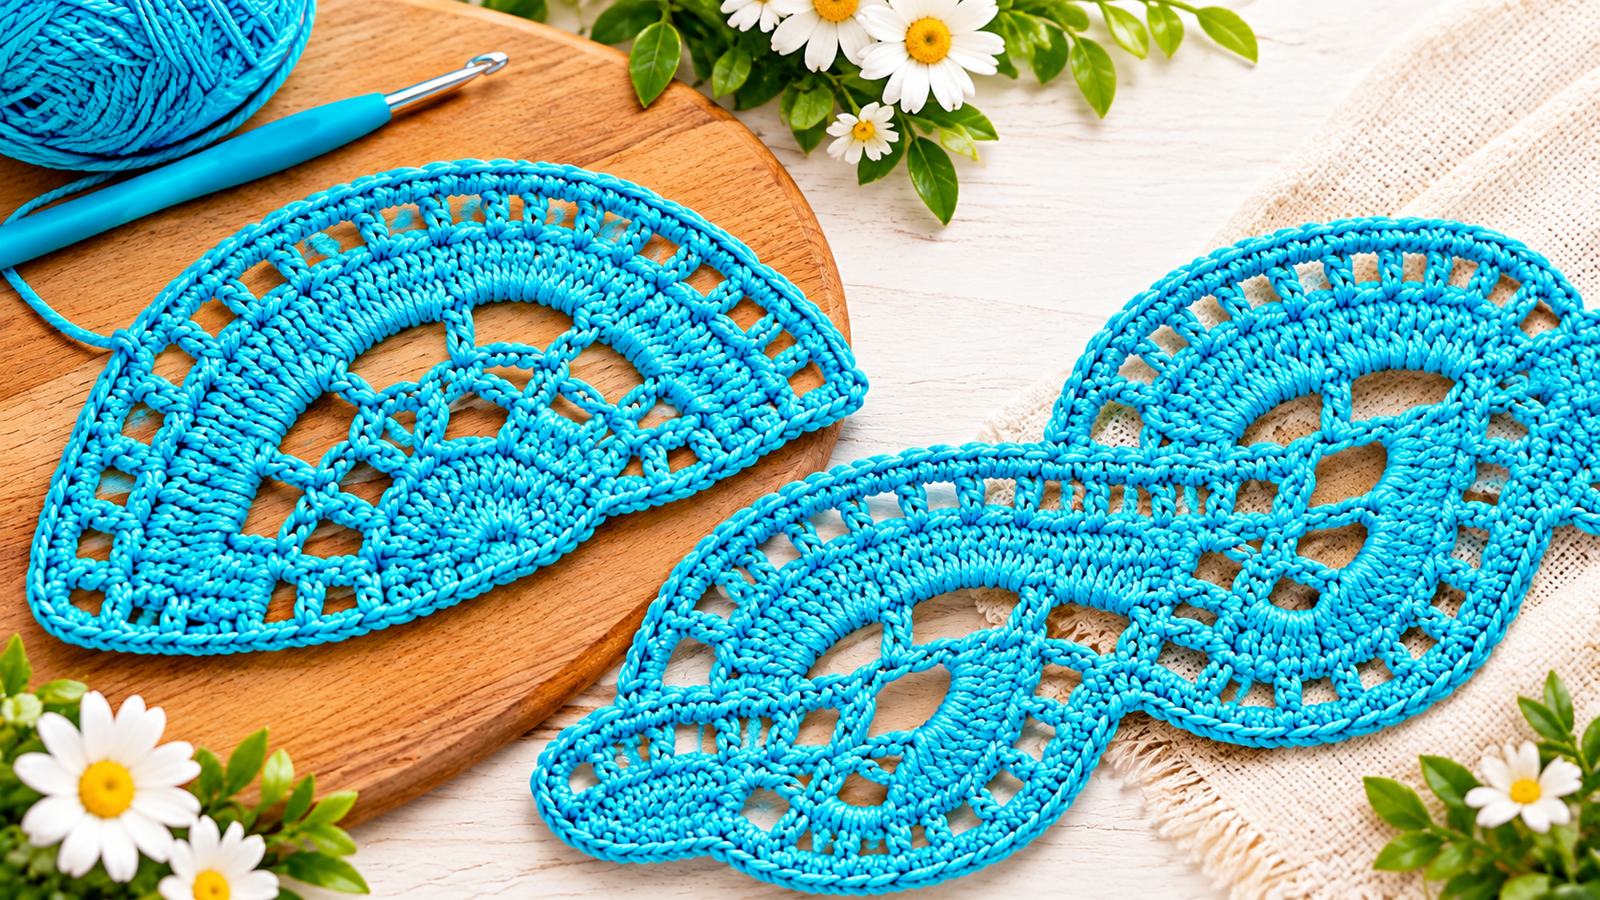
Are you looking for a beautiful, delicate, and versatile crochet project to elevate your handmade collection? Crocheting a stripy lace border is one of the most rewarding techniques you can learn. This elegant lace design features a striking combination of solid double crochet stitches and airy mesh grids, creating a textured ribbon effect. It is a fantastic DIY project for intermediate crocheters and ambitious beginners who want to expand their skills.
Whether you want to create an elegant crochet bookmark, a stylish crochet belt, an exquisite crochet necklace, or a decorative border for garments and blankets, this step-by-step guide has you covered. By mastering this openwork technique, you can easily add a vintage or modern touch to any fabric edging.

Required Materials & Tools
Before you chain your first stitch, gather the essential supplies listed below. For the best stitch definition and a crisp, lacelike finish, choosing the right yarn and hook size is crucial.
Yarn: 100% Mercerized Cotton Yarn (4-ply, Super Fine / Fingering weight, approximately 169m/50g). Mercerized cotton gives the lace a beautiful sheen and excellent structural durability.
Crochet Hook: Steel Crochet Hook size 1.5 mm or 2.0 mm (equivalent to US Steel Hook 8 or 4).
Additional Notions: Sharp embroidery scissors and a fine tapestry needle for weaving in loose ends.
Step-by-Step Crochet Lace Pattern (Part 1)
Follow these detailed steps to build the foundation rows of your stunning stripy lace ribbon.
Row 1: The Foundation and Initial Mesh Grid
To begin your lace strip, make a foundation chain of 10. Yarn over, skip the first two chain stitches, and work one double crochet (dc) through the third chain stitch from the beginning. Next, chain 2, skip the next chain stitch on your foundation line, and work one double crochet into the very last chain stitch. This establishes your first small mesh windows.
Row 2: Filling the Shell Spaces
Turn your work counterclockwise. Chain 3 to serve as your turning chain. Work 5 double crochets directly into the first 2-chain space. Next, work 1 double crochet into the top of the next double crochet stitch from the row below. To complete the shell, work 6 double crochets into the next open chain space. Turn your work counterclockwise again.
Row 3: Creating the Eyelet Rows
Chain 4 to begin the next openwork section. Skip the first two stitches of the previous row, and work 1 double crochet into the third stitch. Chain 1, skip one stitch, and work 1 double crochet into the next stitch. Repeat this pattern across the row. Finish by chaining 1, skipping the last double crochet, and working 1 double crochet into the third chain of the turning chain from the previous row. Turn your work.
Row 4: The Solid Single Crochet Bridge
Chain 1 for your turning chain. Work 1 single crochet (sc) into the first double crochet stitch. Next, work 1 single crochet directly into the 1-chain space, and 1 single crochet into the top of the next double crochet stitch. Repeat this alternating pattern across the row. Secure the end by working a final single crochet under the chain stitch and one through the third chain from the bottom.
Row 5: The Turning Post Expansion
Chain 6 and work 1 double crochet around the vertical post of the double crochet stitch from two rows below. Chain 3, skip one chain on the foundation line, and work 1 double crochet into the next foundation chain. Chain 3 again, and work 1 double crochet into the very first stitch of the foundation chain on the opposite side to begin the next symmetrical block.
crochet lace pattern, free crochet borders, DIY crochet bookmark, how to crochet lace, mercerized cotton crochet, openwork crochet tutorial.
Please follow and like us:


1 thought on “How to Crochet a Stripy Lace Border: Free DIY Pattern”