
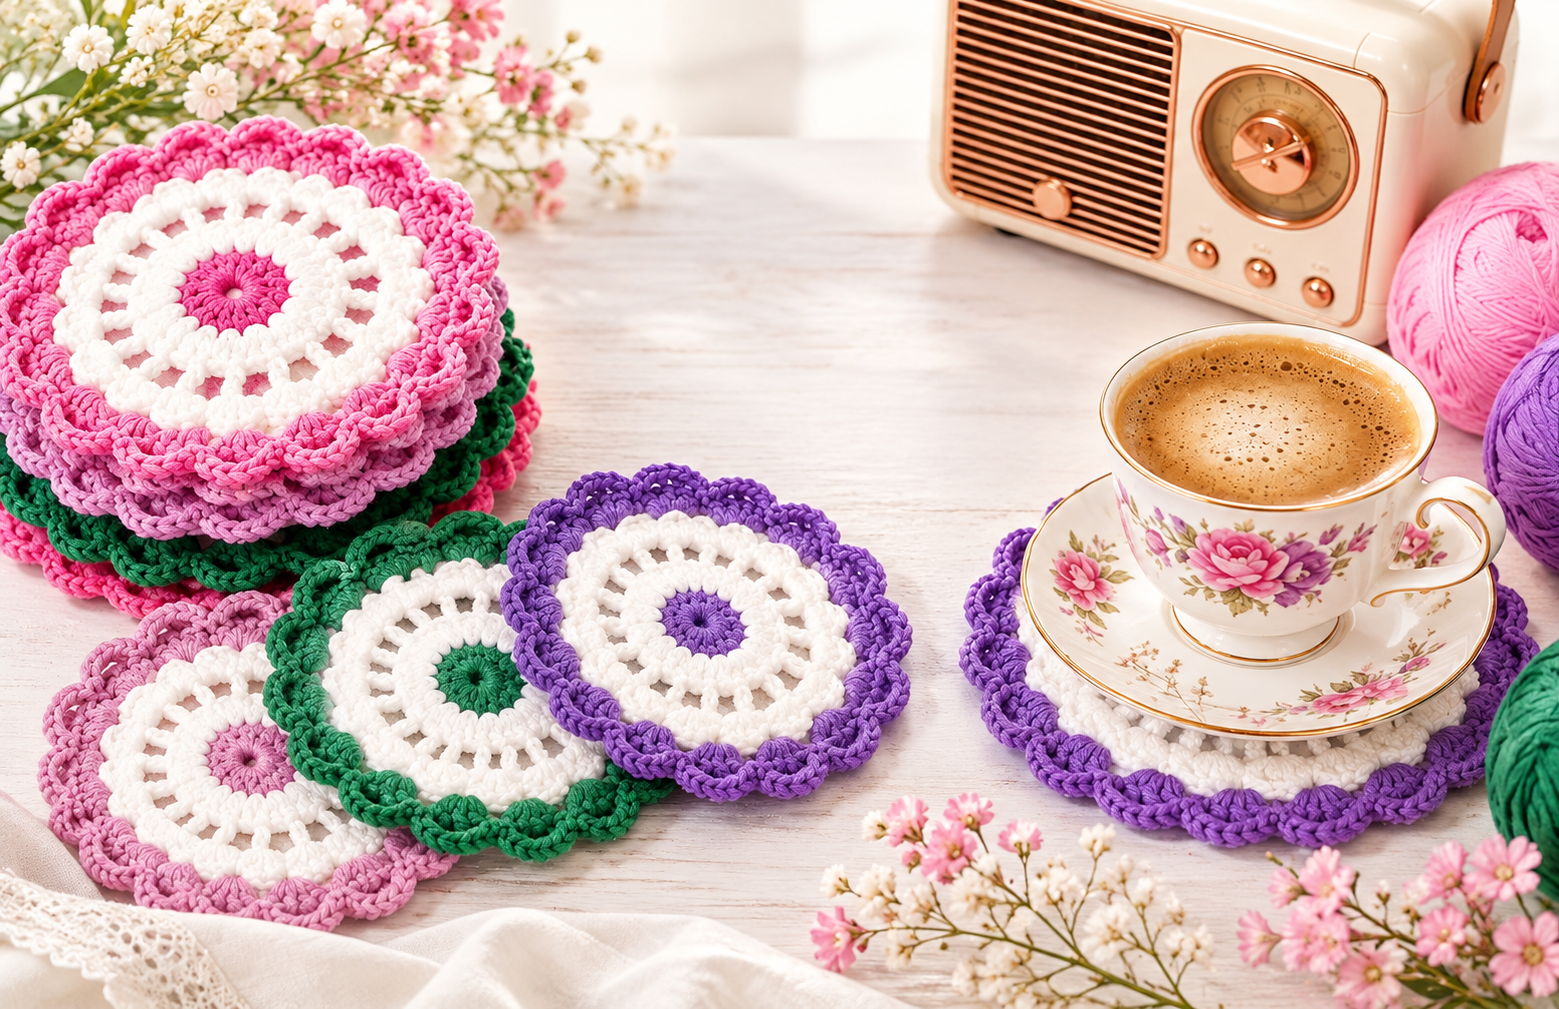
Do you want to add a touch of handmade charm to your coffee table? Crocheting your own home decor is one of the most rewarding DIY projects you can try. Today, we are sharing a gorgeous and easy crochet flower coaster pattern that is absolutely perfect for beginners.
This round crochet coaster design looks intricate, but it relies on simple, foundational stitches. By using vibrant cotton yarn, you can create a durable, heat-resistant, and washable accessory for your home. Let’s dive into the ultimate guide to making these beautiful crochet flower coasters!
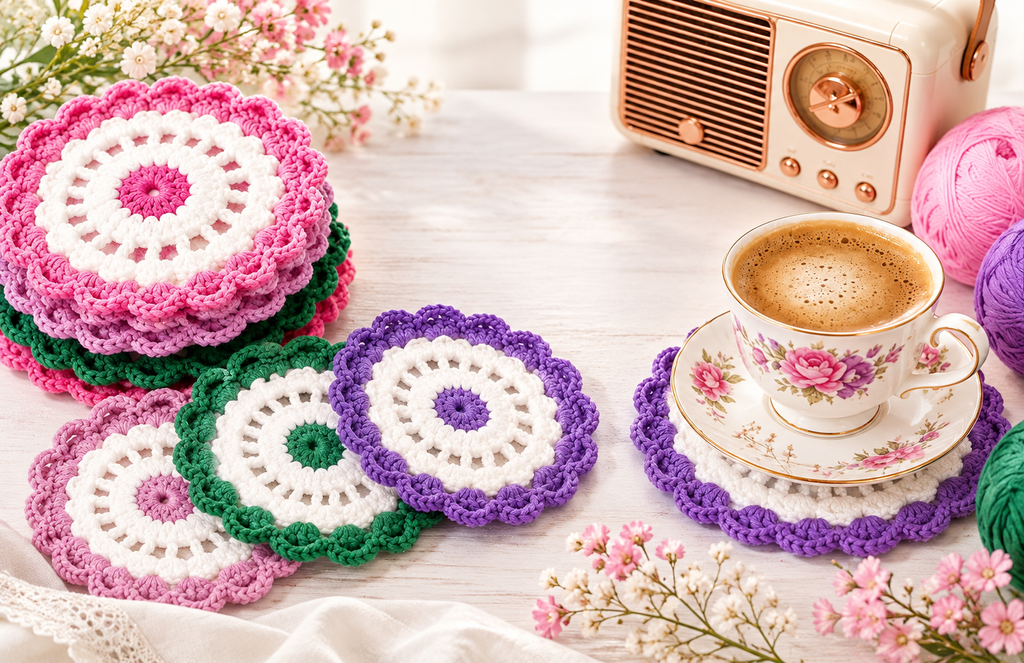
Why You Will Love This DIY Crochet Coaster Project
Beginner-Friendly: If you know how to make a double crochet, you can finish this project in less than 20 minutes.
Stash Buster: It requires very little yarn, making it the perfect project to use up your leftover cotton yarn scraps.
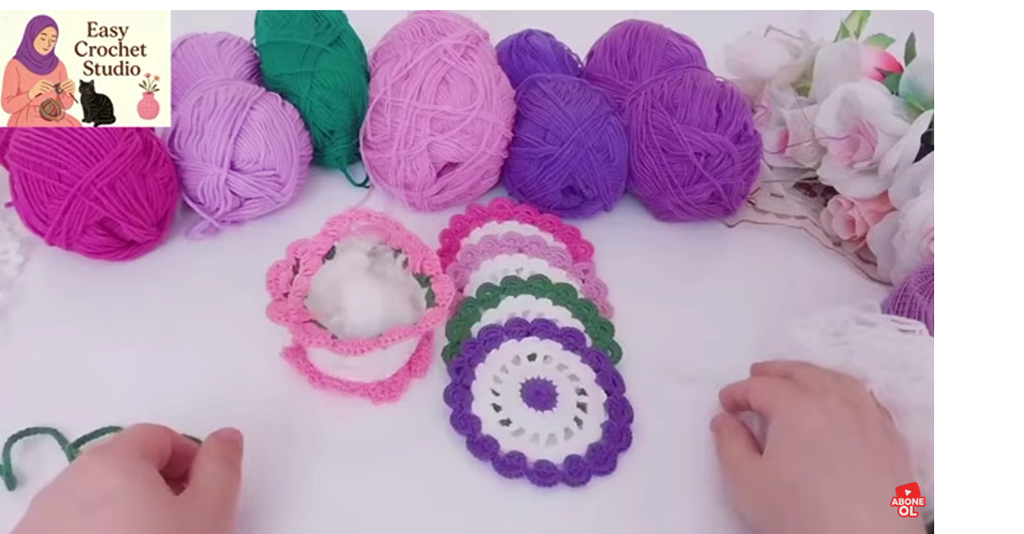
Great for Gifts: A set of four tied with a simple twine ribbon makes a lovely handmade gift for housewarmings, Mother’s Day, or birthdays.
Required Materials and Tools
Before we start looping our yarn, let’s gather all the essential supplies. For the best results, we highly recommend using 100% cotton yarn because it absorbs moisture from cups easily and handles heat without melting.
- Crochet Hook: 3 mm crochet hook (Size C or D depending on your tension).
- Yarn: Medium-weight (DK or Worsted) cotton yarn in 4 contrasting colors:
- Color A (Pink): For the flower center or petals.
- Color B (White): For a clean, bright contrast layer.
- Color C (Lilac/Purple): For the main vibrant flower petals.
- Color D (Green): For the classic leaf base effect.
- Scissors: A sharp pair of craft scissors for clean cuts.
- Yarn Needle: A blunt tapestry needle to weave in your loose ends securely.
Key Crochet Abbreviations (US Terms)
- MR: Magic Ring (Magic Circle)
- ch: Chain stitch
- sc: Single crochet
- dc: Double crochet
- sl st: Slip stitch
Step-by-Step Flower Coaster Pattern Instructions
Round 1: The Flower Center (Start with Pink or White Yarn)
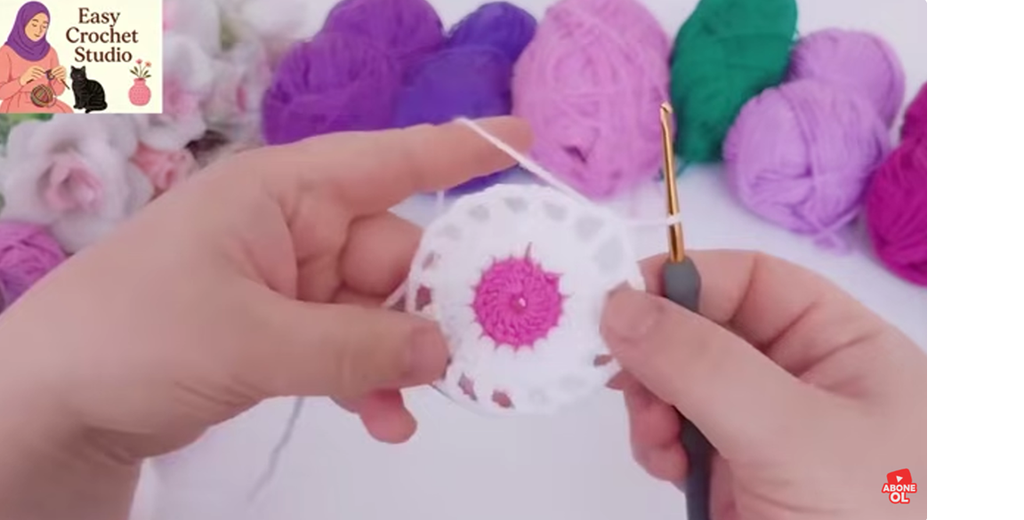
Create a Magic Ring (MR) to ensure the center of your coaster pulls tightly closed with no visible holes.
- Chain 3 (this counts as your very first double crochet).
- Work 11 double crochets (dc) directly into the magic ring.
- Pull the yarn tail firmly to close the center ring tight.
- Join with a slip stitch (sl st) into the top of the initial chain-3 space. Fasten off and cut the yarn. (Total: 12 stitches)
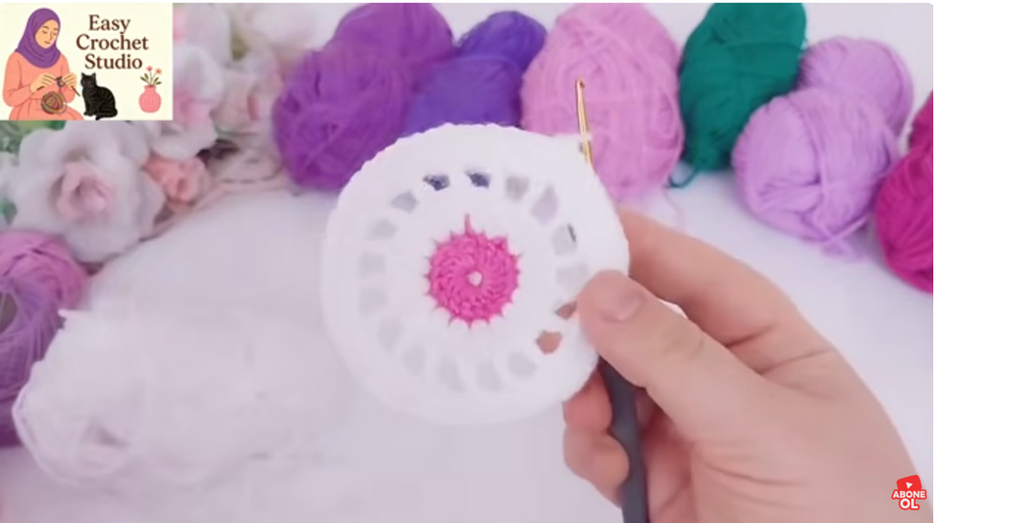
Round 2: Expanding the Circle (Change Color)
Attach your second yarn color to any double crochet stitch from the previous round.
- Chain 3. Work 1 dc into the exact same stitch (this creates your first increase).
- Work 2 dc into every single stitch around the entire circle.
- Join with a sl st to the top of the beginning chain-3. Fasten off your yarn. (Total: 24 stitches)
Round 3: The Green Leaf Base (Change to Green Yarn)
This clever round creates the structural “V-shaped” leaf anchors that will hold your beautiful flower petals.
- Attach green yarn to any stitch. Chain 3, then work 1 dc, ch 2, and 2 dc all into that same exact stitch. (Your first Leaf V-cluster is made).
- Skip 2 stitches from the previous round.
- In the next stitch, work the pattern: [2 dc, ch 2, 2 dc].
- Repeat this sequence (skip 2 stitches, work the V-cluster) all the way around the circle.
- Join with a sl st to the top of the starting chain. Fasten off.
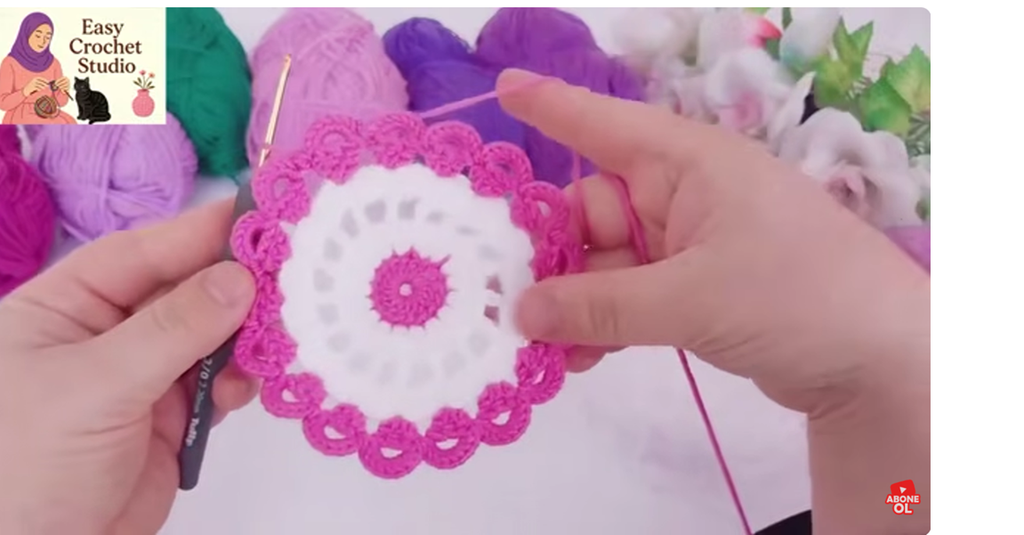
Round 4: The Blooming Petals (Change to Lilac/Purple Yarn)
Time to bring your flower to life with bold, scalloped edges!
- Attach your petal yarn directly into any ch-2 space created by the green round.
- Chain 3 (counts as 1 dc), then work 6 dc inside that same ch-2 space. (This gives you 7 stitches total forming a rounded petal).
- Secure the petal by working 1 single crochet (sc) into the space between the two green leaf clusters.
- Move to the next green ch-2 space and work 7 dc inside it, followed by 1 sc in the gap between clusters.
- Repeat this beautiful petal rhythm all the way around the edge.
- Join with a final sl st, cut your yarn, and use your yarn needle to neatly weave in all remaining loose ends on the back of the coaster.
Quick Tips for Perfect Crochet Coasters
To make your finished project look completely professional, don’t skip the blocking stage. Pin your finished flower coasters down on a foam mat, spray them lightly with water, and let them dry completely. This sets the stitches flat and gives you a flawless circular finish!
🌸 Let’s Crochet This Pretty Flower Coaster! ☕🧶 | Easy Step-by-Step Crochet Tutorial


2 thoughts on “How to Crochet a Flower Coaster: DIY Tutorial for Beginners”
Comments are closed.