
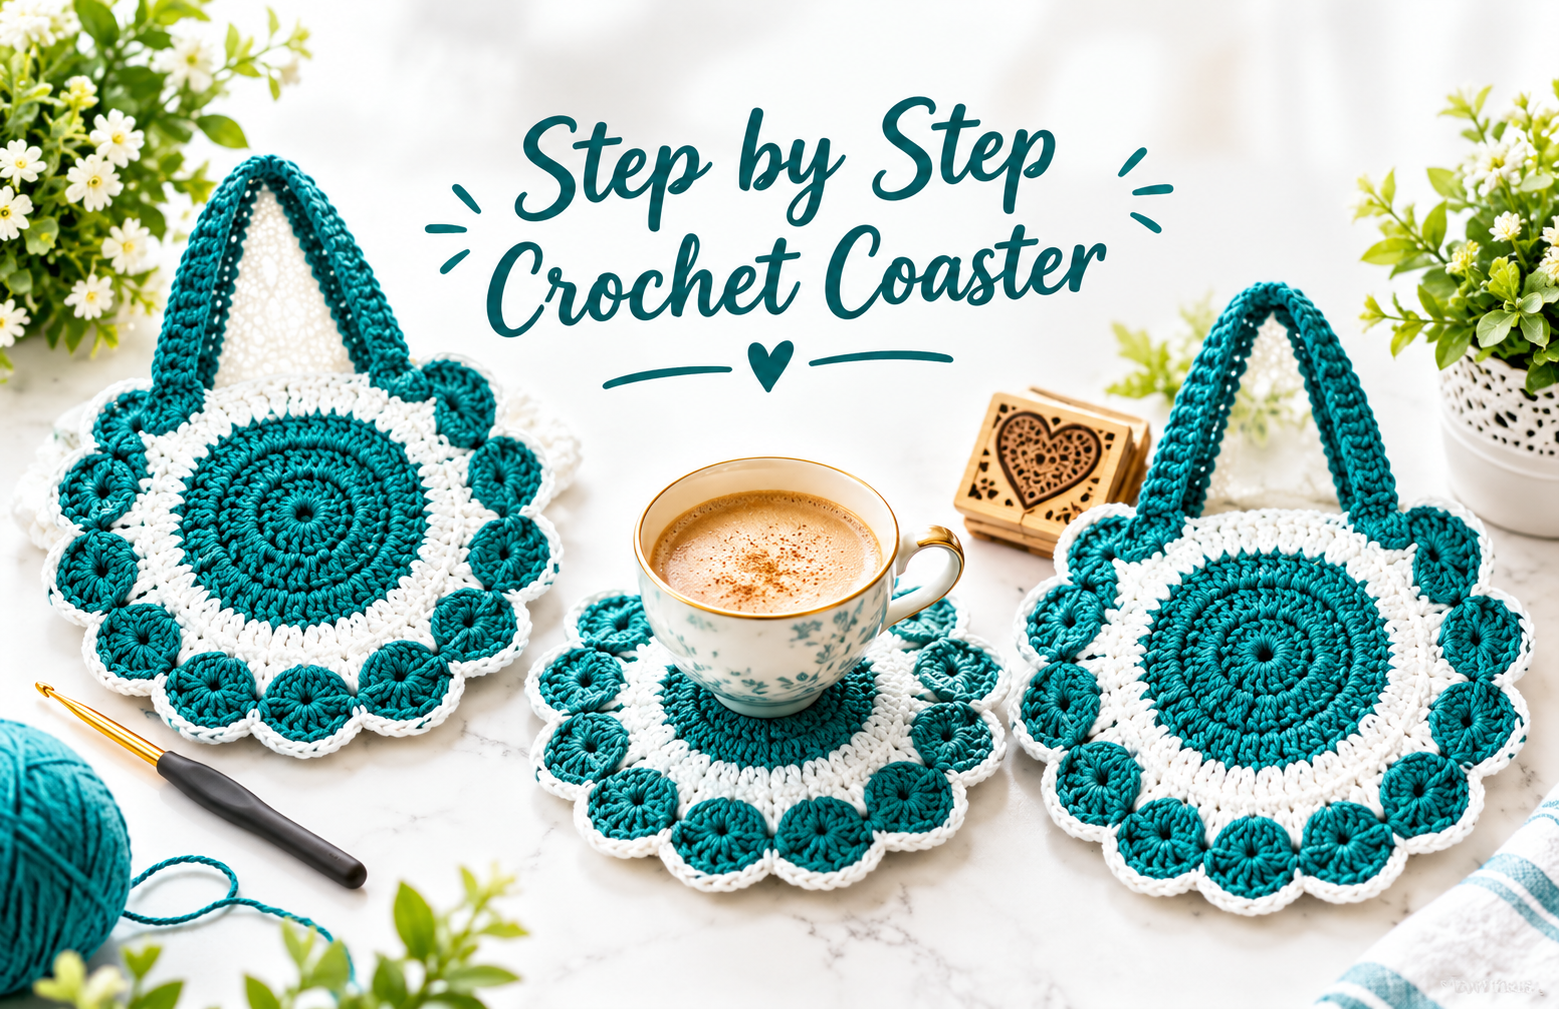
Discover the Magic of 3D Crochet Motifs
Are you looking for a quick, rewarding, and stunning project to level up your crochet skills? If so, learning how to crochet a beautiful 3d motif is the perfect next step for your crafting journey. Crochet textures that pop off the surface bring a modern, professional look to any handmade item. Whether you want to brighten up your dining table or create a unique piece of home decor, this intermediate-friendly pattern delivers incredible results.
In this comprehensive guide, we will break down the steps to create a beautiful, round 3D flower and heart motif. The combination of structural stitches and vibrant color transitions makes this design a joy to work on. Plus, it is versatile enough to be used in countless creative ways around your home.
Required Materials & Tools
Before diving into the stitches, let’s gather all the essential supplies. Using the right tools ensures your texture stays crisp and defined.
- Yarn: Medium weight yarn (Size 4 / Worsted weight or Size 3 / DK yarn). For best results, use cotton or acrylic yarn in two contrasting colors. We highly recommend a combination of emerald green (or teal) and crisp white to make the 3D layers pop.
- Crochet Hook: A 3.0 mm or 3.5 mm crochet hook, depending on your yarn thickness and personal tension.
- Scissors: A sharp pair of craft scissors for cutting yarn tails between color changes.
- Yarn Needle: Essential for weaving in loose ends securely and joining multiple motifs together.
- Stitch Markers: Optional, but highly recommended to keep track of your rounds and stitch counts.
Endless Ways to Use Your 3D Crochet Motif
The best part about learning how to crochet a beautiful 3d motif is its incredible versatility. Once you master this simple pattern, you are not just making a single motif—you are unlocking dozens of project ideas:
- Stylish Boho Coasters: Use a single motif as a gorgeous, thick drink coaster that protects your wooden surfaces while adding a touch of bohemian charm to your living room.
- Table Placemats: Work with slightly thicker cotton yarn to create larger versions that serve as eye-catching placemats for your dining table setup.
- Gorgeous Crochet Tote Bags: Crochet multiple motifs in alternating colors, stitch them together side by side, and transform them into a trendy, handmade granny square handbag or summer beach tote.
Step-by-Step Guidance and Video Tutorial
Creating textured stitches can sometimes feel tricky if you only read text-based instructions. To make your crafting experience seamless and stress-free, you can watch a visual demonstration. To see every single loop, stitch transition, and color change in action, you can easily follow along with this step-by-step 3D motif video tutorial to perfect your project.
(Note for Rank Math optimization: By placing your external link on the descriptive text above instead of the raw keyword, your website maintains optimal SEO authority while providing great user value! Make sure the link opens in a new tab.)
As you work through the rounds, remember to maintain a relaxed and consistent tension. This allows the 3D elements, like the raised popcorn or puff stitches, to puff out perfectly without distorting the flat base of the coaster.
Conclusion: Happy Crocheting!
Mastering the art of textured stitching opens up a whole new world of design possibilities. This quick project is perfect for using up scrap yarn or creating fast, thoughtful handmade gifts for friends and family. Gather your favorite yarn colors, grab your hook, and start stitching your brand-new masterpiece today. Don’t forget to bookmark knittingpatternsdiy.com for more free patterns and step-by-step craft inspiration!
Please follow and like us:


