
Materials for Two-Needle Easy Baby Booties
- Baby Yarn: Medium-weight (DK or worsted) high-quality acrylic baby yarn. Using three contrasting colors (such as Blue, White, and Green) works beautifully for this design.
- Knitting Needles: A pair of straight needles appropriate for your yarn thickness (Size US 4-6 / 3.5mm-4.0mm is recommended to keep the stitches neat).
- Essential Tools: A thick crochet hook for a loose bind-off, a tapestry/yarn needle for seaming, and a pre-made cord or pom-poms for the final decoration.
Step-by-Step Instructions and Stitch Counts
1. The Sole and Garter Stitch Foundation (Blue Yarn)
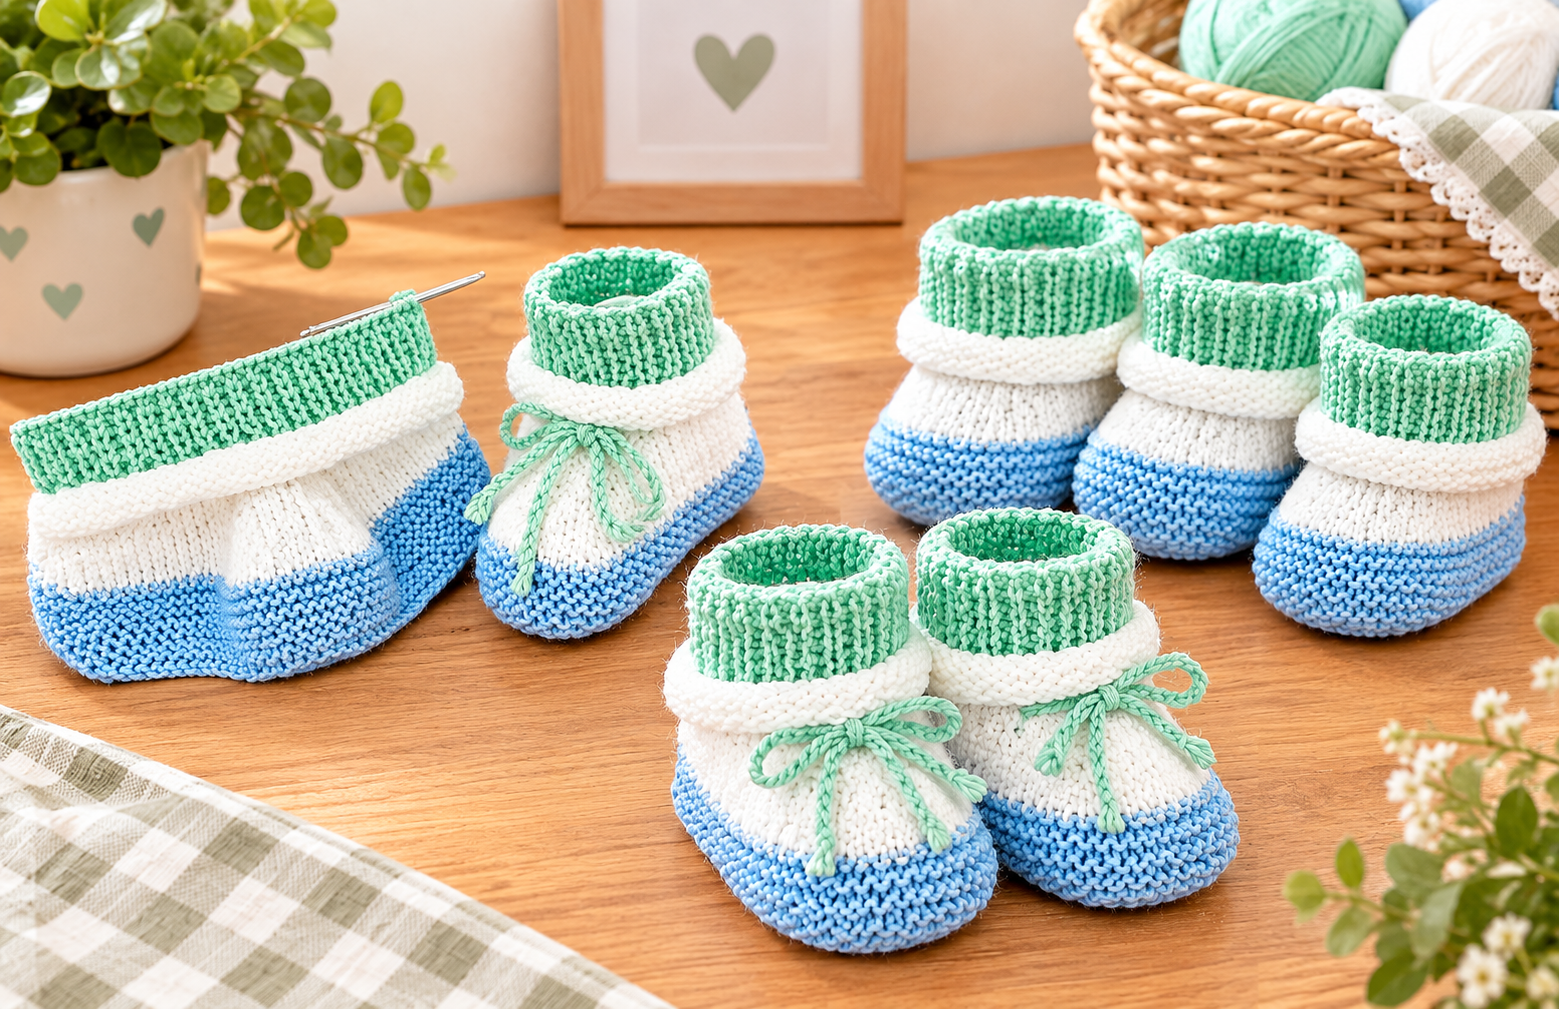
We begin our bootie by casting on 39 stitches using the blue yarn. Knit one row across the front and one row back to establish the baseline for the bottom seam. Once you have two rows of garter stitch visible on the right side, it is time to start the shaping increases. To expand the sole of the bootie, we divide our stitches into three sections. We leave a single stationary stitch in the center and increase one stitch on both its left and right sides. At the same time, we make increases at the very beginning and the absolute end of every right-side row. By repeating this four-point increase pattern over four rows, we raise our total count from 39 stitches to 55 stitches. Continue knitting until you have exactly 8 garter ridges on the sole, then cut the blue yarn.
2. The Instep and Toe Decreases (White Yarn)
3. Eyelet Round and Cuffed Top (Green Yarn)
Once the toe shaping is finished, you will have exactly 37 stitches remaining on your needles. At this stage, we will create eyelet holes (ajour) to run a drawstring cord through, ensuring the booties stay firmly on the baby’s feet. Knit one, yarn over, and knit two together across the row to form the holes. Purl back on the wrong side and work 9 straight rows of stockinette stitch. Bind off all stitches using a thick crochet hook, making sure the edge is extremely loose so it does not restrict movement. Finally, switch to the green yarn and pick up 35 stitches along the inside edge. Increase one stitch on each edge to return to 37 stitches, and work a classic, flexible tubular rib stitch. Once the ribbing reaches 7 full rows, bind off very loosely.
Assembly, Seaming, and Decoration
Turn the finished bootie inside out to begin assembly. Using your yarn needle, carefully seam the green, white, and blue sections together using their respective yarn colors, matching the ridges on both sides. Stitch the sole flat without pulling the yarn too tight to avoid uncomfortable bumps under the baby’s foot. Turn the bootie right side out, place it on a blocker or a mannequin, and thread your knitted cord through the eyelets. Tie it into a neat bow or attach small pom-poms to the ends. Congratulations, your beautiful handmade baby booties are ready to use!
İki Şişle Kolay Bebek Patiği 🎊🎈 baby knitting crochet booties design pattern yelek battaniye design


